crwdns2933423:0crwdne2933423:0

Zeepad 7DRK Battery Replacement

crwdns2942213:0crwdne2942213:0

  1. Zeepad 7DRK Battery Replacement, Battery: crwdns2935265:01crwdnd2935265:01crwdnd2935265:02crwdne2935265:0 Zeepad 7DRK Battery Replacement, Battery: crwdns2935265:01crwdnd2935265:02crwdnd2935265:02crwdne2935265:0
    • Begin the process by prying off the back of the Zeepad using the opening tool.

    • Start by edging the corner of the opening tool into the edge of the device and work your way from there until the back cover is removed.

  2. Zeepad 7DRK Battery Replacement: crwdns2935265:02crwdnd2935265:01crwdnd2935265:01crwdne2935265:0
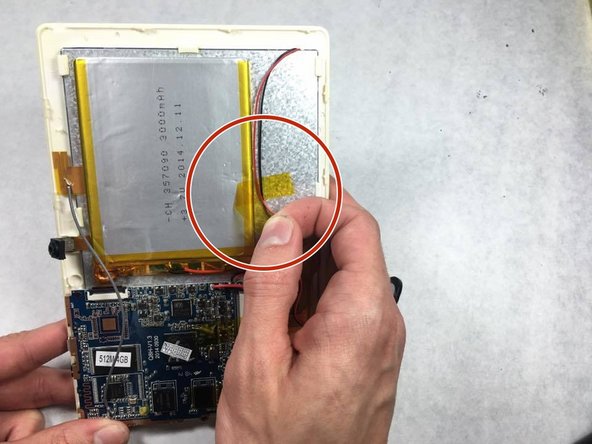
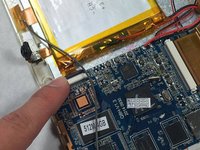
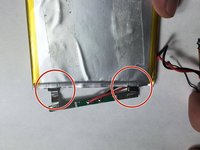
    • Once the back casing has been removed, identify the location of the battery inside the device, marked with the red circle.

  3. Zeepad 7DRK Battery Replacement: crwdns2935265:03crwdnd2935265:01crwdnd2935265:03crwdne2935265:0 Zeepad 7DRK Battery Replacement: crwdns2935265:03crwdnd2935265:02crwdnd2935265:03crwdne2935265:0 Zeepad 7DRK Battery Replacement: crwdns2935265:03crwdnd2935265:03crwdnd2935265:03crwdne2935265:0
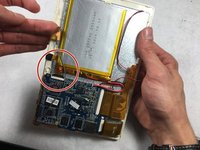
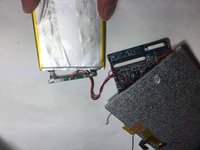
    • Identify the pieces of tape holding the battery to the back of the screen, and peel them off to remove them.

  4. Zeepad 7DRK Battery Replacement: crwdns2935265:04crwdnd2935265:01crwdnd2935265:03crwdne2935265:0 Zeepad 7DRK Battery Replacement: crwdns2935265:04crwdnd2935265:02crwdnd2935265:03crwdne2935265:0 Zeepad 7DRK Battery Replacement: crwdns2935265:04crwdnd2935265:03crwdnd2935265:03crwdne2935265:0
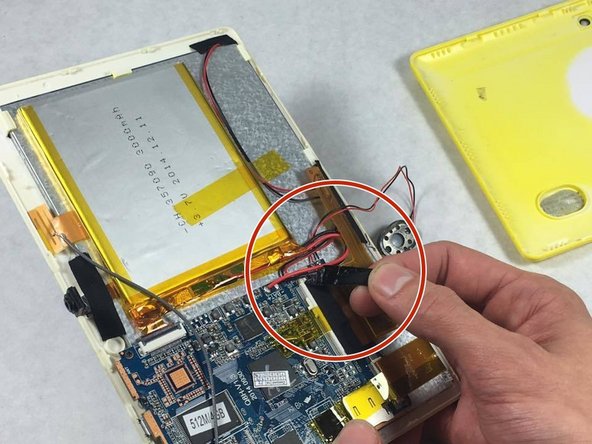
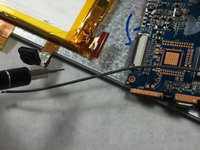
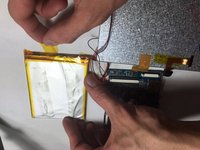
    • Locate the connection between the battery and motherboard, and disconnect it by pulling the two apart.

  5. Zeepad 7DRK Battery Replacement: crwdns2935265:05crwdnd2935265:01crwdnd2935265:03crwdne2935265:0 Zeepad 7DRK Battery Replacement: crwdns2935265:05crwdnd2935265:02crwdnd2935265:03crwdne2935265:0 Zeepad 7DRK Battery Replacement: crwdns2935265:05crwdnd2935265:03crwdnd2935265:03crwdne2935265:0
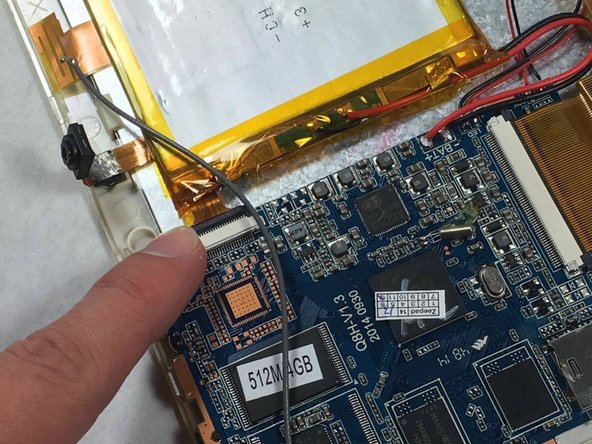
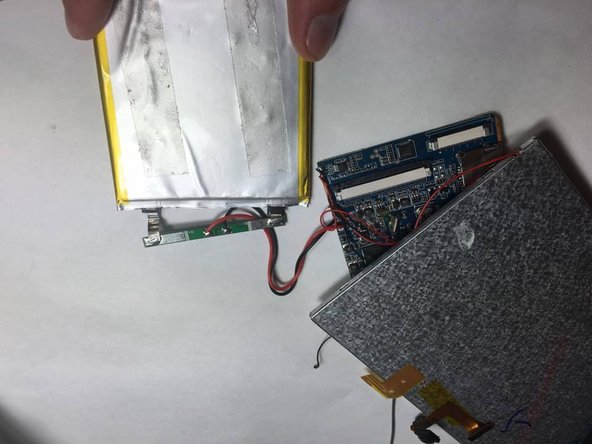
    • To finally finish removing the battery, the two wires connecting to it must be separated.

    • Peel back the tape covering the origin of the wires.

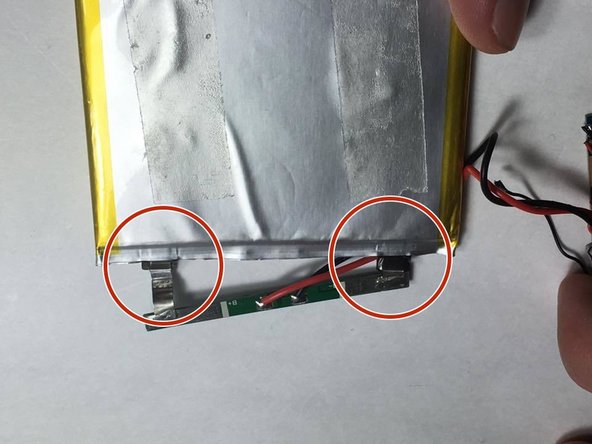
    • Finally, remove the two metal connectors attached to the green piece from the battery with a tug.

    • The battery has now been successfully removed.

crwdns2915888:0crwdne2915888:0

To reassemble your device, follow these instructions in reverse order.

Alexandra Souza

crwdns2935283:010/20/16crwdne2935283:0

222 crwdns2915208:0crwdne2915208:0

crwdns2935297:02crwdne2935297:0

crwdns2915084:0crwdne2915084:0

UMass Dartmouth, Team 6-8, Martin Fall 2016 crwdns2935289:0UMass Dartmouth, Team 6-8, Martin Fall 2016crwdne2935289:0

UMASSD-MARTIN-F16S6G8

crwdns2931471:03crwdne2931471:0

crwdns2935297:010crwdne2935297:0

crwdns2944067:00crwdne2944067:0

crwdns2917038:0crwdne2917038:0

crwdns2936625:0crwdne2936625:0:

crwdns2936751:024crwdne2936751:0 0

crwdns2936753:07crwdne2936753:0 2

crwdns2936753:030crwdne2936753:0 8

crwdns2942667:0crwdne2942667:0 630