crwdns2942213:0crwdne2942213:0
-
-
Remove the seven 12mm JIS #00 screws that hold the back panel in place.
-
-
-
Lift up on the back panel of the ZD-N Plus to remove it from the rest of the controller.
-
-
-
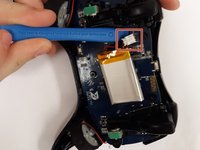
Use an opening tool to pry the battery from its original position.
-
-
-
-
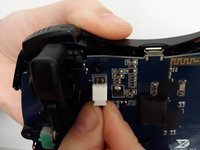
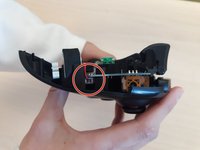
Use an opening tool to pry the connector away from the two metallic prongs.
-
-
-
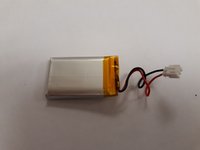
Remove the battery from the controller.
-
-
-
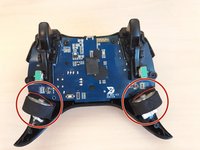
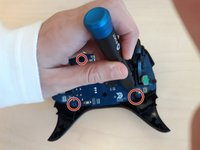
Remove the electrical connector attaching each rumble motor to the controller.
-
Lift up on the circular section of the rumble to remove it from the controller.
-
-
-
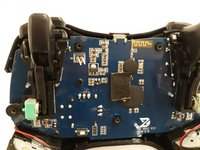
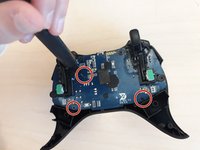
Remove the three 1.2mm JIS #00 screws that hold the motherboard in place.
-
-
-
Lift the motherboard out of the controller.
-


To reassemble your device, follow these instructions in reverse order.
crwdns2935221:0crwdne2935221:0
crwdns2935227:0crwdne2935227:0
crwdns2935287:0crwdne2935287:0

Grand Valley State University, Team S4-G1, DeVasto Fall 2019 crwdns2935289:0Grand Valley State University, Team S4-G1, DeVasto Fall 2019crwdne2935289:0
GVSU-DEVASTO-F19S4G1
crwdns2931471:04crwdne2931471:0
crwdns2935297:07crwdne2935297:0