crwdns2915892:0crwdne2915892:0
While the frame of your drone is designed to endure typical flights, hard landings, crashes, or impacts can sometimes cause damage, especially to the bottom frame. A damaged bottom frame can affect the drone’s stability and may interfere with the mounting of other components. Replacing the damaged frame is an essential repair to restore your drone’s structural integrity and ensure it remains flight-ready.
This guide will show you how to remove and replace the bottom frame. You’ll learn how to:
- Safely detach the broken bottom frame from the drone’s body.
- Install the new frame securely, ensuring proper alignment and connections.
- Verify that all parts are properly secured to maintain stability.
crwdns2942213:0crwdne2942213:0
-
-
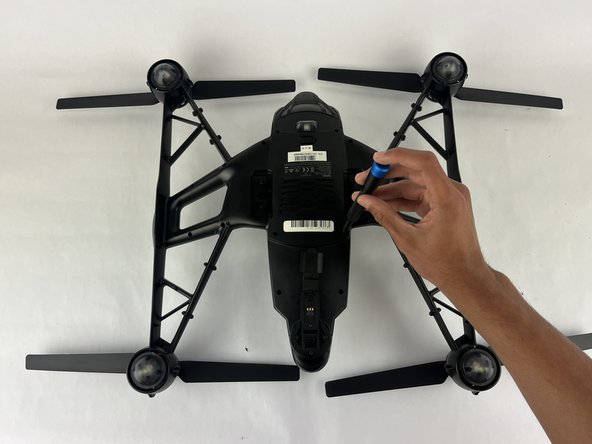
Flip the drone upside down.
-
Use a 2 mm Hex screwdriver to remove the two screws that secure the legs to the drone.
-
-
-
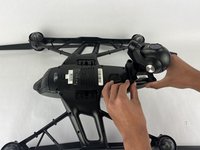
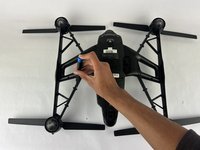
Turn the drone to the side so that you can get better grip.
-
Put both thumbs on the plastic clamp and detach the legs from the main body.
-
Repeat same steps for other leg.
-
-
-
-
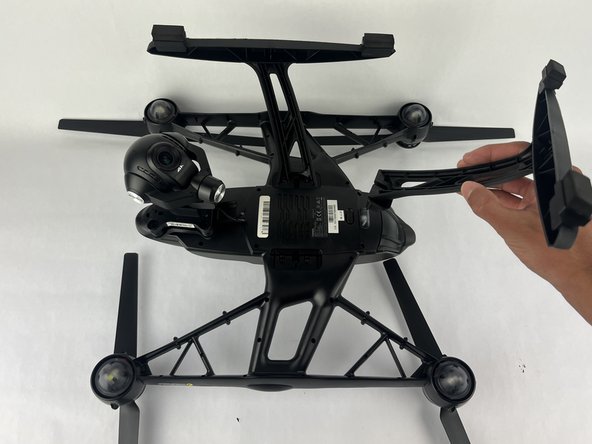
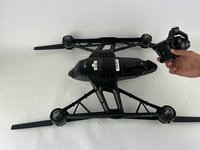
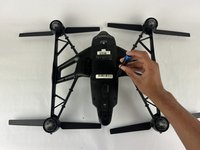
Use one hand to hold drone and other to hold camera, then slide the camera off the body of the drone.
-
-
-
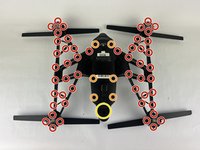
Use a TR6 Torx screwdriver to remove the screws connected to the bottom frame.
-
Use a TR8 Torx screwdriver to remove the screws located at the center frame.
-
Use a TR6 Torx screwdriver to remove the screws connecting the center frame to the propellers.
-


To reassemble your device, follow these instructions in reverse order.
To reassemble your device, follow these instructions in reverse order.
crwdns2935221:0crwdne2935221:0
crwdns2935227:0crwdne2935227:0

crwdns2915084:0crwdne2915084:0

Cuesta, Team 10-5, Krynen Fall 2024 crwdns2935289:0Cuesta, Team 10-5, Krynen Fall 2024crwdne2935289:0
CUESTA-KRYNEN-F24S10G5
crwdns2931471:04crwdne2931471:0
crwdns2935297:06crwdne2935297:0
crwdns2947410:01crwdne2947410:0
Wow I absolutely should say that that is one of the least complete guides I have ever had the pleasure of viewing.
"Install the new frame securely, ensuring proper alignment and connections"
What connections? Surely you don't mean the electrical connections for the components that are secured to the lower frame on the inside that must be removed and located on the new air frame.
"Verify that all parts are properly secured to maintain stability"
As simple as this task is for most people the individual who's seeking this information may not have the ability to predict how tight the screws that secure the main board should be before they are damaged.
All I'm saying is that giving the reputation that this site and it's community has been able to create over the years allowing this guide to be posted is the equivalent to regression.