crwdns2915892:0crwdne2915892:0
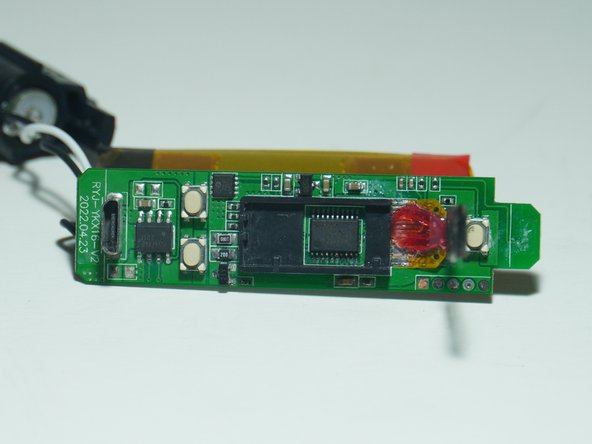
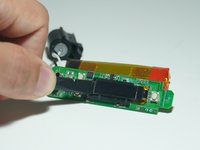
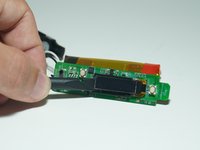
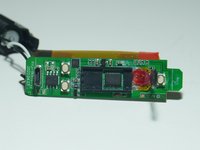
My device was water damaged so I decided to take it apart! You will see signs of corrosion on the motherboard and electronics closeup images.
-
-
Remove 2 Phillips head screws. There is one on each side of the device
-
-
-
Flip the device over and pull the cover upwards
-
-
-
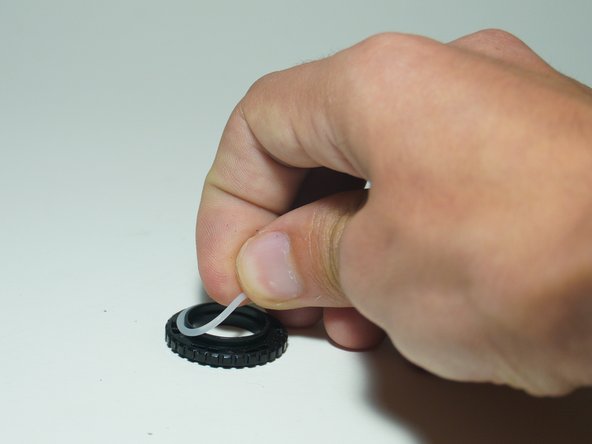
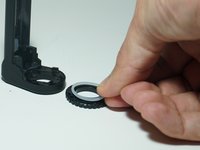
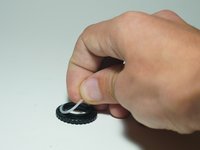
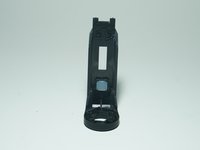
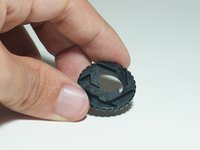
Remove the aperture adjustment holder
-
-
-
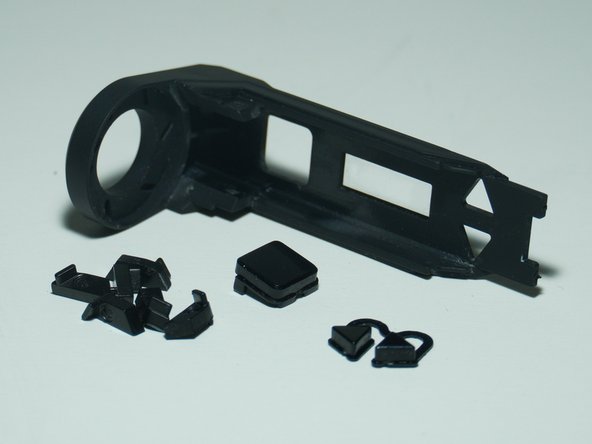
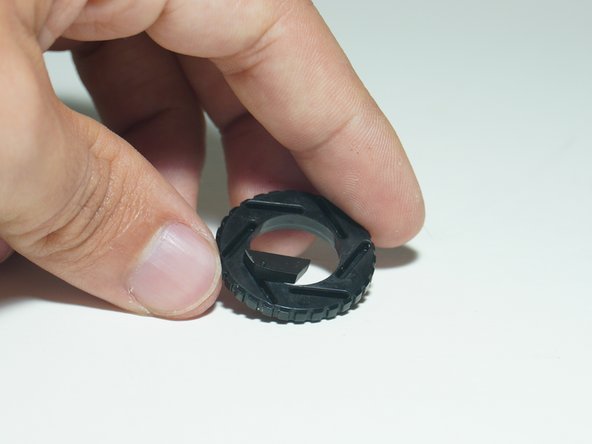
Remove buttons and aperture/shutter pieces
-
They should just fall out. If not, they can be removed with your fingers
-
-
-
-
Grip the bottom and top of the device and pull up slightly
-
-
-
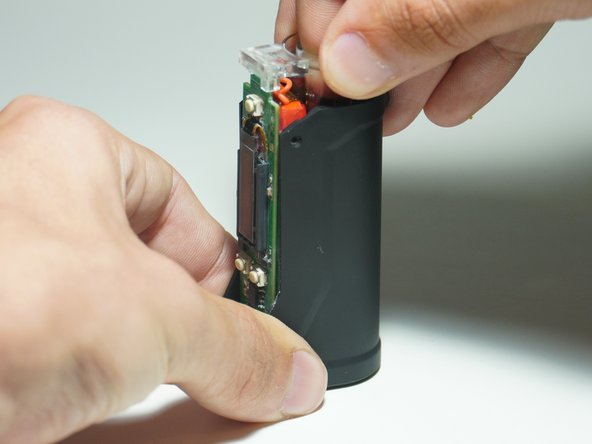
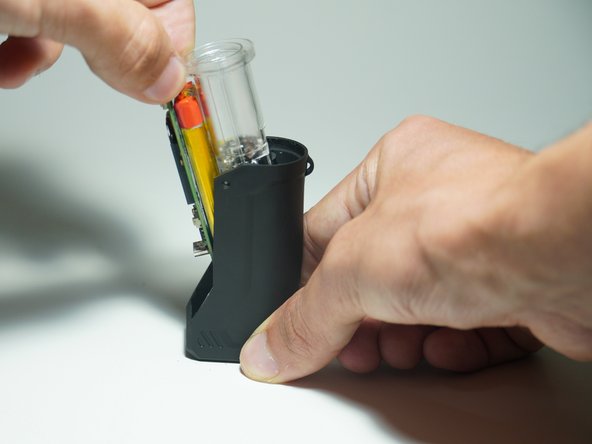
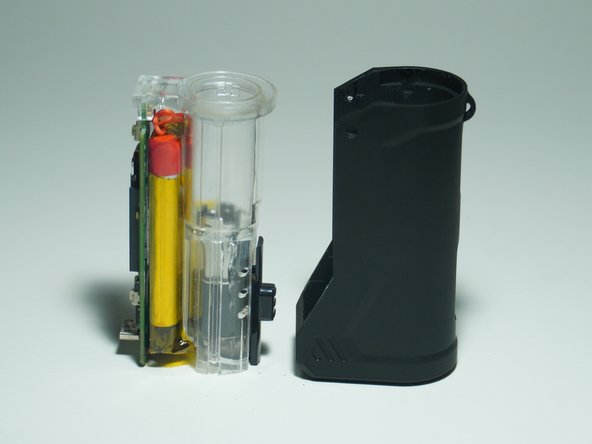
Pull the clear plastic out and away to the left
-
Pull up at an angle
-
-
-
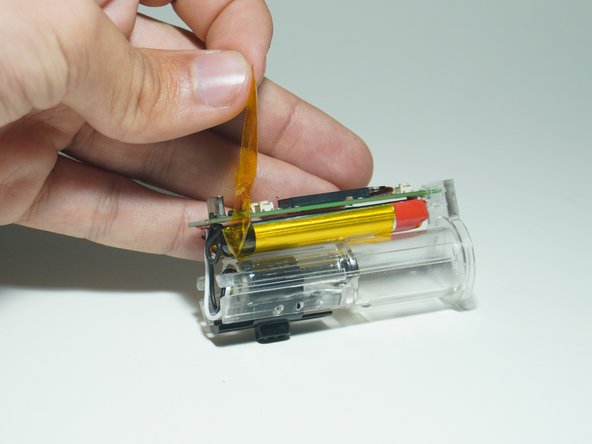
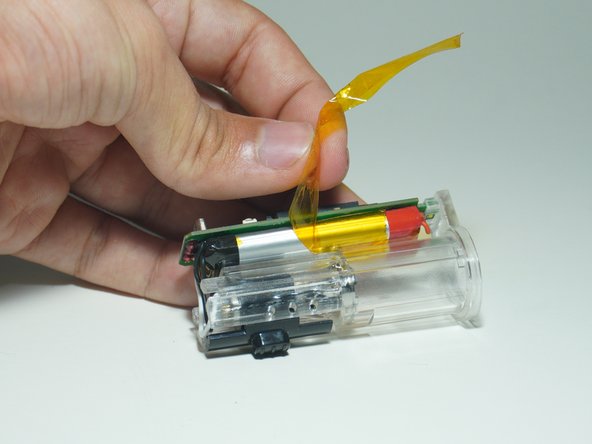
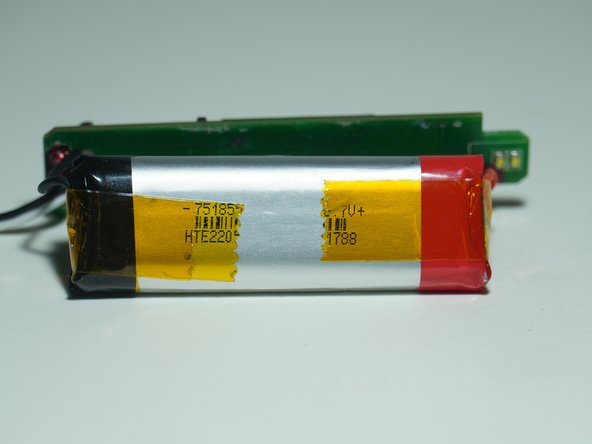
Peel the Kapton Tape off of the battery and clear plastic
-
-
-
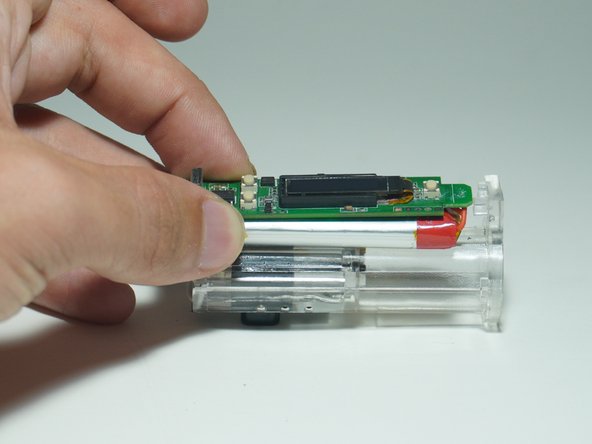
Slide the circuit board back so that it is not under the plastic lip
-
-
-
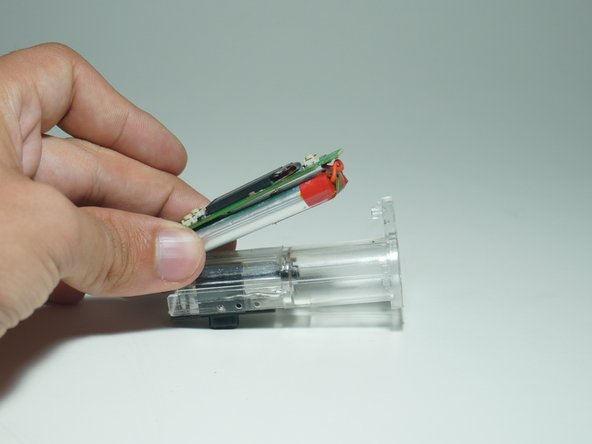
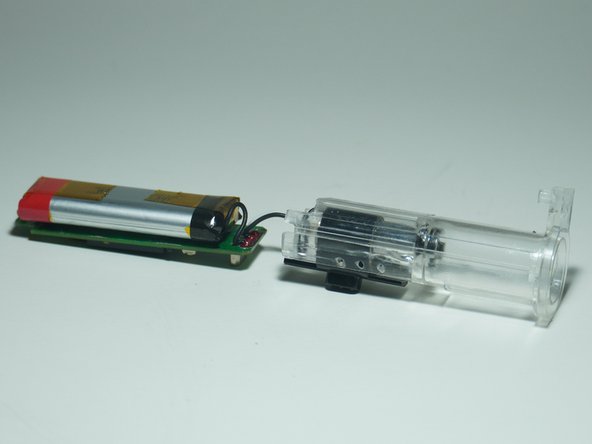
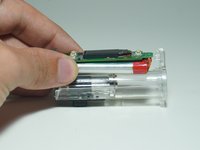
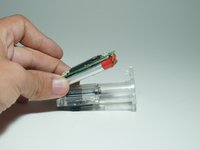
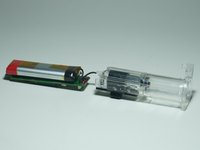
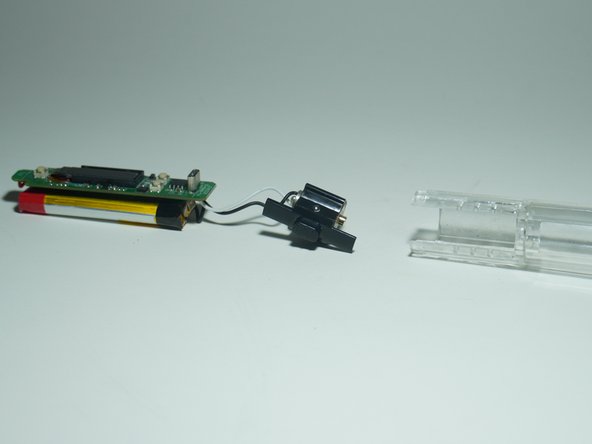
Slowly peel the battery and circuit board away from the plastic housing
-
-
-
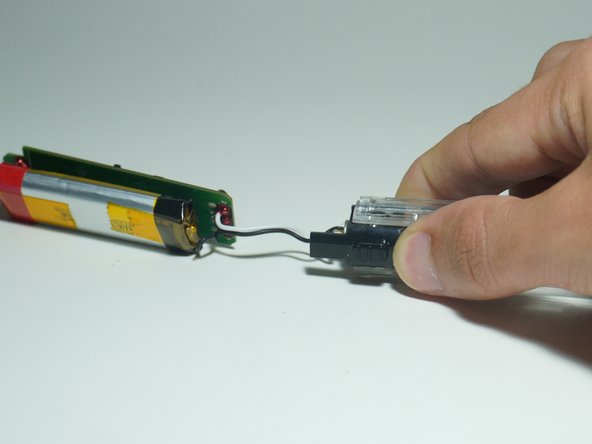
Grip the plastic case and use your thumb to remove the height adjustment module
-
It should slide out all the way
-
-
-
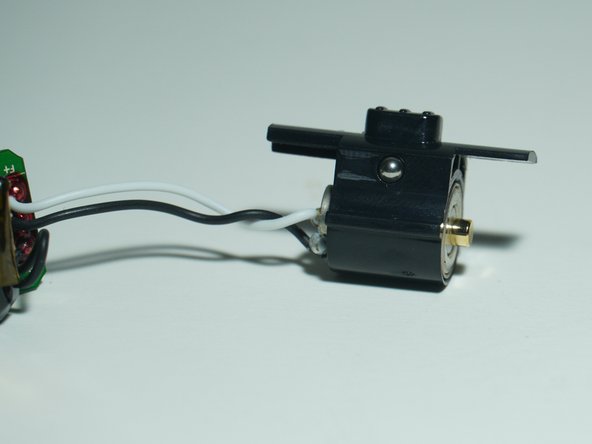
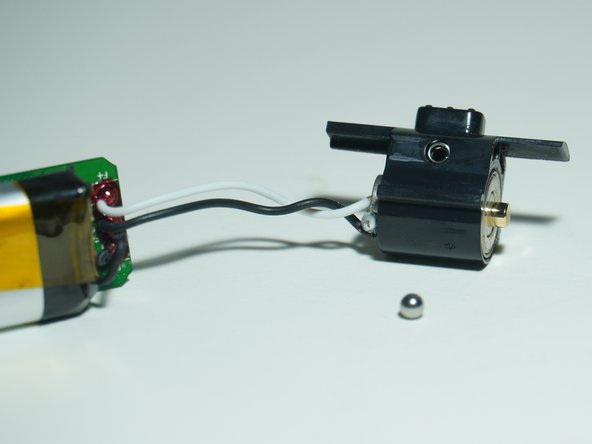
There are two ball bearings that make the height adjustment module work and lock into position.
One of the balls fell out, and I can’t put it back. Should I be worried about this? Should I throw out the entire thing? Is it going to explode without it? Halp.
The balls are used to set and hold the height of the cartridge. AKA the height adjustment feature. It will not explode without it, the cartridge might just slide to the lowest position.
-
-
-
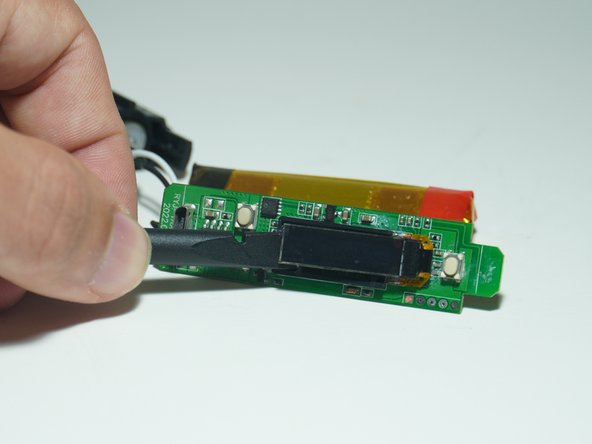
Use a spudger to carefully remove the screen
-
It is held down with adhesive
-
-
-
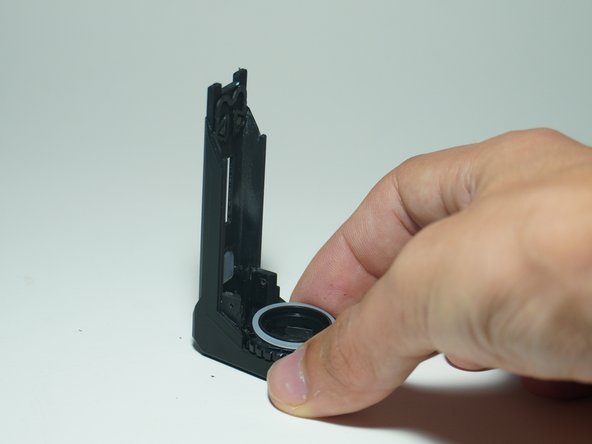
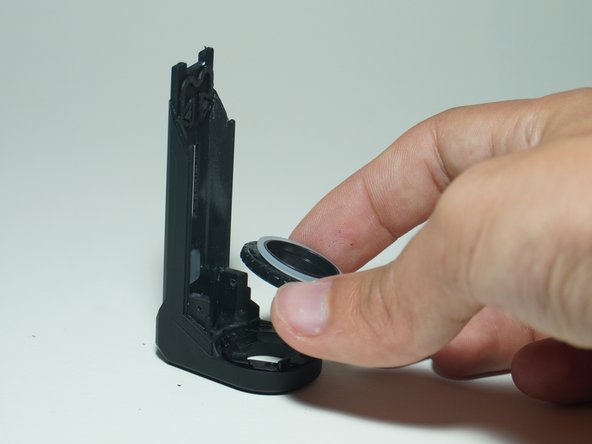
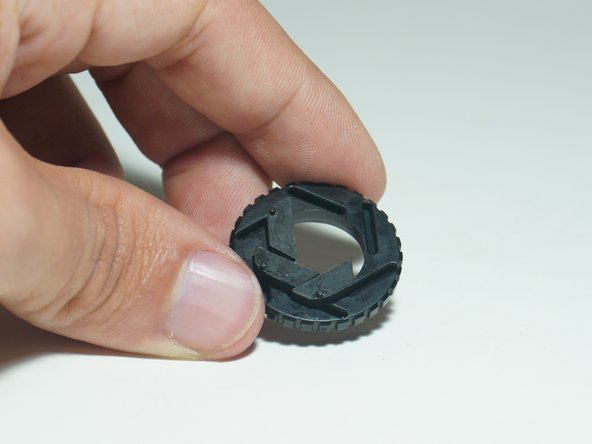
For reassembly, place the slots on the small shutter pieces into the circular holder
-
To reassemble your device, follow these instructions in reverse order.
To reassemble your device, follow these instructions in reverse order.
crwdns2935221:0crwdne2935221:0
crwdns2935229:07crwdne2935229:0
crwdns2947412:09crwdne2947412:0
I got a cartridge stuck in mine... avoid the 2 gram DOZOs, they're so poorly made that just putting it in you can't get it out normally!
I somehow managed to get a single hair under the casing and over the screen on my Yocan Uni Pro. With the help of this guide, I was able to disassemble, clean, and re-assemble my vape quickly and easily - I'm especially grateful for the pictures showing how to disassemble/reassemble the shutter pieces. Thank you so much for this awesome guide!
Thank you! Needed to clean my device and man oh man was I struggling with the shutter reassembly! Thanks so much for the time and effort for this guide, seriously helpful!
While reassembling my 2.0 I accidentally touched the front metal shield to the “C1” on the circuit board and shorted it. Whole battery is cooked. Oops. Don’t make my mistake.
This post literally saved me from buying a new battery. The slider was virtually glued to the case and seized up, and I had to push the cart at an angle just to get it to work and I could not figure out how to get it clean. Now it’s clean fully functional again!
Having access to a computer repair toolkit helped make quick work with these instructions but honestly anyone could probably follow these with a small eye glass screwdriver (and some rubbing alcohol and towels) to do the job, with maybe some sturdy tooth picks for the crevices
I lost one of my screws. Any idea what kind they are?
did you ever find out? i've lost both of mine
Ragtag -
Is the battery soldered to the board or is there a plug? /
How replaceable is the battery.
The battery is soldered to the board. I'm not sure how easy it would be to find a replacement. Let me know if you find anything.


