crwdns2933423:0crwdne2933423:0

YT-88 Automatic Intelligent Sweeping Robot Full Disassembly

crwdns2942213:0crwdne2942213:0

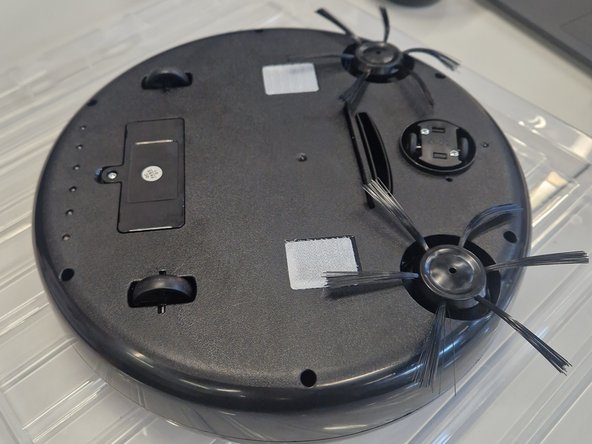
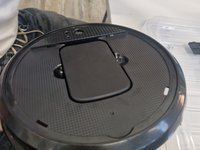
  1. YT-88 Automatic Intelligent Sweeping Robot Full Disassembly, Starting to Disassemble: crwdns2935265:01crwdnd2935265:01crwdnd2935265:02crwdne2935265:0 YT-88 Automatic Intelligent Sweeping Robot Full Disassembly, Starting to Disassemble: crwdns2935265:01crwdnd2935265:02crwdnd2935265:02crwdne2935265:0
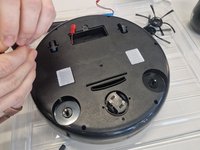
    • Turn the robot vacuum upside down to access the screws underneath.

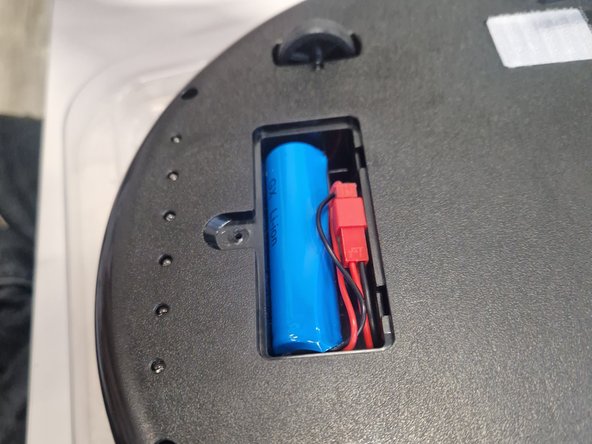
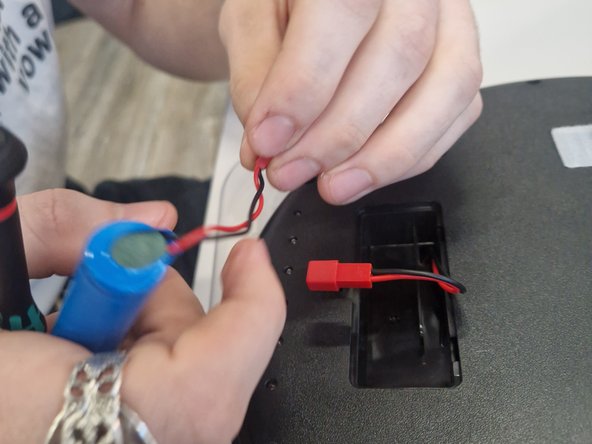
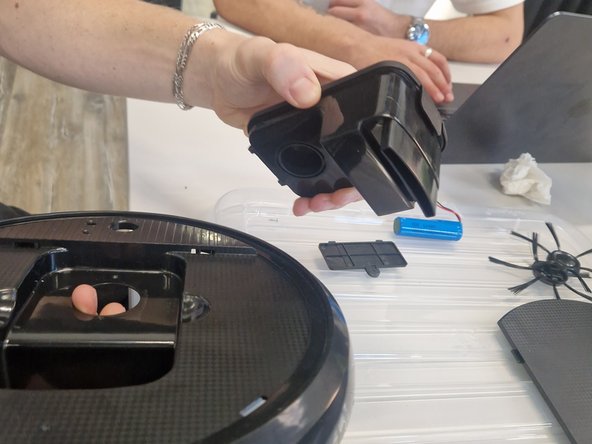
  2. YT-88 Automatic Intelligent Sweeping Robot Full Disassembly, Removing the battery: crwdns2935265:02crwdnd2935265:01crwdnd2935265:03crwdne2935265:0 YT-88 Automatic Intelligent Sweeping Robot Full Disassembly, Removing the battery: crwdns2935265:02crwdnd2935265:02crwdnd2935265:03crwdne2935265:0 YT-88 Automatic Intelligent Sweeping Robot Full Disassembly, Removing the battery: crwdns2935265:02crwdnd2935265:03crwdnd2935265:03crwdne2935265:0
    • Using a Phillips 1 screw bit - remove the battery cover and carefully unplug the 18650 rechargeable cell from connector and place it in a safe separate environment along with the battery cover.

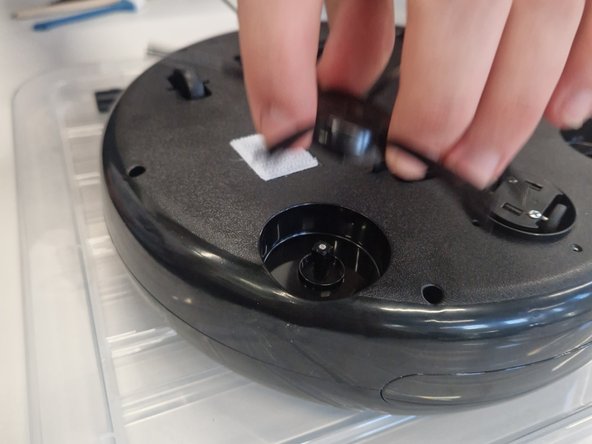
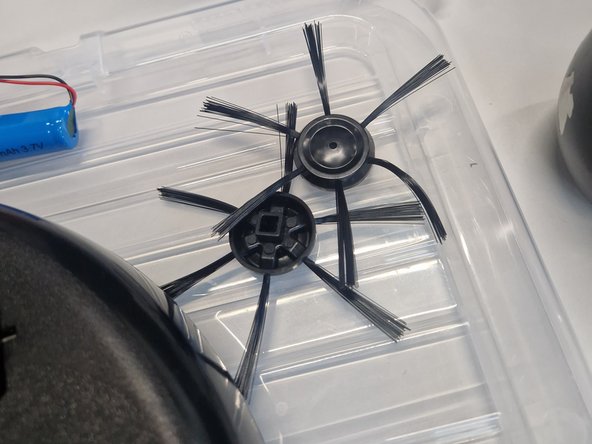
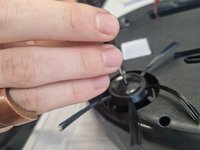
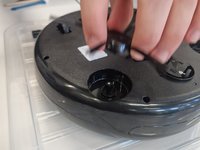
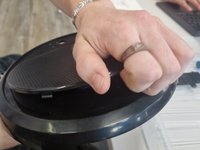
  3. YT-88 Automatic Intelligent Sweeping Robot Full Disassembly, Removing the sweepers: crwdns2935265:03crwdnd2935265:01crwdnd2935265:03crwdne2935265:0 YT-88 Automatic Intelligent Sweeping Robot Full Disassembly, Removing the sweepers: crwdns2935265:03crwdnd2935265:02crwdnd2935265:03crwdne2935265:0 YT-88 Automatic Intelligent Sweeping Robot Full Disassembly, Removing the sweepers: crwdns2935265:03crwdnd2935265:03crwdnd2935265:03crwdne2935265:0
    • Using a Phillips #1 screw bit remove the screws from both of the sweepers and using a slight force or using the shaft of the driver for leverage, remove the sweepers.

  4. YT-88 Automatic Intelligent Sweeping Robot Full Disassembly, Removing the Top Cover: crwdns2935265:04crwdnd2935265:01crwdnd2935265:02crwdne2935265:0 YT-88 Automatic Intelligent Sweeping Robot Full Disassembly, Removing the Top Cover: crwdns2935265:04crwdnd2935265:02crwdnd2935265:02crwdne2935265:0
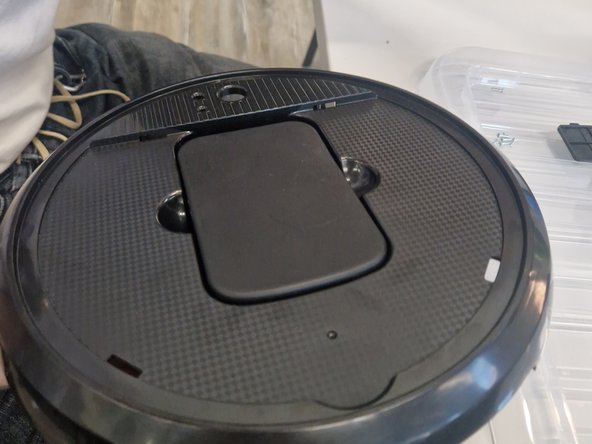
    • Using a Phillips #1 driver, remove 6 screws from the base of the vacuum and carefully remove the top cover.

  5. YT-88 Automatic Intelligent Sweeping Robot Full Disassembly, Disassembling the Top Cover: crwdns2935265:05crwdnd2935265:01crwdnd2935265:03crwdne2935265:0 YT-88 Automatic Intelligent Sweeping Robot Full Disassembly, Disassembling the Top Cover: crwdns2935265:05crwdnd2935265:02crwdnd2935265:03crwdne2935265:0 YT-88 Automatic Intelligent Sweeping Robot Full Disassembly, Disassembling the Top Cover: crwdns2935265:05crwdnd2935265:03crwdnd2935265:03crwdne2935265:0
    • With the top cover now removed we can remove the clipping lid holding the dust box inside which can also be lifted out and removed.

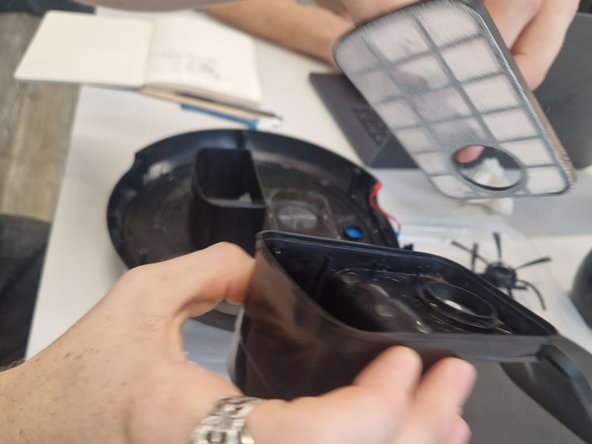
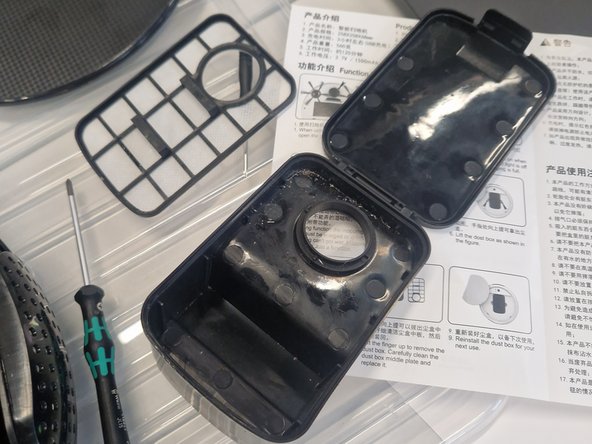
  6. YT-88 Automatic Intelligent Sweeping Robot Full Disassembly, Tearing down the Dust Box: crwdns2935265:06crwdnd2935265:01crwdnd2935265:03crwdne2935265:0 YT-88 Automatic Intelligent Sweeping Robot Full Disassembly, Tearing down the Dust Box: crwdns2935265:06crwdnd2935265:02crwdnd2935265:03crwdne2935265:0 YT-88 Automatic Intelligent Sweeping Robot Full Disassembly, Tearing down the Dust Box: crwdns2935265:06crwdnd2935265:03crwdnd2935265:03crwdne2935265:0
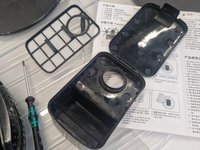
    • With the dust box removed we can open the latching lid and remove the dust filter by lifting it up from the provided tabs.

  7. YT-88 Automatic Intelligent Sweeping Robot Full Disassembly, Removing drive belts: crwdns2935265:07crwdnd2935265:01crwdnd2935265:01crwdne2935265:0
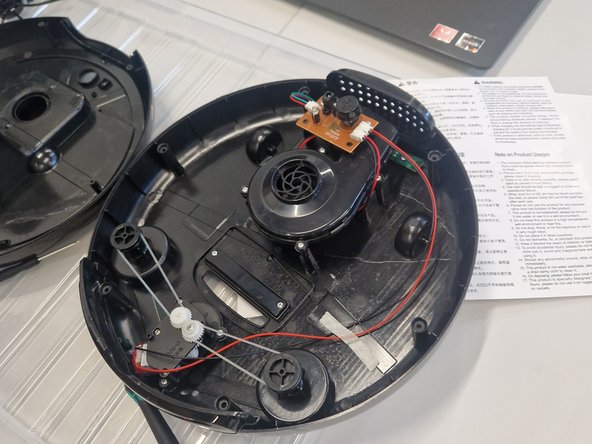
    • Back in the internals of the vacuum all located in the bottom cover, the sweeper's drive belts can be then removed easily as they have slack - use the shaft of the screw driver if there are difficulties removing them.

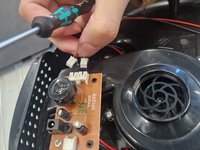
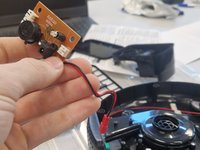
  8. YT-88 Automatic Intelligent Sweeping Robot Full Disassembly, Disconnecting the drive motor, impeller & UV light bar: crwdns2935265:08crwdnd2935265:01crwdnd2935265:03crwdne2935265:0 YT-88 Automatic Intelligent Sweeping Robot Full Disassembly, Disconnecting the drive motor, impeller & UV light bar: crwdns2935265:08crwdnd2935265:02crwdnd2935265:03crwdne2935265:0 YT-88 Automatic Intelligent Sweeping Robot Full Disassembly, Disconnecting the drive motor, impeller & UV light bar: crwdns2935265:08crwdnd2935265:03crwdnd2935265:03crwdne2935265:0
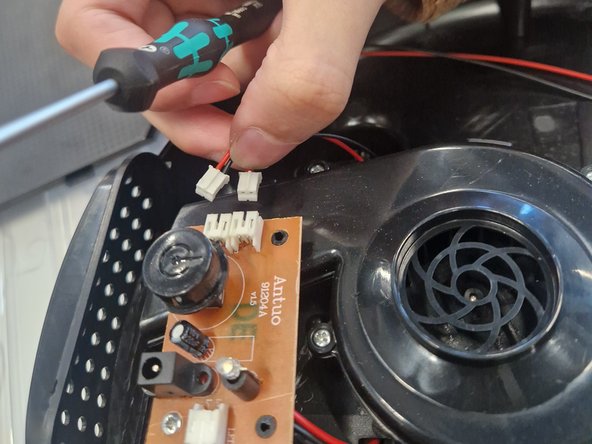
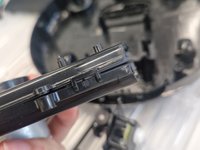
    • Carefully using your fingers, the a flat head screwdriver or recommended tweezers, remove the three JST connectors from the PCB which connect the impeller, drive motor assembly and UV light bar.

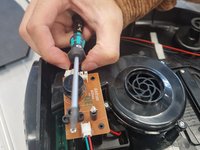
  9. YT-88 Automatic Intelligent Sweeping Robot Full Disassembly, Removing the PCB: crwdns2935265:09crwdnd2935265:01crwdnd2935265:02crwdne2935265:0 YT-88 Automatic Intelligent Sweeping Robot Full Disassembly, Removing the PCB: crwdns2935265:09crwdnd2935265:02crwdnd2935265:02crwdne2935265:0
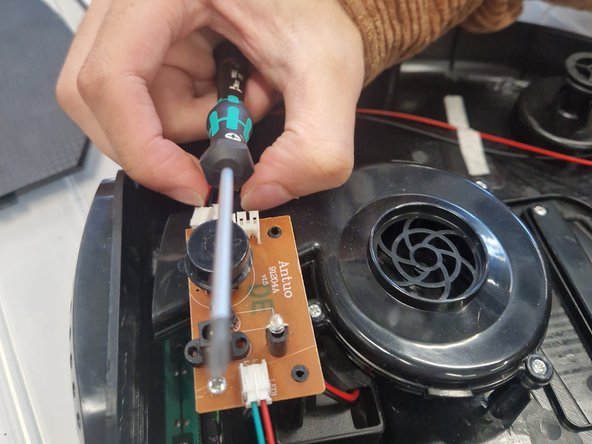
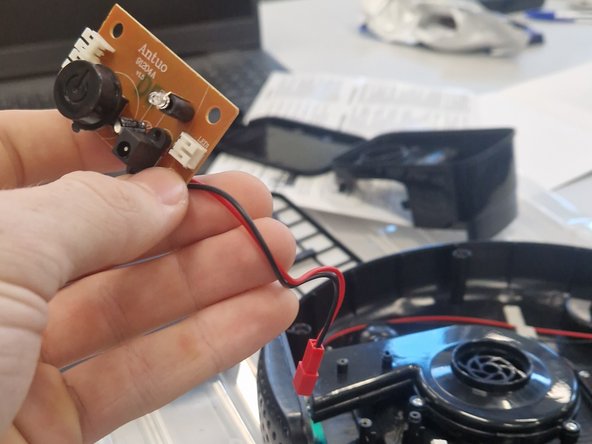
    • With the PCB now disconnected from the components, the PCB can be removed with a Phillips #1 driver. Put this carefully to one side.

    • Keep in mind the battery connecter needs to be fed through the battery compartment as it is soldered to the board.

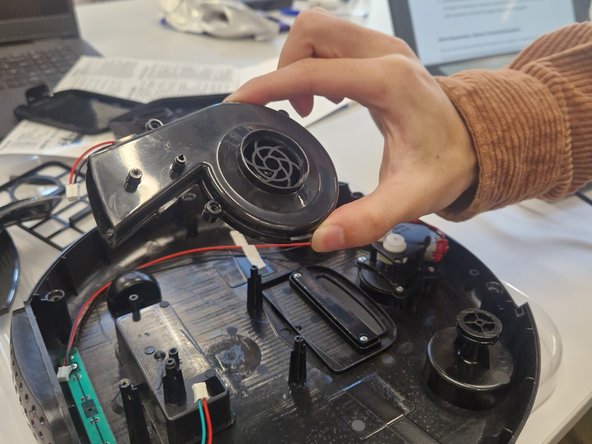
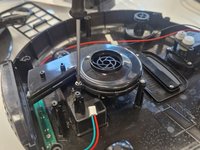
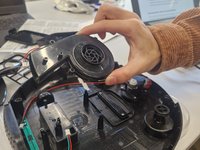
  10. YT-88 Automatic Intelligent Sweeping Robot Full Disassembly, Removing the Impeller Assembly: crwdns2935265:010crwdnd2935265:01crwdnd2935265:02crwdne2935265:0 YT-88 Automatic Intelligent Sweeping Robot Full Disassembly, Removing the Impeller Assembly: crwdns2935265:010crwdnd2935265:02crwdnd2935265:02crwdne2935265:0
    • Using a Phillips #1 driver remove two screws that are holding the impeller assembly to the chassis - you can lift the assembly from the posts.

  11. YT-88 Automatic Intelligent Sweeping Robot Full Disassembly, Removing the loose parts: crwdns2935265:011crwdnd2935265:01crwdnd2935265:02crwdne2935265:0 YT-88 Automatic Intelligent Sweeping Robot Full Disassembly, Removing the loose parts: crwdns2935265:011crwdnd2935265:02crwdnd2935265:02crwdne2935265:0
    • There are two parts that are loose as they used to be held in by the covers being together.

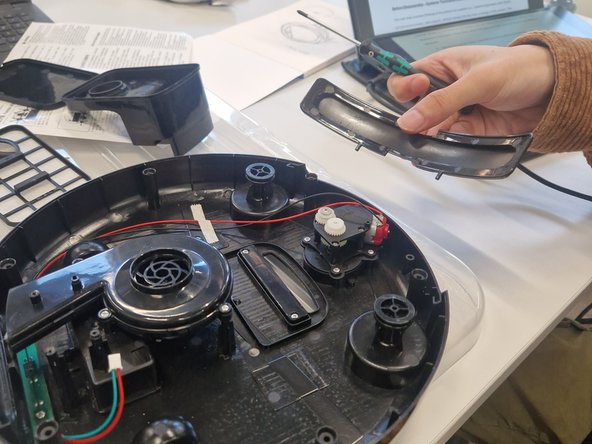
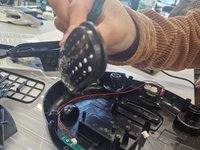
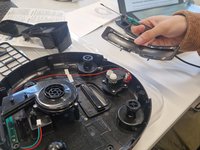
    • The exhaust cover and fake sensor bar can be lifted up and placed aside.

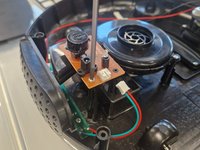
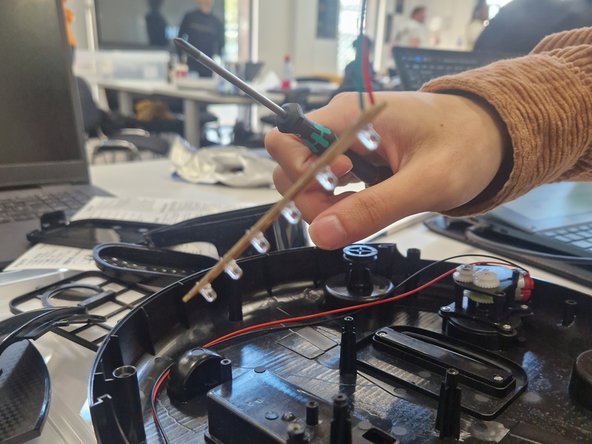
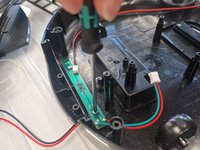
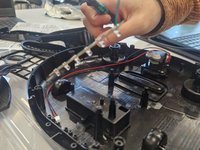
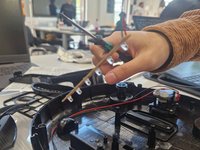
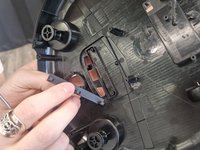
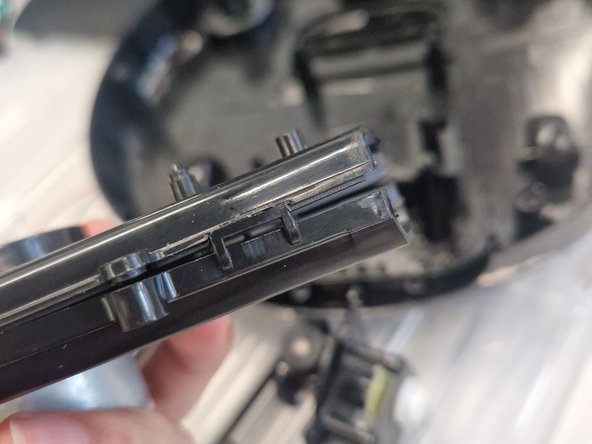
  12. YT-88 Automatic Intelligent Sweeping Robot Full Disassembly, Removing the UV light Bar: crwdns2935265:012crwdnd2935265:01crwdnd2935265:03crwdne2935265:0 YT-88 Automatic Intelligent Sweeping Robot Full Disassembly, Removing the UV light Bar: crwdns2935265:012crwdnd2935265:02crwdnd2935265:03crwdne2935265:0 YT-88 Automatic Intelligent Sweeping Robot Full Disassembly, Removing the UV light Bar: crwdns2935265:012crwdnd2935265:03crwdnd2935265:03crwdne2935265:0
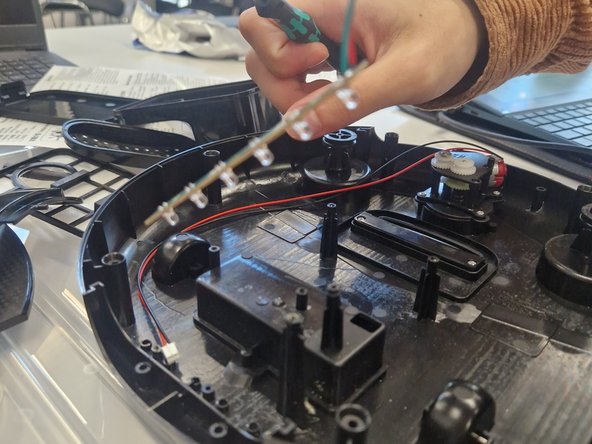
    • Using a Phillips #1 driver remove two screws that are holding the UV light bar in place keep this aside.

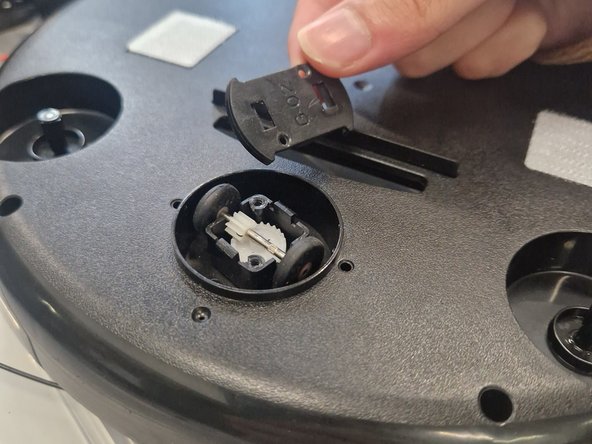
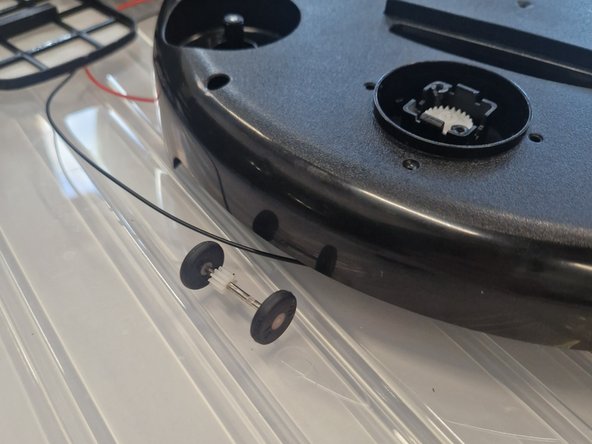
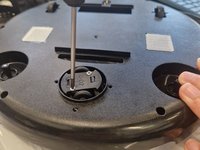
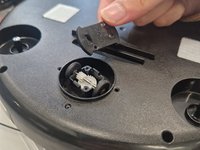
  13. YT-88 Automatic Intelligent Sweeping Robot Full Disassembly, Teardown the driver assembly: crwdns2935265:013crwdnd2935265:01crwdnd2935265:03crwdne2935265:0 YT-88 Automatic Intelligent Sweeping Robot Full Disassembly, Teardown the driver assembly: crwdns2935265:013crwdnd2935265:02crwdnd2935265:03crwdne2935265:0 YT-88 Automatic Intelligent Sweeping Robot Full Disassembly, Teardown the driver assembly: crwdns2935265:013crwdnd2935265:03crwdnd2935265:03crwdne2935265:0
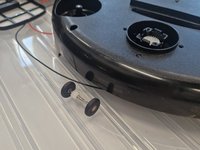
    • Using a Phillips #1 driver remove two screws holding the latched cover in place which will reveal the wheels attached to a shaft. You will need to use some tweezers or a flat head driver to carefully release the clips.

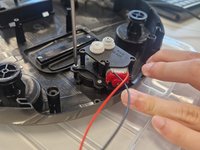
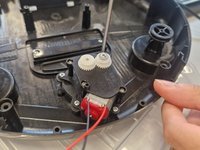
  14. YT-88 Automatic Intelligent Sweeping Robot Full Disassembly, Removing the driving assembly: crwdns2935265:014crwdnd2935265:01crwdnd2935265:03crwdne2935265:0 YT-88 Automatic Intelligent Sweeping Robot Full Disassembly, Removing the driving assembly: crwdns2935265:014crwdnd2935265:02crwdnd2935265:03crwdne2935265:0 YT-88 Automatic Intelligent Sweeping Robot Full Disassembly, Removing the driving assembly: crwdns2935265:014crwdnd2935265:03crwdnd2935265:03crwdne2935265:0
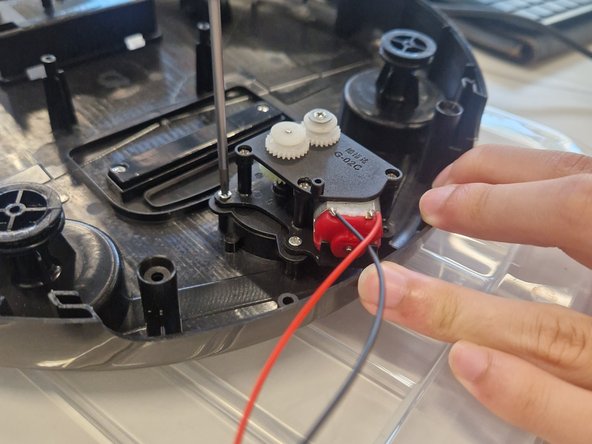
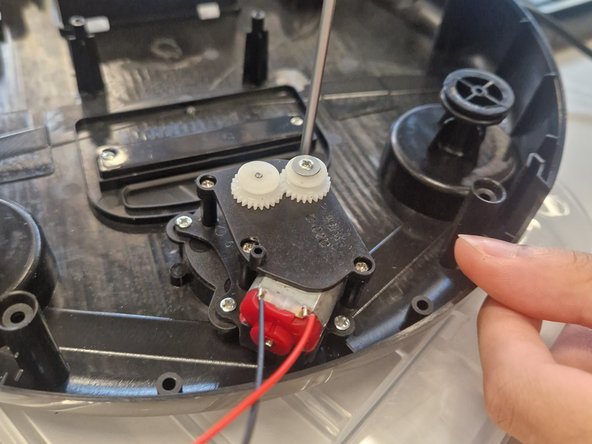
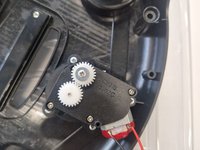
    • Using a Phillips #1 driver remove 4 screws holding the driver motor assembly in place - lift this up and keep it aside.

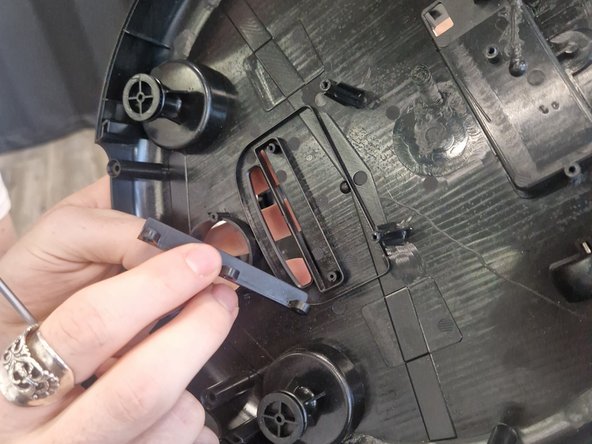
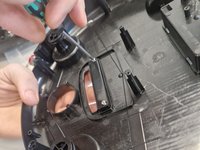
  15. YT-88 Automatic Intelligent Sweeping Robot Full Disassembly, Removing the rubber seal: crwdns2935265:015crwdnd2935265:01crwdnd2935265:02crwdne2935265:0 YT-88 Automatic Intelligent Sweeping Robot Full Disassembly, Removing the rubber seal: crwdns2935265:015crwdnd2935265:02crwdnd2935265:02crwdne2935265:0
    • Using a Phillips #1 driver, remove two screws securing the rubber seal that creates a tight seal with the floor for the suction. This can be easily removed from it's location.

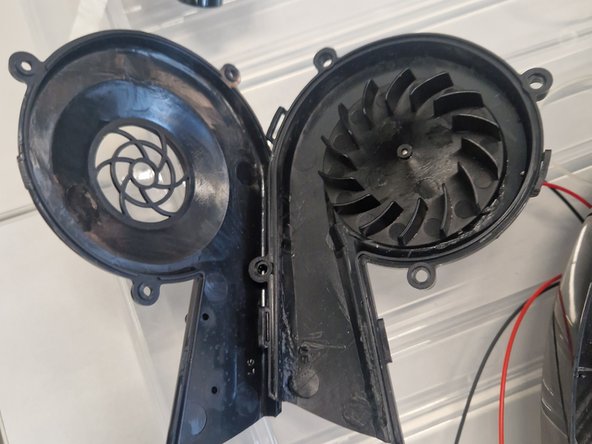
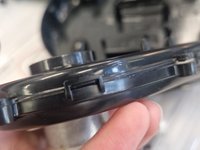
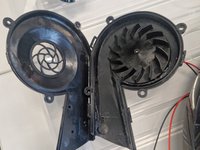
  16. YT-88 Automatic Intelligent Sweeping Robot Full Disassembly, Tearing down the Impeller: crwdns2935265:016crwdnd2935265:01crwdnd2935265:03crwdne2935265:0 YT-88 Automatic Intelligent Sweeping Robot Full Disassembly, Tearing down the Impeller: crwdns2935265:016crwdnd2935265:02crwdnd2935265:03crwdne2935265:0 YT-88 Automatic Intelligent Sweeping Robot Full Disassembly, Tearing down the Impeller: crwdns2935265:016crwdnd2935265:03crwdnd2935265:03crwdne2935265:0
    • The Impeller assembly can be teared down even further for access such as maintenance or cleaning.

    • There are a few plastic clips that need to be carefully unlatched - use a flat head driver or a shim to do this. Take extra caution as some clips might be brittle and will snap with excessive force.

crwdns2915888:0crwdne2915888:0

To reassemble your device, follow these instructions in reverse order.

crwdns2935227:0crwdne2935227:0

Frankie Pang

crwdns2935283:010/24/24crwdne2935283:0

253 crwdns2915208:0crwdne2915208:0

crwdns2935295:0crwdne2935295:0

crwdns2947412:00crwdne2947412:0

crwdns2917038:0crwdne2917038:0

crwdns2936625:0crwdne2936625:0:

crwdns2936751:024crwdne2936751:0 0

crwdns2936753:07crwdne2936753:0 0

crwdns2936753:030crwdne2936753:0 10

crwdns2942667:0crwdne2942667:0 107