crwdns2915892:0crwdne2915892:0
This guide will show you how to disassemble and replace the switch used by the left or right click found on the Xtreme Gaming XG-700 gaming mouse. Soldering is involved in this guide, so if you need to, look over the soldering guide for review or if you're not familiar with soldering.
While following the guide, be careful handling components as they are very delicate and can result in further damage if handled roughly.
crwdns2942213:0crwdne2942213:0
-
-
Flip the mouse over and peel off the two feet at the bottom of the mouse.
-
Using a Phillips #000 screwdriver, remove the two 5.6 mm screws.
-
-
-
Carefully separate the base of the mouse from the top case as there are ribbon connectors holding the two pieces together.
-
-
-
-
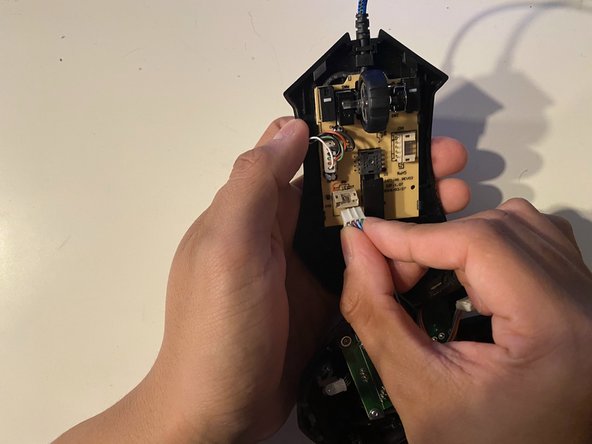
Carefully remove the two cables from their connection point.
-
-
-
Using a small plastic spudger, release the four clips from each corner of the board.
-
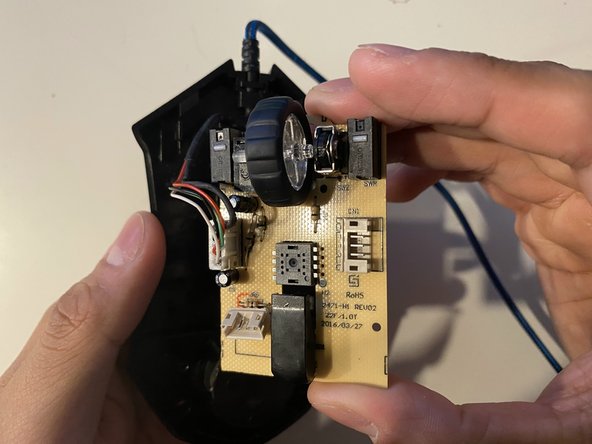
Gently remove the board out of the case.
-
-
-
Carefully disconnect the ribbon cable from the board.
-
Set aside the case.
-
-
-
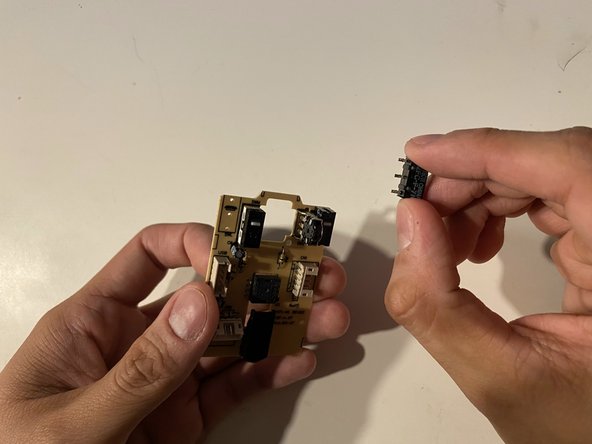
Flip the motherboard over, and using a soldering iron, desolder the three switch prongs on each side of the switch.
-
Remove the broken switch.
-


To reassemble your device, follow these instructions in reverse order.
To reassemble your device, follow these instructions in reverse order.
crwdns2935221:0crwdne2935221:0
crwdns2935227:0crwdne2935227:0

crwdns2915084:0crwdne2915084:0

York University, Team M-18, Allen Summer 2022 crwdns2935289:0York University, Team M-18, Allen Summer 2022crwdne2935289:0
YORK-ALLEN-SU22SMG18
crwdns2934841:01crwdne2934841:0
crwdns2935297:03crwdne2935297:0