crwdns2933423:0crwdne2933423:0

crwdns2942213:0crwdne2942213:0

  1. crwdns2935201:0crwdne2935201:0 crwdns2935203:0crwdne2935203:0

    : crwdns2935265:01crwdnd2935265:01crwdnd2935265:03crwdne2935265:0 : crwdns2935265:01crwdnd2935265:02crwdnd2935265:03crwdne2935265:0 : crwdns2935265:01crwdnd2935265:03crwdnd2935265:03crwdne2935265:0
    • Insert a SIM card eject tool, a SIM eject bit, or a straightened paper clip into the hole on the SIM card tray located on the left edge of the phone.

    • Be careful not to insert the eject tool into the opening of the microphone next to the USB-C port.

    • Press directly into the hole to eject the SIM card tray.

    • Remove the SIM card tray.

  2. crwdns2935201:0crwdne2935201:0 crwdns2935203:0crwdne2935203:0

    : crwdns2935265:02crwdnd2935265:01crwdnd2935265:01crwdne2935265:0
    • Prepare an iOpener and apply it to the rear glass for at least two minutes to loosen the adhesive underneath.

    • A hair dryer, heat gun, or hot plate may also be used, but be careful not to overheat the phone—the display and internal battery are both susceptible to heat damage.

    ما اسم اللاصق المستخدم

    Mohammad Alrashdan - crwdns2934203:0crwdne2934203:0

  3. crwdns2935201:0crwdne2935201:0 crwdns2935203:0crwdne2935203:0

    : crwdns2935265:03crwdnd2935265:01crwdnd2935265:03crwdne2935265:0 : crwdns2935265:03crwdnd2935265:02crwdnd2935265:03crwdne2935265:0 : crwdns2935265:03crwdnd2935265:03crwdnd2935265:03crwdne2935265:0
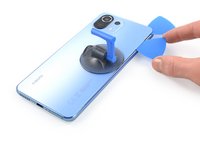
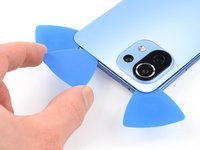
    • Secure a suction handle to the right edge of the rear glass, as close to the edge as possible.

    • If the rear glass is cracked, the suction handle may not stick. Try lifting it with strong tape, or superglue the suction handle in place and allow it to cure so you can proceed.

    • Lift the rear glass with the suction handle to create a small gap between the rear glass and the frame.

    • If you have trouble creating a gap, apply more heat to further soften the adhesive. Follow the iOpener instructions to avoid overheating.

    • Insert an opening pick into the gap you created.

    • Slide the opening pick to the top right corner to slice the adhesive.

    • Leave the opening pick in place to prevent the adhesive from resealing.

  4. crwdns2935201:0crwdne2935201:0 crwdns2935203:0crwdne2935203:0

    : crwdns2935265:04crwdnd2935265:01crwdnd2935265:03crwdne2935265:0 : crwdns2935265:04crwdnd2935265:02crwdnd2935265:03crwdne2935265:0 : crwdns2935265:04crwdnd2935265:03crwdnd2935265:03crwdne2935265:0
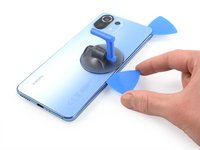
    • Insert a second opening pick underneath the top right corner of your phone.

    • Slide the opening pick along the right edge to slice the adhesive.

    • Leave the opening pick in the bottom right corner to prevent the adhesive from resealing.

  5. crwdns2935201:0crwdne2935201:0 crwdns2935203:0crwdne2935203:0

    : crwdns2935265:05crwdnd2935265:01crwdnd2935265:03crwdne2935265:0 : crwdns2935265:05crwdnd2935265:02crwdnd2935265:03crwdne2935265:0 : crwdns2935265:05crwdnd2935265:03crwdnd2935265:03crwdne2935265:0
    • If the adhesive becomes hard to cut, it has most likely cooled down. Use your iOpener for one to two minutes to reheat it.

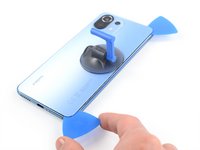
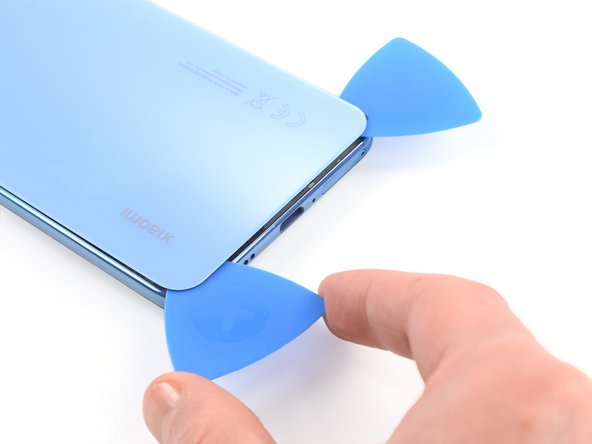
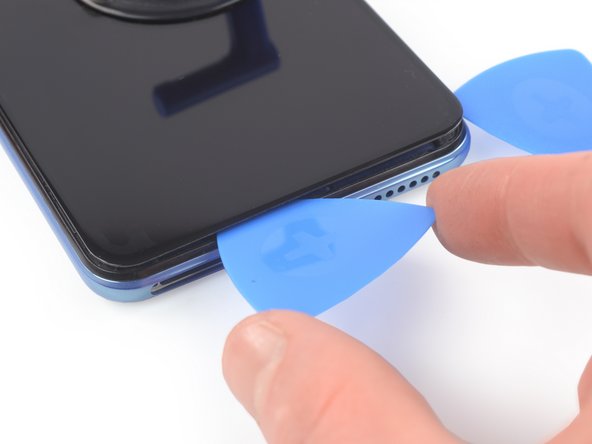
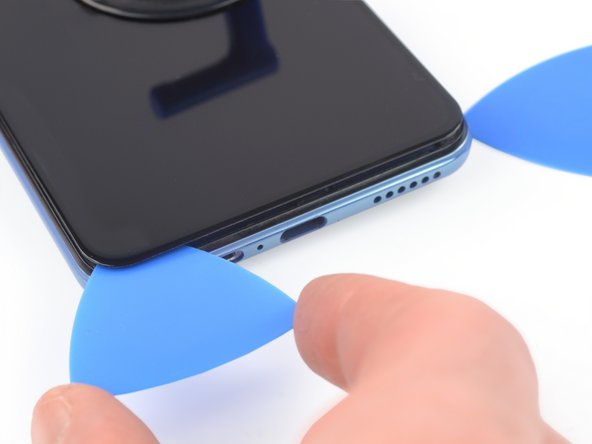
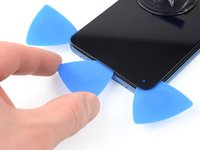
    • Insert a third opening pick at the bottom right corner of your phone.

    • Slide the opening pick along the bottom edge to slice the adhesive.

    • Leave the opening pick in the bottom left corner to prevent the adhesive from resealing.

  6. crwdns2935201:0crwdne2935201:0 crwdns2935203:0crwdne2935203:0

    : crwdns2935265:06crwdnd2935265:01crwdnd2935265:03crwdne2935265:0 : crwdns2935265:06crwdnd2935265:02crwdnd2935265:03crwdne2935265:0 : crwdns2935265:06crwdnd2935265:03crwdnd2935265:03crwdne2935265:0
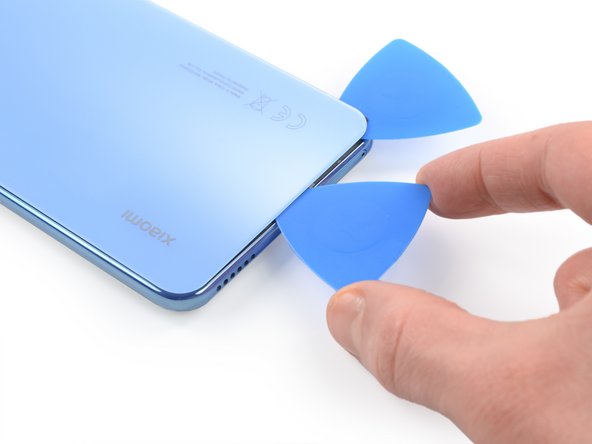
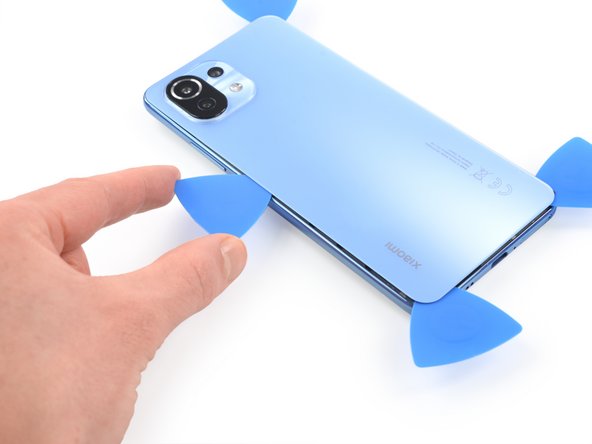
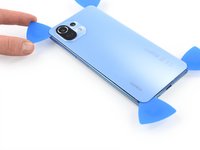
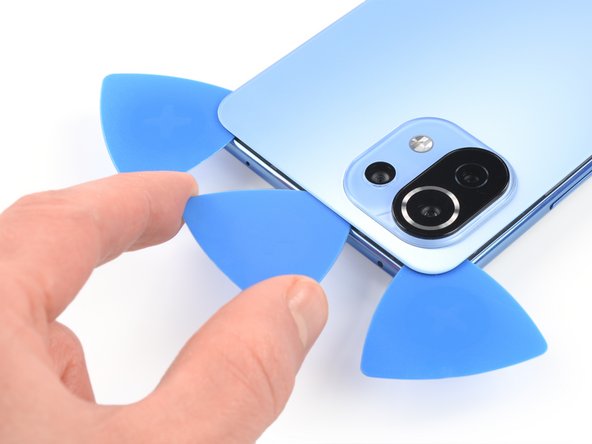
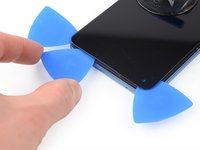
    • Insert a fourth opening pick underneath the bottom left corner of your phone.

    • Slide the opening pick along the left edge to slice the adhesive.

    • Leave the opening pick in the top left corner to prevent the adhesive from resealing.

  7. crwdns2935201:0crwdne2935201:0 crwdns2935203:0crwdne2935203:0

    : crwdns2935265:07crwdnd2935265:01crwdnd2935265:03crwdne2935265:0 : crwdns2935265:07crwdnd2935265:02crwdnd2935265:03crwdne2935265:0 : crwdns2935265:07crwdnd2935265:03crwdnd2935265:03crwdne2935265:0
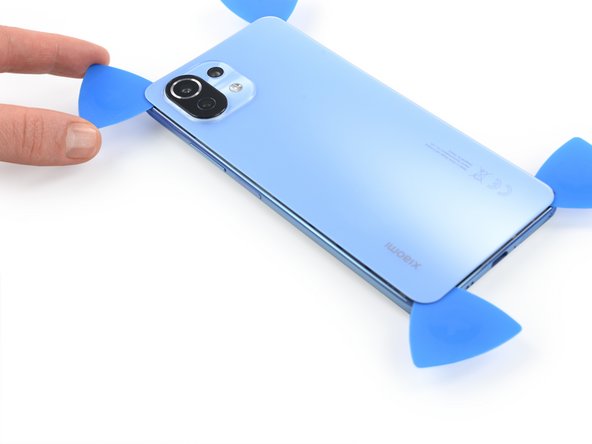
    • Insert a fifth opening pick underneath the top left corner.

    • Slide the opening pick along the top edge of the rear glass to slice the remaining adhesive.

  8. crwdns2935201:0crwdne2935201:0 crwdns2935203:0crwdne2935203:0

    : crwdns2935265:08crwdnd2935265:01crwdnd2935265:01crwdne2935265:0
    • Remove the rear glass.

    • Secure the new rear glass with pre-cut adhesive or double-sided adhesive tape. After installing the rear glass, apply strong, steady pressure to your phone for several minutes to help the adhesive form a good bond—a stack of heavy books works well.

  9. crwdns2935201:0crwdne2935201:0 crwdns2935203:0crwdne2935203:0

    : crwdns2935265:09crwdnd2935265:01crwdnd2935265:01crwdne2935265:0
    • Use a Phillips screwdriver to remove the eleven 3.4 mm-long screws securing the motherboard cover.

  10. crwdns2935201:0crwdne2935201:0 crwdns2935203:0crwdne2935203:0

    : crwdns2935265:010crwdnd2935265:01crwdnd2935265:03crwdne2935265:0 : crwdns2935265:010crwdnd2935265:02crwdnd2935265:03crwdne2935265:0 : crwdns2935265:010crwdnd2935265:03crwdnd2935265:03crwdne2935265:0
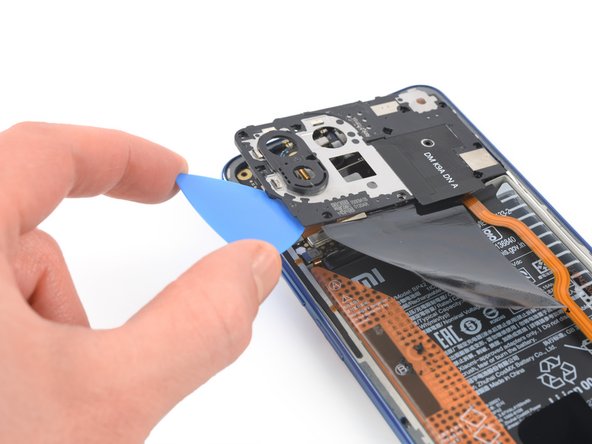
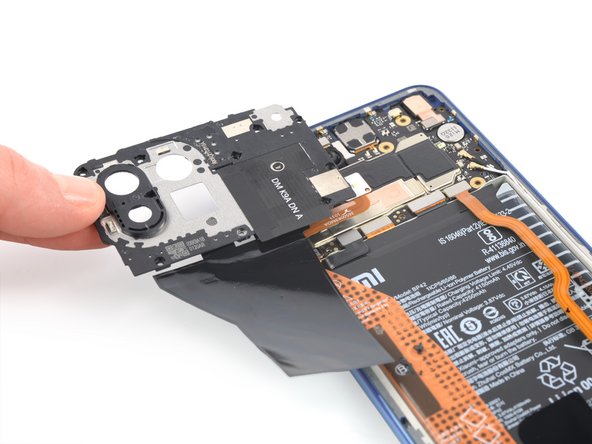
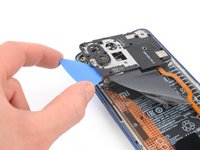
    • Insert the tip of an opening pick underneath the left edge of the motherboard cover.

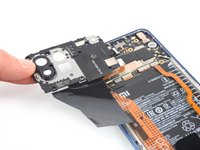
    • Use the opening pick to pry up the motherboard cover.

    • Remove the motherboard cover.

  11. crwdns2935201:0crwdne2935201:0 crwdns2935203:0crwdne2935203:0

    : crwdns2935265:011crwdnd2935265:01crwdnd2935265:02crwdne2935265:0 : crwdns2935265:011crwdnd2935265:02crwdnd2935265:02crwdne2935265:0
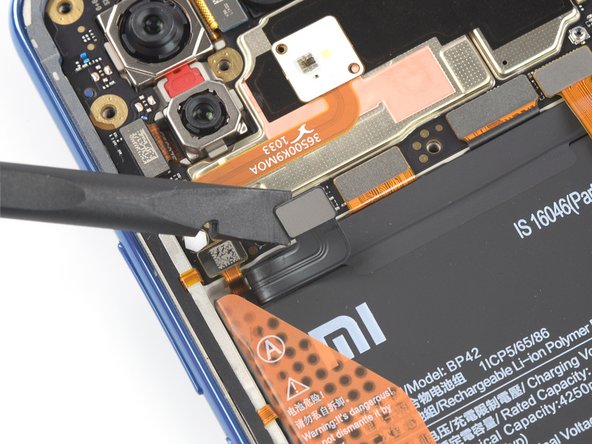
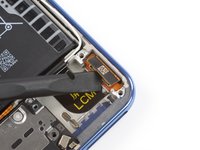
    • Use a spudger to disconnect the battery cable by prying the connector straight up from its socket.

  12. crwdns2935201:0crwdne2935201:0 crwdns2935203:0crwdne2935203:0

    : crwdns2935265:012crwdnd2935265:01crwdnd2935265:02crwdne2935265:0 : crwdns2935265:012crwdnd2935265:02crwdnd2935265:02crwdne2935265:0
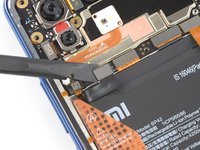
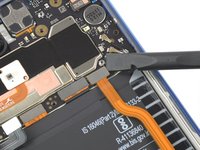
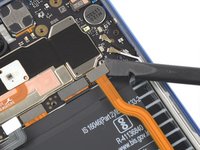
    • Use the flat end of a spudger to disconnect the SIM card tray cable from the motherboard.

  13. crwdns2935201:0crwdne2935201:0 crwdns2935203:0crwdne2935203:0

    : crwdns2935265:013crwdnd2935265:01crwdnd2935265:01crwdne2935265:0
    • Use a Phillips screwdriver to remove the four screws securing the SIM card tray in the midframe:

    • Three 3.5 mm screws

    • One 3.0 mm screw

  14. crwdns2935201:0crwdne2935201:0 crwdns2935203:0crwdne2935203:0

    : crwdns2935265:014crwdnd2935265:01crwdnd2935265:02crwdne2935265:0 : crwdns2935265:014crwdnd2935265:02crwdnd2935265:02crwdne2935265:0
    crwdns2935267:0crwdne2935267:0
    Tweezers
    $4.99
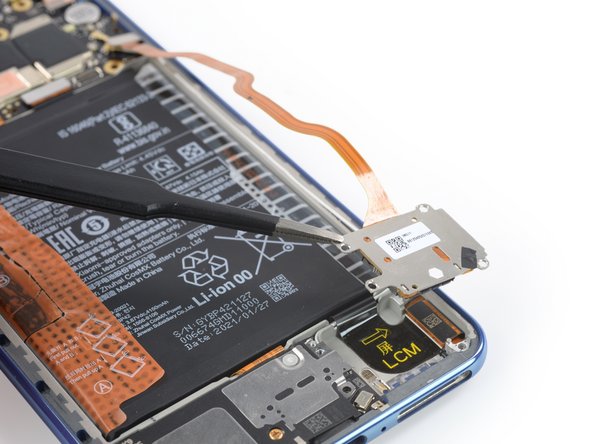
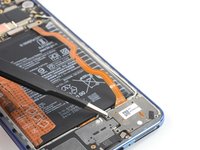
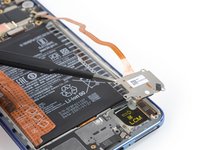
    • Use a pair of blunt nose tweezers to remove the SIM card tray from the phone assembly.

  15. crwdns2935201:0crwdne2935201:0 crwdns2935203:0crwdne2935203:0

    : crwdns2935265:015crwdnd2935265:01crwdnd2935265:02crwdne2935265:0 : crwdns2935265:015crwdnd2935265:02crwdnd2935265:02crwdne2935265:0
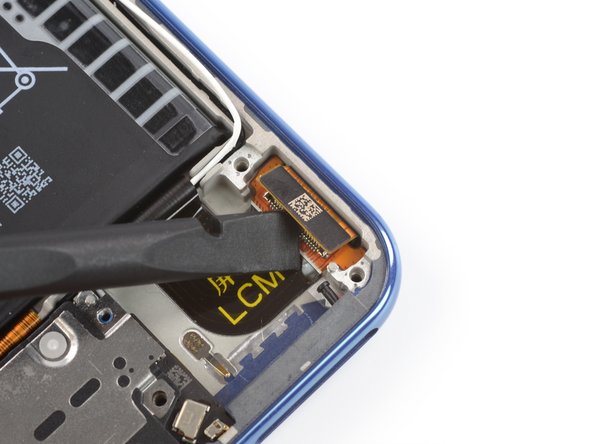
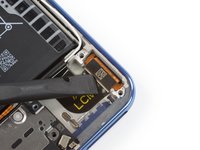
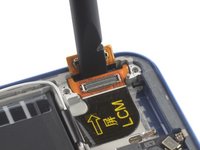
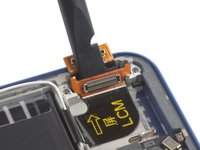
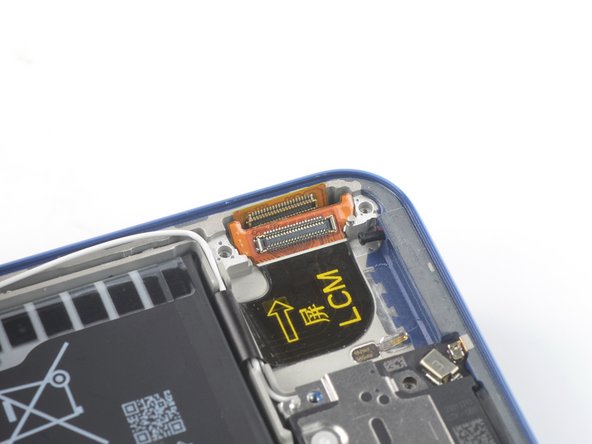
    • Use a spudger to disconnect the display flex cable by prying the connector straight up from its socket.

  16. crwdns2935201:0crwdne2935201:0 crwdns2935203:0crwdne2935203:0

    : crwdns2935265:016crwdnd2935265:01crwdnd2935265:01crwdne2935265:0
    • Apply a heated iOpener or a heat gun to the screen for two minutes to loosen the adhesive underneath.

  17. crwdns2935201:0crwdne2935201:0 crwdns2935203:0crwdne2935203:0

    : crwdns2935265:017crwdnd2935265:01crwdnd2935265:02crwdne2935265:0 : crwdns2935265:017crwdnd2935265:02crwdnd2935265:02crwdne2935265:0
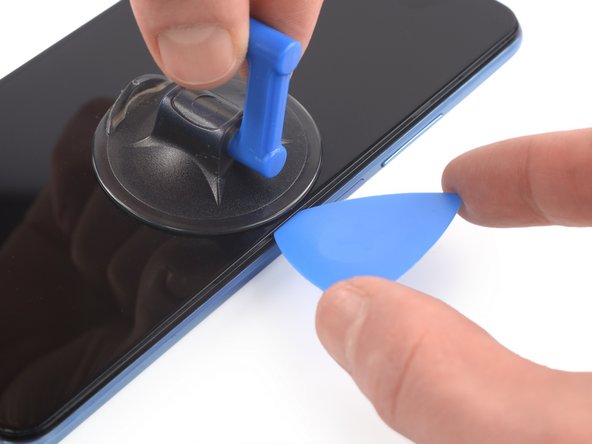
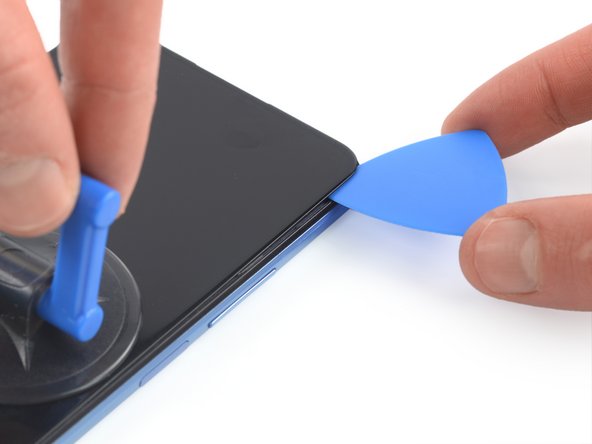
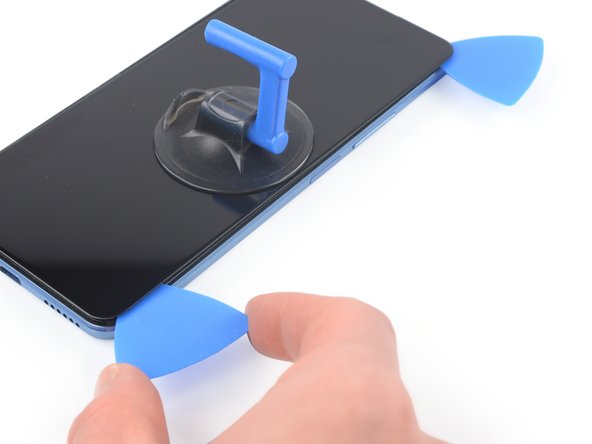
    • Once the screen is warm to the touch, apply a suction cup to the right edge of the phone.

    • If your screen is badly cracked, covering it with a layer of clear packing tape may allow the suction cup to adhere. Alternatively, very strong tape may be used instead of the suction cup. If all else fails, you can superglue the suction cup to the screen.

    • Lift the screen with the suction handle to create a small gap between the screen and the frame.

    • Insert an opening pick into the gap between the midframe and the screen.

  18. crwdns2935201:0crwdne2935201:0 crwdns2935203:0crwdne2935203:0

    : crwdns2935265:018crwdnd2935265:01crwdnd2935265:02crwdne2935265:0 : crwdns2935265:018crwdnd2935265:02crwdnd2935265:02crwdne2935265:0
    • Slide the opening pick to the top right corner of the screen to slice its adhesive.

    • Leave the opening pick in place to prevent the adhesive from resealing.

  19. crwdns2935201:0crwdne2935201:0 crwdns2935203:0crwdne2935203:0

    : crwdns2935265:019crwdnd2935265:01crwdnd2935265:03crwdne2935265:0 : crwdns2935265:019crwdnd2935265:02crwdnd2935265:03crwdne2935265:0 : crwdns2935265:019crwdnd2935265:03crwdnd2935265:03crwdne2935265:0
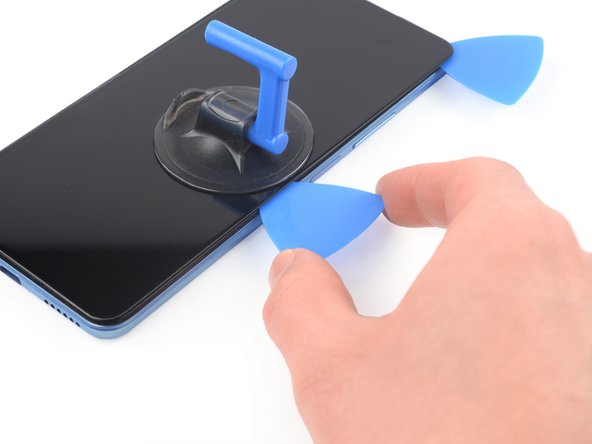
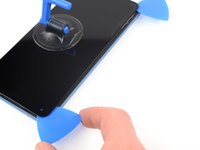
    • Insert a second opening pick underneath the top right corner.

    • Slide the opening pick to the bottom right corner of the screen to cut the adhesive.

    • Leave the opening picks in place to prevent the adhesive from resealing.

  20. crwdns2935201:0crwdne2935201:0 crwdns2935203:0crwdne2935203:0

    : crwdns2935265:020crwdnd2935265:01crwdnd2935265:03crwdne2935265:0 : crwdns2935265:020crwdnd2935265:02crwdnd2935265:03crwdne2935265:0 : crwdns2935265:020crwdnd2935265:03crwdnd2935265:03crwdne2935265:0
    • If the adhesive becomes hard to cut, it has most likely cooled down. Use your iOpener or heat gun for 1-2 minutes to reheat it.

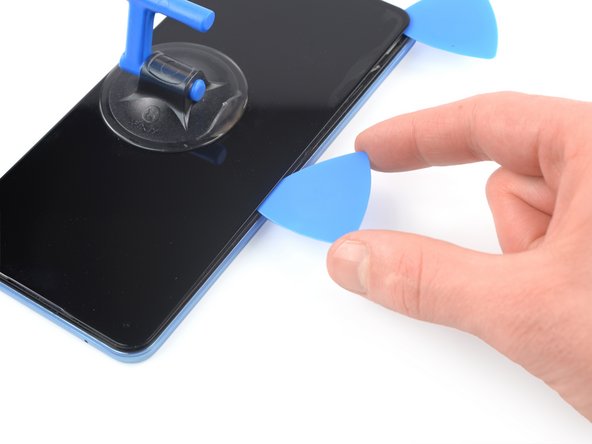
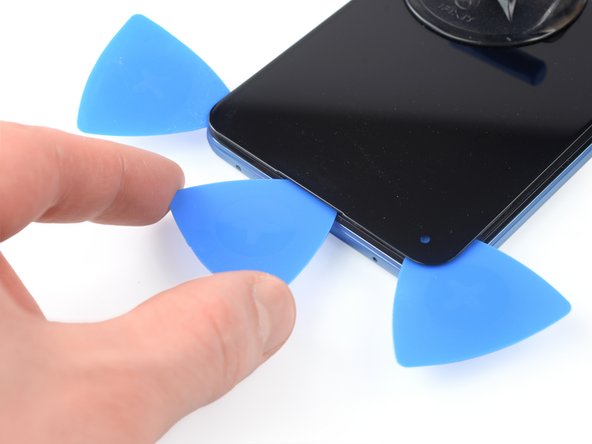
    • Insert a third opening pick underneath the bottom right corner of the screen.

    • Slide the opening pick along the bottom edge of the screen to slice the adhesive.

    • Leave the opening pick in the bottom left corner to prevent the adhesive from resealing.

  21. crwdns2935201:0crwdne2935201:0 crwdns2935203:0crwdne2935203:0

    : crwdns2935265:021crwdnd2935265:01crwdnd2935265:03crwdne2935265:0 : crwdns2935265:021crwdnd2935265:02crwdnd2935265:03crwdne2935265:0 : crwdns2935265:021crwdnd2935265:03crwdnd2935265:03crwdne2935265:0
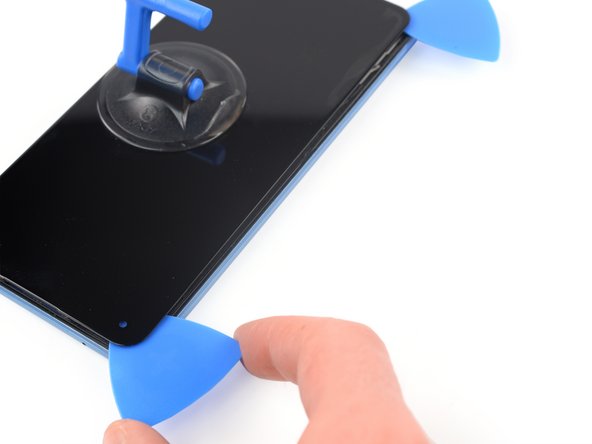
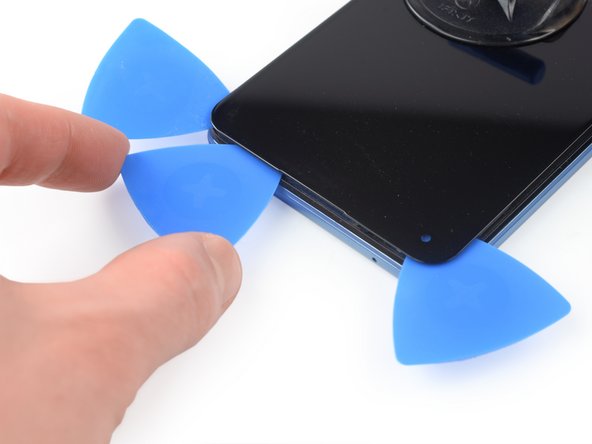
    • Insert a fourth opening pick at the bottom left corner of the screen.

    • Slide the opening pick along the left edge of the phone to slice the adhesive.

    • Leave the opening pick in the top left corner of the screen to prevent the adhesive from resealing.

  22. crwdns2935201:0crwdne2935201:0 crwdns2935203:0crwdne2935203:0

    : crwdns2935265:022crwdnd2935265:01crwdnd2935265:03crwdne2935265:0 : crwdns2935265:022crwdnd2935265:02crwdnd2935265:03crwdne2935265:0 : crwdns2935265:022crwdnd2935265:03crwdnd2935265:03crwdne2935265:0
    • Insert a fifth opening pick underneath the top left corner.

    • Slide the opening pick along the top edge of the phone to slice the remaining adhesive.

    • Do not try to remove the display all the way yet, the display cable is still threaded through the frame.

  23. crwdns2935201:0crwdne2935201:0 crwdns2935203:0crwdne2935203:0

    : crwdns2935265:023crwdnd2935265:01crwdnd2935265:02crwdne2935265:0 : crwdns2935265:023crwdnd2935265:02crwdnd2935265:02crwdne2935265:0
    • Use the flat end of a spudger to carefully pry up the display connector from the midframe.

  24. crwdns2935201:0crwdne2935201:0 crwdns2935203:0crwdne2935203:0

    : crwdns2935265:024crwdnd2935265:01crwdnd2935265:03crwdne2935265:0 : crwdns2935265:024crwdnd2935265:02crwdnd2935265:03crwdne2935265:0 : crwdns2935265:024crwdnd2935265:03crwdnd2935265:03crwdne2935265:0
    • Thread the display flex cable through the gap in the midframe.

  25. crwdns2935201:0crwdne2935201:0 crwdns2935203:0crwdne2935203:0

    : crwdns2935265:025crwdnd2935265:01crwdnd2935265:01crwdne2935265:0
    • Remove the screen.

    • Apply new adhesive where it's necessary after cleaning the relevant areas with isopropyl alcohol (>90%).

    • During reassembly, follow this guide if you're using a pre-cut adhesive card.

crwdns2935217:0crwdne2935217:0

crwdns2935229:07crwdne2935229:0

Adriana Zwink

crwdns2935283:012/18/19crwdne2935283:0

57,053 crwdns2915208:0crwdne2915208:0

crwdns2935297:0167crwdne2935297:0

crwdns2915084:0crwdne2915084:0

iFixit crwdns2935289:0iFixitcrwdne2935289:0

Staff

crwdns2931471:0121crwdne2931471:0

crwdns2935297:019,996crwdne2935297:0

crwdns2947412:03crwdne2947412:0

Beim Kauf eines neue Displays unbedingt darauf achten, welche Modellnummer ihr habt! Hier gibt es augenscheinlich unzählige verschiedene Varianten!
Habe mein Display bei ALIExpress gekauft und gut die Hälfte gegenüber dem deutschen Verkauf (wo mein benötigtes Modell zudem gar nicht verfügbar war) gespart!
Hier gäbe es das Display mit Modellnummer 2109119DG 2107119DC 2109119DI: KLICK

EnRico - crwdns2934203:0crwdne2934203:0

never seen this type of clean disassembly anywhere. good job ifixit

Sajid - crwdns2934203:0crwdne2934203:0

crwdns2917038:0crwdne2917038:0

crwdns2936625:0crwdne2936625:0:

crwdns2936751:024crwdne2936751:0 3

crwdns2936753:07crwdne2936753:0 39

crwdns2936753:030crwdne2936753:0 159

crwdns2942667:0crwdne2942667:0 8,555