crwdns2915892:0crwdne2915892:0
For problems pertaining to poor sound quality, please read this guide. This guide is for replacing the headphone jack on the Xgody D300. You’ll need to know how to use a soldering iron to fully remove the headphone jack from the device. Please follow the steps carefully. By the end, your phone should be working as it normally should.
For more information on soldering, please read through the How to Solder and Desolder Connections guide.
crwdns2942213:0crwdne2942213:0
-
-
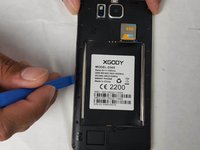
Lay the phone on a flat surface so the back is facing upwards.
-
-
-
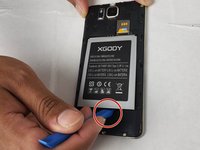
Insert the pry tool into the seam and pry the back cover of the case along the seam until the cover is free of the case.
-
-
-
-
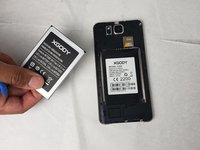
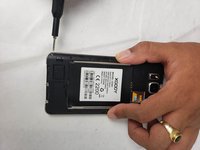
Remove the battery using your hands or the plastic opening tool.
-
-
crwdns2935267:0crwdne2935267:0Tweezers$4.99
-
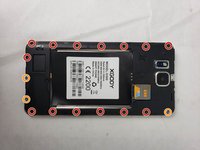
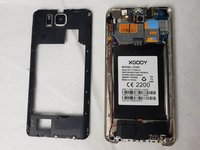
Use the Phillips #00 screwdriver to remove fourteen 3mm screws and one 6mm screw.
-
Use the Phillips #00 screwdriver to loosen three captive screws.
-
Lift the housing along the edges using the opening tool and tweezers. There will be a sticky pad that holds the housing to the smartphone.
-
-
crwdns2935267:0crwdne2935267:0Desoldering Pump$3.99
-
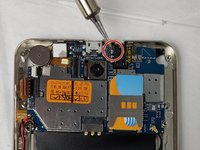
Use the soldering iron and desoldering pump to remove the six soldered connections that are holding the headphone jack to the motherboard.
-
-
-
After the connections have been desoldered, use the tweezers to remove the headphone jack from the motherboard.
-
Place the new headphone jack where the old one was and solder the connections back to together.
-


To reassemble your device, follow these instructions in reverse order.
To reassemble your device, follow these instructions in reverse order.
crwdns2915084:0crwdne2915084:0

Embry-Riddle Aeronautical University, Team S24-G5, McClure Fall 2019 crwdns2935289:0Embry-Riddle Aeronautical University, Team S24-G5, McClure Fall 2019crwdne2935289:0
ERAU-MCCLURE-F19S24G5
crwdns2931471:04crwdne2931471:0
crwdns2935297:010crwdne2935297:0