crwdns2933423:0crwdne2933423:0

Xgody D300 Camera Replacement

crwdns2942213:0crwdne2942213:0

  1. Xgody D300 Camera Replacement, Battery: crwdns2935265:01crwdnd2935265:01crwdnd2935265:01crwdne2935265:0
    • Lay the phone on a flat surface so the back is facing upwards.

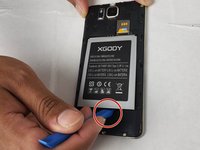
  2. Xgody D300 Camera Replacement: crwdns2935265:02crwdnd2935265:01crwdnd2935265:01crwdne2935265:0
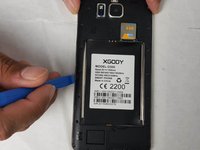
    • Insert the pry tool into the seam and pry the back cover of the case along the seam until the cover is free of the case.

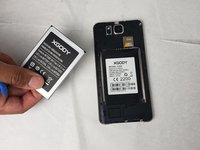
  3. Xgody D300 Camera Replacement: crwdns2935265:03crwdnd2935265:01crwdnd2935265:02crwdne2935265:0 Xgody D300 Camera Replacement: crwdns2935265:03crwdnd2935265:02crwdnd2935265:02crwdne2935265:0
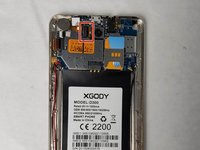
    • Remove the battery using your hands or the plastic opening tool.

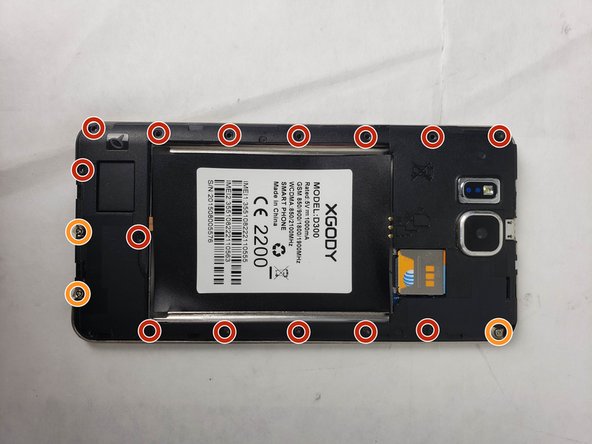
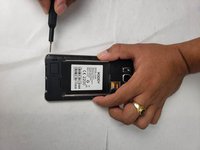
  4. Xgody D300 Camera Replacement, Back-Facing Camera: crwdns2935265:04crwdnd2935265:01crwdnd2935265:02crwdne2935265:0 Xgody D300 Camera Replacement, Back-Facing Camera: crwdns2935265:04crwdnd2935265:02crwdnd2935265:02crwdne2935265:0
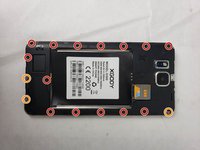
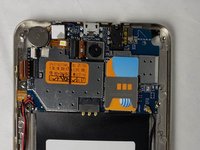
    • Using the Phillips #00 screwdriver, remove the screws that hold the protective housing to the smartphone; there should be 14 screws with a length of 3mm and one screw with a length of 6mm.

    • Three of the screws will not come loose from the protective housing and can be identified by a metal plate that is underneath them. In total there is 18.

  5. Xgody D300 Camera Replacement: crwdns2935265:05crwdnd2935265:01crwdnd2935265:02crwdne2935265:0 Xgody D300 Camera Replacement: crwdns2935265:05crwdnd2935265:02crwdnd2935265:02crwdne2935265:0
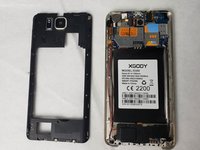
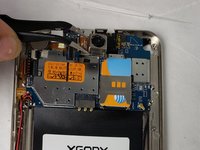
    • Lift the housing along the edges using the opening tool and tweezers.

    • There will be a sticky pad that holds the housing to the smartphone.

  6. Xgody D300 Camera Replacement: crwdns2935265:06crwdnd2935265:01crwdnd2935265:03crwdne2935265:0 Xgody D300 Camera Replacement: crwdns2935265:06crwdnd2935265:02crwdnd2935265:03crwdne2935265:0 Xgody D300 Camera Replacement: crwdns2935265:06crwdnd2935265:03crwdnd2935265:03crwdne2935265:0
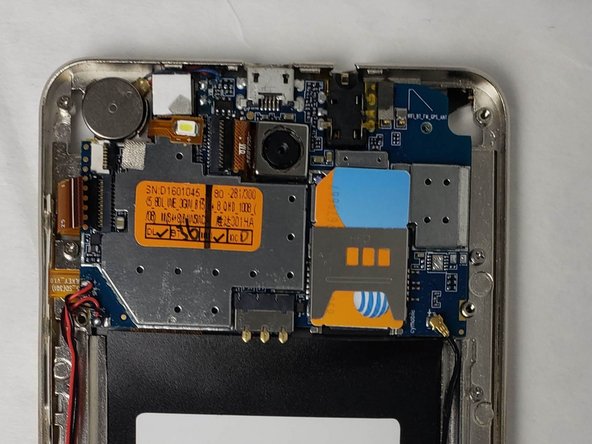
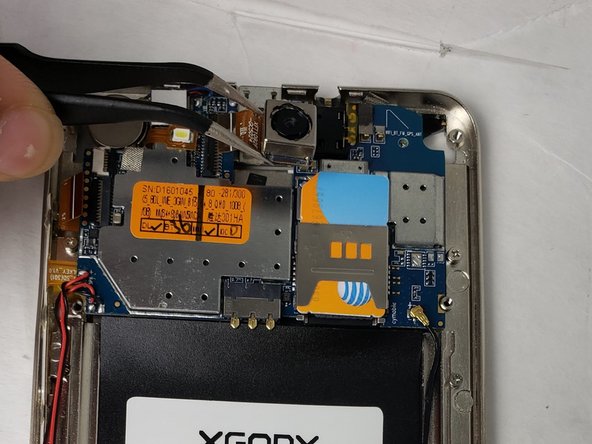
    • Disconnect the camera by grabbing the connector with tweezers and firmly pull on the connector until it pops out.

    • The camera will have a sticky pad on it like the protective housing did and will take a firm tug to come free of the smartphone.

crwdns2915888:0crwdne2915888:0

To reassemble your device, follow these instructions in reverse order.

Kiara Richardson

crwdns2935283:009/16/19crwdne2935283:0

723 crwdns2915208:0crwdne2915208:0

crwdns2935297:05crwdne2935297:0

crwdns2915084:0crwdne2915084:0

Embry-Riddle Aeronautical University, Team S24-G5, McClure Fall 2019 crwdns2935289:0Embry-Riddle Aeronautical University, Team S24-G5, McClure Fall 2019crwdne2935289:0

ERAU-MCCLURE-F19S24G5

crwdns2931471:04crwdne2931471:0

crwdns2935297:010crwdne2935297:0

crwdns2944067:00crwdne2944067:0

crwdns2917038:0crwdne2917038:0

crwdns2936625:0crwdne2936625:0:

crwdns2936751:024crwdne2936751:0 0

crwdns2936753:07crwdne2936753:0 5

crwdns2936753:030crwdne2936753:0 8

crwdns2942667:0crwdne2942667:0 326