crwdns2942213:0crwdne2942213:0
-
-
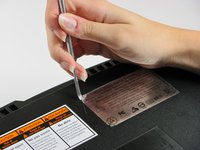
Use a metal spudger to pry off the four rubber feet.
The screw is in the outside corner. If you pry up only the half of the foot on that side, you can easily remove the (very long) screw, and the foot will stay attached.
Ah I always used to damage the feet.
-
-
-
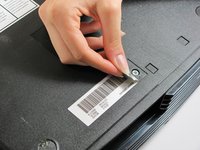
You can either remove the labels or simply feel for the screw holes through the labels and then cut or punch a hole through them.
It is also easy to feel for the screw hole with your finger and then cut a hole, or punch it out with the tip of the Torx driver to reveal the screw.
-
-
-
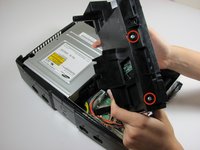
Remove the six T20 Torx screws securing the top cover to the bottom cover.
-
-
-
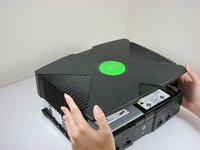
Once the bottom and top shells are no longer attached, carefully turn the Xbox right-side-up, lift and remove the top cover.
-
-
-
-
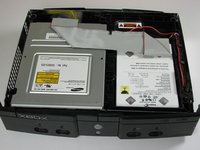
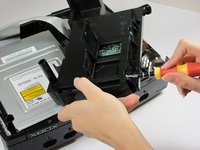
Remove the three 3 mm T10 screws securing the hard drive to the Xbox.
The other two are at the front right and left sides of the DVD DRIVE.
-
-
-
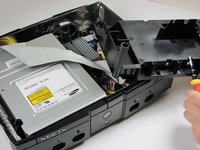
Free the hard drive power cable from the carrier for sufficient slack to lift the hard drive out.
-
Lift the plastic hard drive carrier out of the Xbox case.
-
-
-
Remove the four 3.4 mm T15 Torx screws from the plastic hard drive carrier (two screws per side).
-
Carefully remove the hard drive from the plastic carrier. Gentle rocking will see the hard drive come out quite easily.
-
-
-
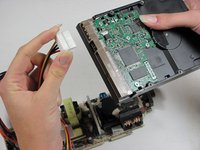
Pull both the hard drive data ribbon cable and the power cable straight up from the hard drive.
Remember that the new drive will only work if it has been properly prepared, and the Xbox has been modified.
there is NO way to legally replace the xbox hard drive. it is LOCKED to the motherboard and the xbox will not boot to the OS or make it past the BIOS if the HDD is not the one that came with it from the factory. you MUST use a mod chip and “home brew” to do a HDD swap and expect it to work
Could you point me to a good tutorial on using a modding an original Xbox? All I want to do is swap an HDD in original Xbox with another original Xbox HDD because I want my saved game data. Any way to figure this out? Seems like modding is a !&&* of a burden.
Can i replace the original hard drive with new one
-
-
-
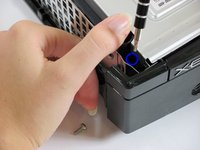
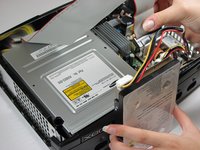
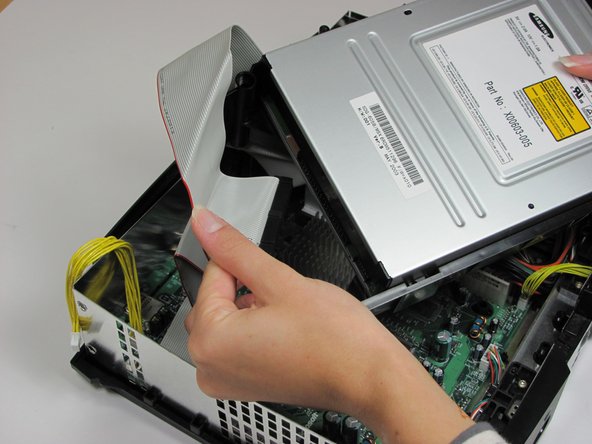
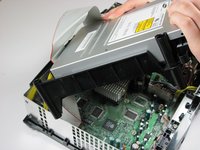
Remove the disk drive. It should come right out.
-
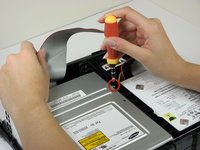
Unplug the ribbon cable and yellow cables from back of disk drive.
-
-
-
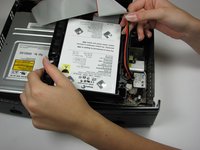
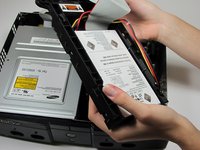
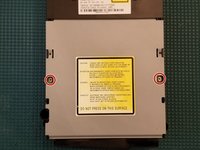
Pry back the black plastic tabs around the disk drive in order to remove it from its housing. Once removed, set the drive aside.
It is ok to remove the drive if it isn't dead. If repairs are required to the drive it needs to be removed from the drive's housing.
Surely this needs to be removed to access the motherboard?
Yes, it does.
Zerobuss -
-
-
-
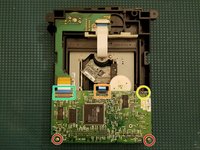
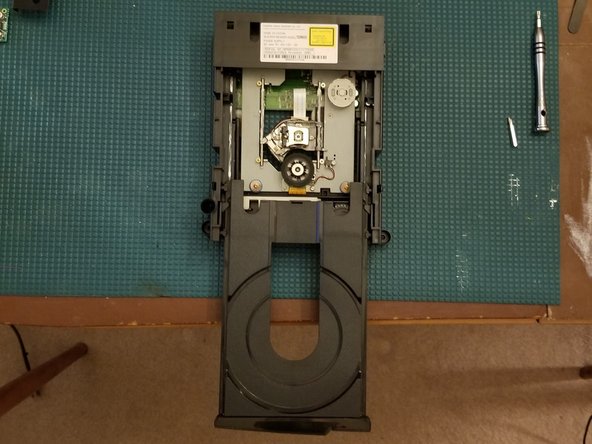
Remove two #1 PH screws
-
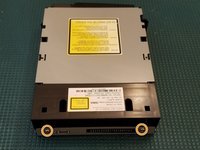
Remove upper metal housing
-
Remove two T10 Screws
-
Remove lower metal housing
-
-
-
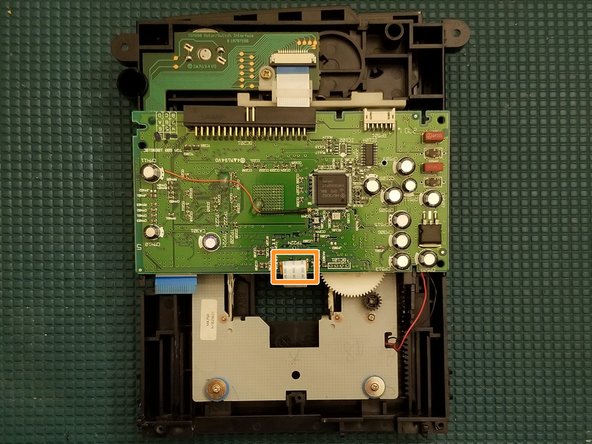
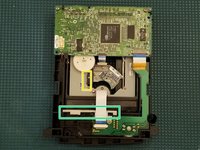
Remove two PH1 screws
-
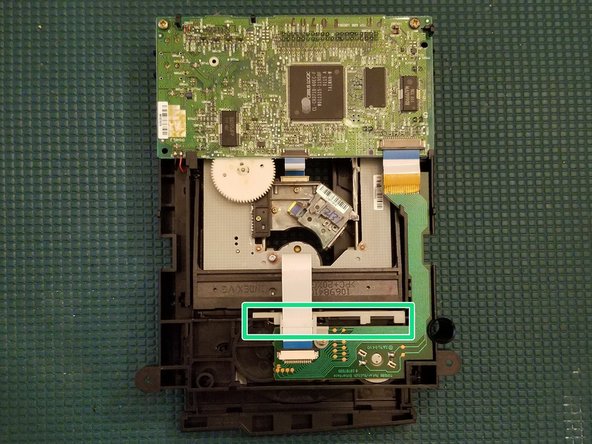
Gently pull up on the ribbon retaining tab. Do NOT pull on ribbon. It will slide itself out in final step
-
Gently pull up on the ribbon retaining tab. Ribbon is attached to underside of PCB via a sticky pad. Gently pull the ribbon away from pad
-
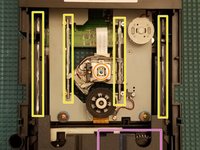
Desolder both points. Red (Left) Black (Right)
-
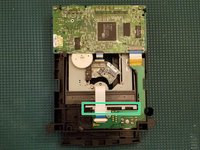
Gently press up on the PCB where you removed the two PH1 screws and rotate the board upside down
-
-
-
With the drive upside down slide the white lever to the right
-
Flip the drive over and slowly pull the door out
-
-
-
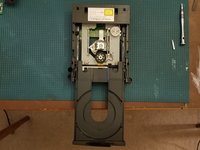
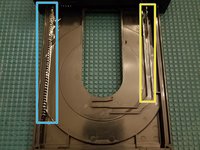
Apply grease to highlighted areas
-
Apply a liberal glob of grease along the tooth track and insert/withdraw the drive door a few times to easily lubricate the gears highlighted pink
-
With a cotton swab, gently clean your laser with 91% or higher isopropyl alcohol
-


To reassemble your device, follow these instructions in reverse order.
To reassemble your device, follow these instructions in reverse order.
crwdns2935221:0crwdne2935221:0
crwdns2935229:02crwdne2935229:0
crwdns2947412:03crwdne2947412:0
What is the plastic disk at the top of the drive above where the dvd sits is called?
can it cause error 12 even if it opens drive? talking 1st gen xbox i also move the laser am not sure if i need to realign the spinning disc or both?
laser did get clean but even with opening drive gets error 12….