crwdns2933423:0crwdne2933423:0

crwdns2935175:0crwdne2935175:0 – crwdns2935177:0crwdne2935177:0

crwdns2942213:0crwdne2942213:0

  1. crwdns2935201:0crwdne2935201:0 crwdns2935203:0crwdne2935203:0

    : crwdns2935265:01crwdnd2935265:01crwdnd2935265:03crwdne2935265:0 : crwdns2935265:01crwdnd2935265:02crwdnd2935265:03crwdne2935265:0 : crwdns2935265:01crwdnd2935265:03crwdnd2935265:03crwdne2935265:0
    • First you need to remove 6 screws using a T 20 screwdriver. Two are hidden in 2 stickers.

  2. crwdns2935201:0crwdne2935201:0 crwdns2935203:0crwdne2935203:0

    : crwdns2935265:02crwdnd2935265:01crwdnd2935265:01crwdne2935265:0
    • Lift the top part of the Xbox. It can be hard.

  3. crwdns2935201:0crwdne2935201:0 crwdns2935203:0crwdne2935203:0

    : crwdns2935265:03crwdnd2935265:01crwdnd2935265:03crwdne2935265:0 : crwdns2935265:03crwdnd2935265:02crwdnd2935265:03crwdne2935265:0 : crwdns2935265:03crwdnd2935265:03crwdnd2935265:03crwdne2935265:0
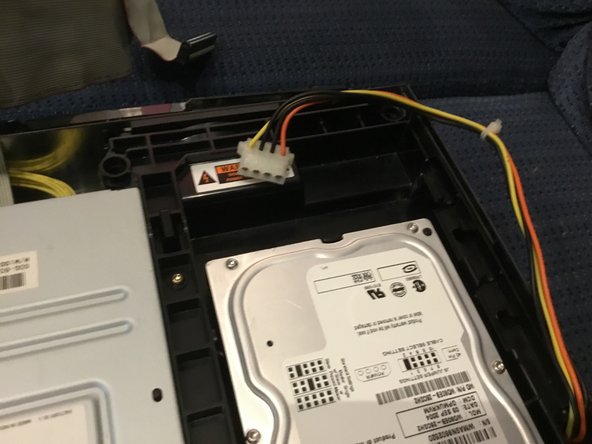
    • Now you need to remove 2 cords. The power cord can be tricky. Remove 1 screw using a T 10 screwdriver.

  4. crwdns2935201:0crwdne2935201:0 crwdns2935203:0crwdne2935203:0

    : crwdns2935265:04crwdnd2935265:01crwdnd2935265:03crwdne2935265:0 : crwdns2935265:04crwdnd2935265:02crwdnd2935265:03crwdne2935265:0 : crwdns2935265:04crwdnd2935265:03crwdnd2935265:03crwdne2935265:0
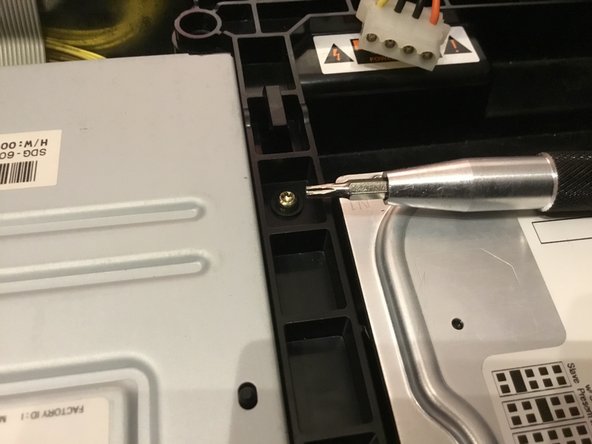
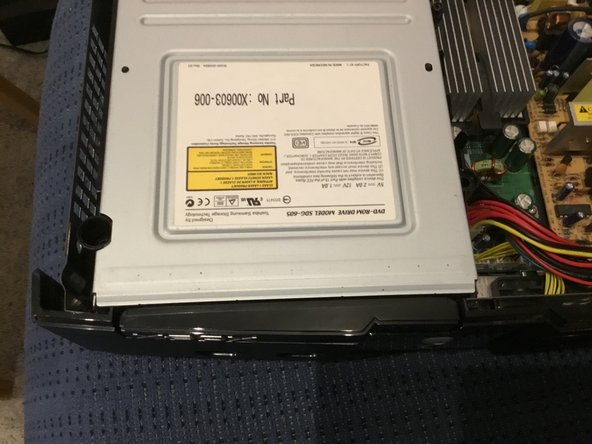
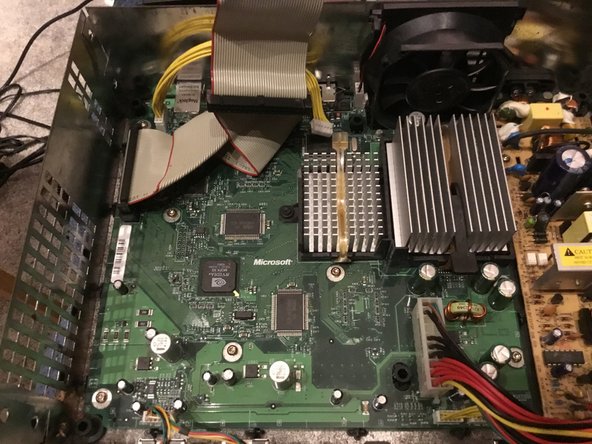
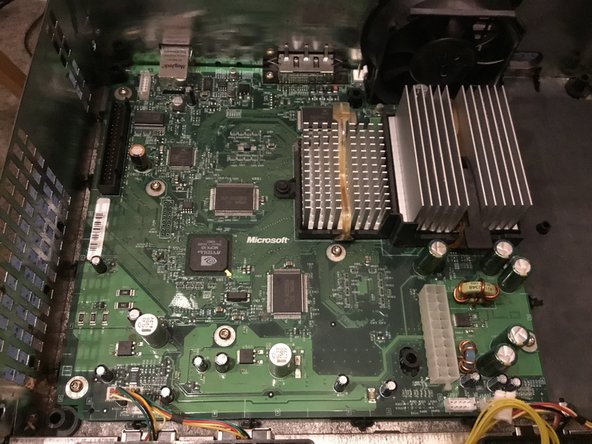
    • You should lift the hard drive. Remove 2 cords and remove 2 screws. After removing the disk drive, you’ve made it to the motherboard.

  5. crwdns2935201:0crwdne2935201:0 crwdns2935203:0crwdne2935203:0

    : crwdns2935265:05crwdnd2935265:01crwdnd2935265:03crwdne2935265:0 : crwdns2935265:05crwdnd2935265:02crwdnd2935265:03crwdne2935265:0 : crwdns2935265:05crwdnd2935265:03crwdnd2935265:03crwdne2935265:0
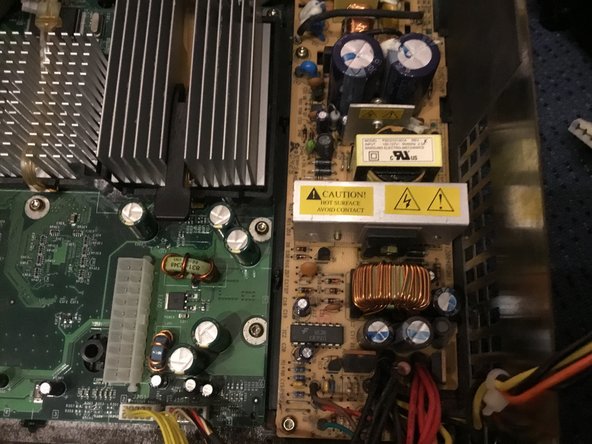
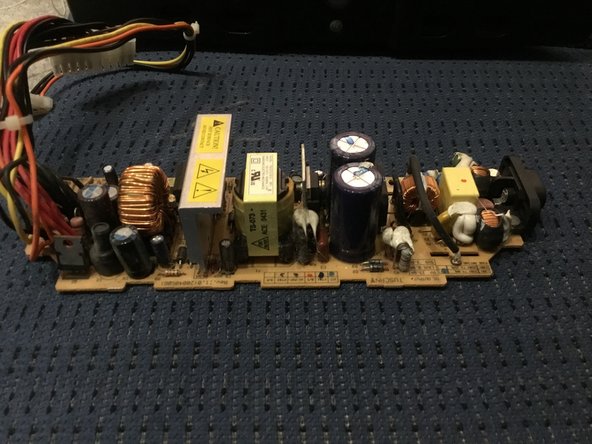
    • Now remove this cord and remove the 2 screws holding the power supply. Yup that’s the power supply.

  6. crwdns2935201:0crwdne2935201:0 crwdns2935203:0crwdne2935203:0

    : crwdns2935265:06crwdnd2935265:01crwdnd2935265:03crwdne2935265:0 : crwdns2935265:06crwdnd2935265:02crwdnd2935265:03crwdne2935265:0 : crwdns2935265:06crwdnd2935265:03crwdnd2935265:03crwdne2935265:0
    • Take out 2 remaining cords and 4 cords shown in this picture. Look at how many screws you need to remove (there's eleven, in case you're wondering).

  7. crwdns2935201:0crwdne2935201:0 crwdns2935203:0crwdne2935203:0

    : crwdns2935265:07crwdnd2935265:01crwdnd2935265:03crwdne2935265:0 : crwdns2935265:07crwdnd2935265:02crwdnd2935265:03crwdne2935265:0 : crwdns2935265:07crwdnd2935265:03crwdnd2935265:03crwdne2935265:0
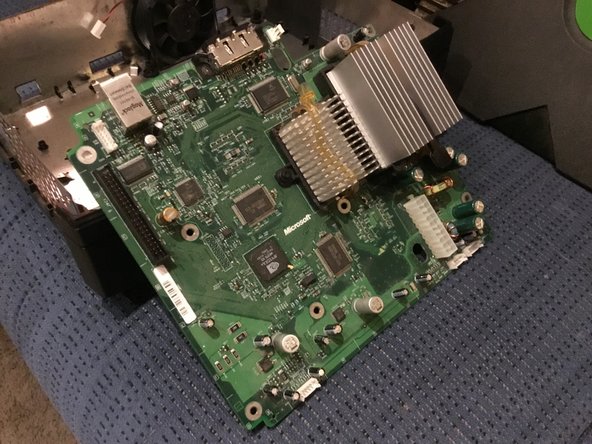
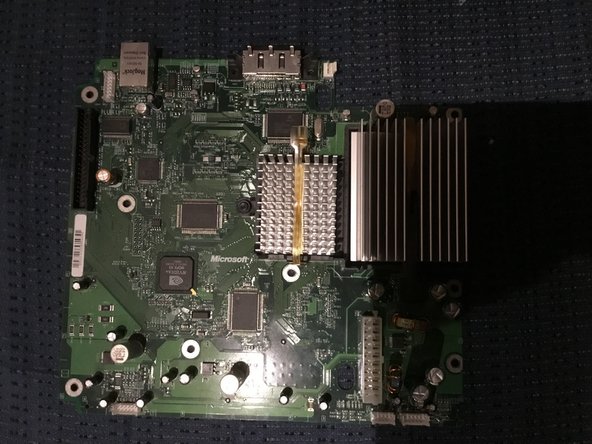
    • And finally take out the big green motherboard.

Tyler Worwa

crwdns2935283:001/08/19crwdne2935283:0

357 crwdns2915208:0crwdne2915208:0

crwdns2935297:02crwdne2935297:0

crwdns2917034:0crwdne2917034:0

crwdns2917038:0crwdne2917038:0

crwdns2936625:0crwdne2936625:0:

crwdns2936751:024crwdne2936751:0 2

crwdns2936753:07crwdne2936753:0 6

crwdns2936753:030crwdne2936753:0 9

crwdns2942667:0crwdne2942667:0 310