crwdns2915892:0crwdne2915892:0
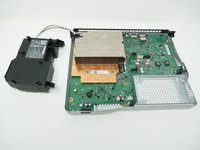
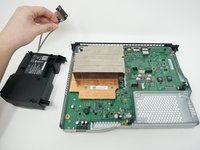
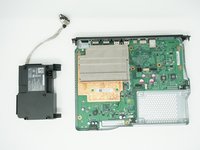
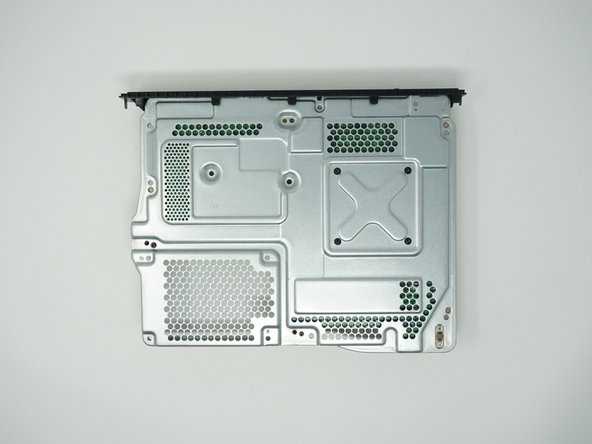
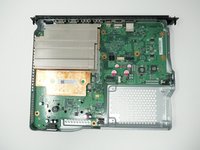
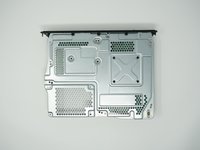
This guide shows how to remove the motherboard of the Xbox One X. It contains the same steps necessary to remove the heat sink.
crwdns2942213:0crwdne2942213:0
-
-
Use a T9 Torx screwdriver to remove the 13mm screw which is under and to the left of the power input.
-
-
crwdns2935267:0crwdne2935267:0Tweezers$4.99
-
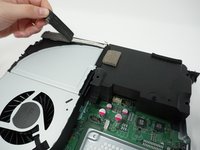
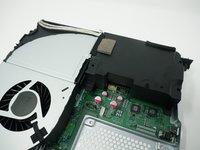
Using precision tweezers, remove the screw tab located on opposite side of the box.
-
Use a T9 Torx screwdriver to remove the 13mm screw revealed underneath the tab.
-
-
-
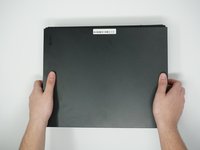
Orient the case so that the front of the Xbox (the side with the power button) is facing you.
-
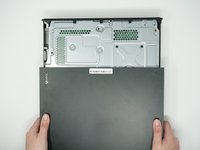
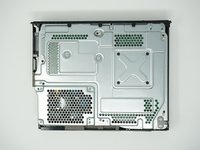
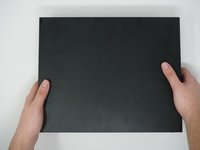
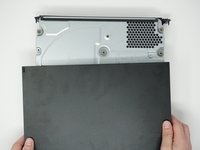
Remove the top of the case by sliding the case towards you.
-
-
-
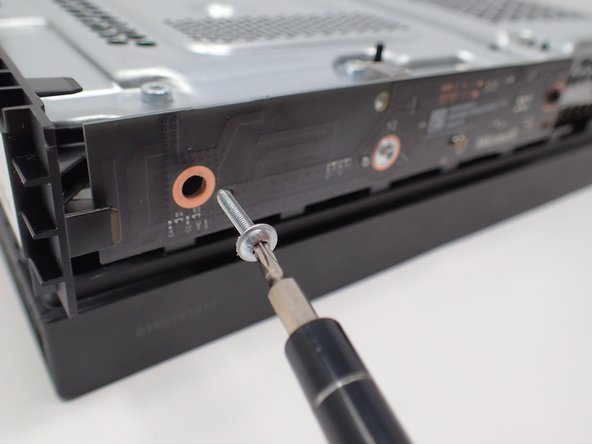
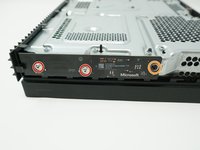
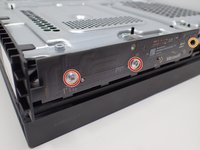
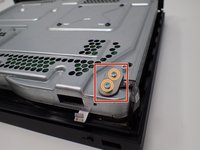
Using a T8 Torx screwdriver, remove the two 15mm silver screws that are holding a circuit board/panel to the side of the interior metal casing.
-
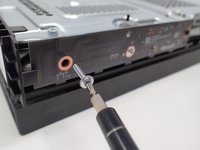
Using the same screwdriver, remove the 9mm black screw located farther to the right on the same circuit board/panel.
-
-
-
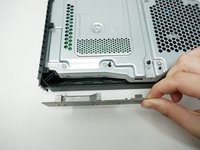
Remove the unscrewed panel from the side of the device by pulling it toward you.
-
-
-
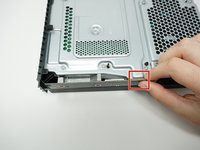
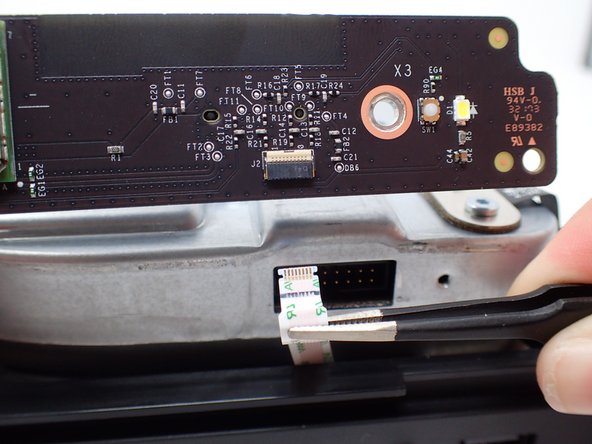
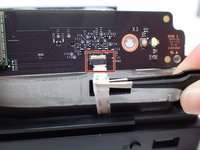
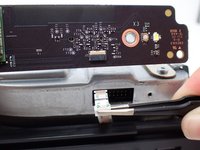
Pull the upper edge of the white clip down, and then remove the white connector from the dislocated panel using precision tweezers.
-
-
-
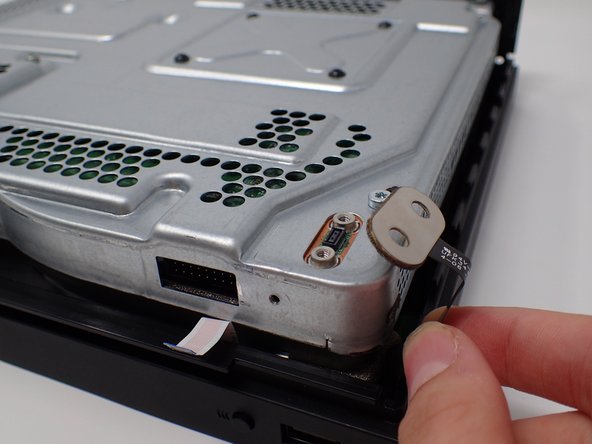
On the top of the device in the corner directly above the white connector, there is an oval plate held in place by two screws.
-
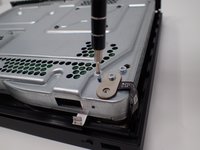
Remove both of these 7mm screws with a Torx T9 screwdriver.
-
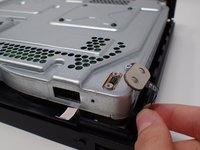
Lift the detached plate off to the side.
-
-
-
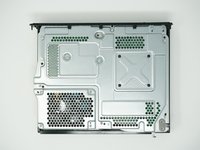
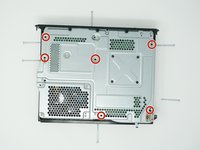
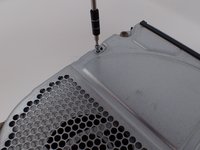
Use a Torx T9 screwdriver to remove the six 47mm long screws, which attach the bottom side of the outer case.
-
-
-
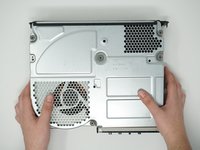
Turn the Xbox over, so that the bottom of the case is on top.
-
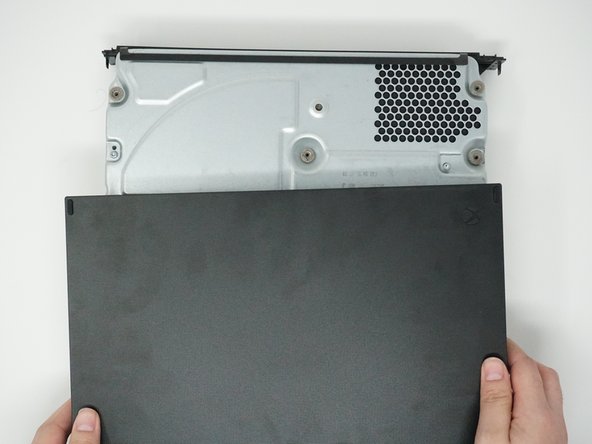
Lift the bottom of the case off of the Xbox by pulling it up and toward you.
-
-
-
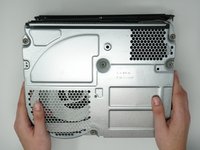
Flip over the device again, so that the top is facing upwards.
-
Remove the 4 smaller 11mm screws in the lower left corner on the metal casing using a Torx T9 screwdriver.
-
-
-
Flip over the device again, so that the bottom is facing upwards.
-
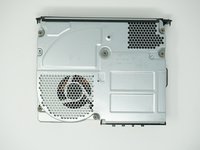
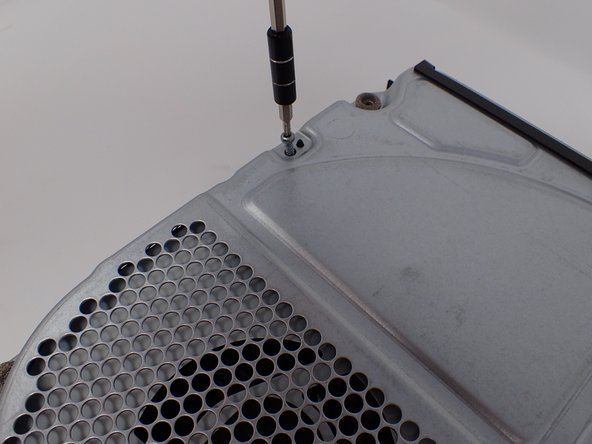
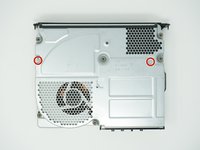
Using a Torx T10 screwdriver, remove the two screws located on opposite sides of the metal casing. One is near the fan vent, and the other is near the power supply vent.
-
-
-
-
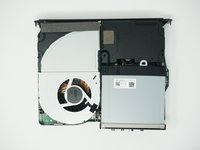
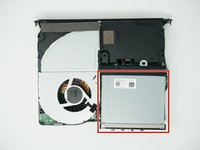
Remove the metal casing by pulling it upward, revealing the interior components of the device.
-
-
-
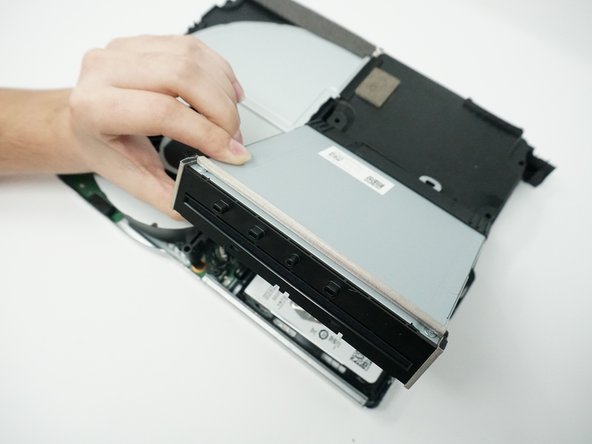
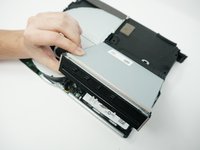
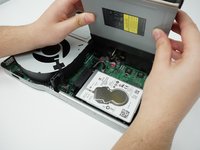
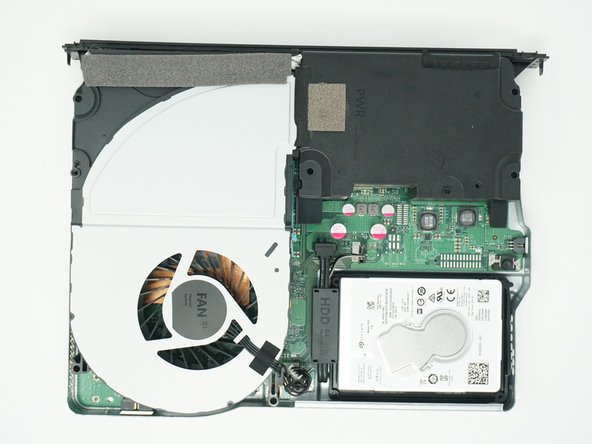
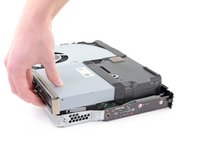
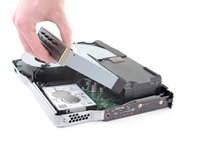
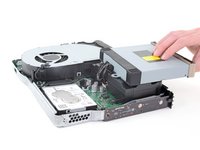
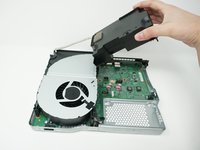
Lift and rotate the BD drive to reveal the wires that connect it to the motherboard.
-
-
-
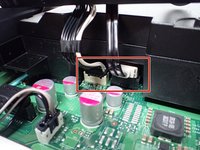
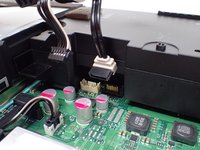
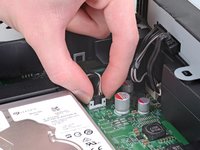
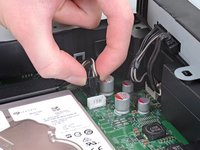
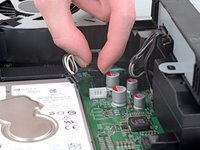
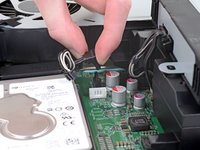
Using your fingers, gently unplug the two sets of wires connecting the drive to the motherboard.
-
Alternatively, you can disconnect the wires from the drive-side sockets. This is much easier if you have not removed the power supply.
-
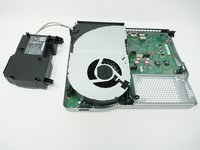
The BD drive should now be completely detached from the rest of the device, and it can be set aside.
-
-
-
Flip the console over.
-
Use a T10 Torx screwdriver to remove the four 11.4 mm screws securing the hard drive to the upper metal case.
-
-
-
Flip the console back over, keeping in mind the disc drive is loose.
-
Lift the disc drive up so that its metal tab is unhooked from the power supply.
-
Flip the disc drive over and place it on the power supply. The disc drive should end up facing the opposite direction it started in.
-
-
-
Unplug the bundled cable connector connecting the hard drive to the motherboard by pulling directly upward.
-
-
-
Unplug the SATA cable connecting the hard drive to the motherboard by pulling directly upward.
-
-
-
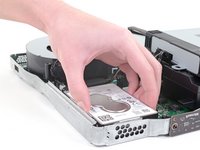
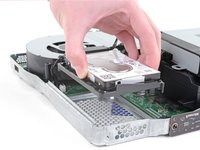
Lift the hard drive assembly up out of the upper metal case.
-
-
-
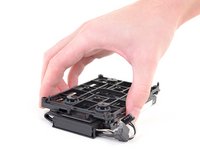
Flip the hard drive over so that the plastic mounting bracket is facing upward.
-
Use a T10 Torx screwdriver to remove the four 8.6 mm screws attaching the hard drive to the mounting bracket.
-
-
-
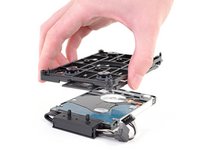
Lift the mounting bracket off the hard drive.
-
-
-
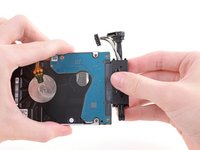
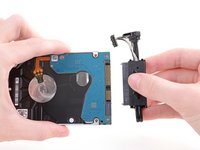
Unplug the hard drive connector from the hard drive by pulling parallel to the length of the drive.
-
-
-
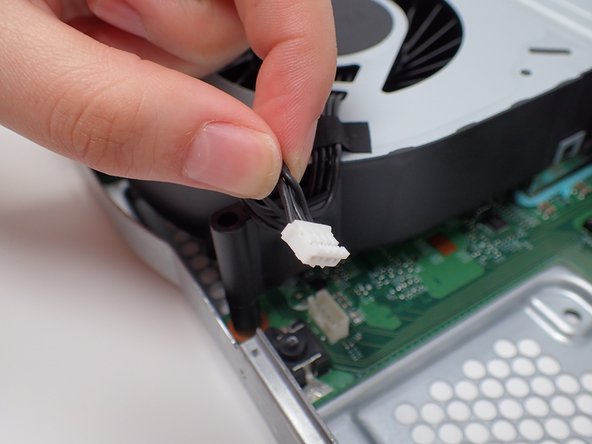
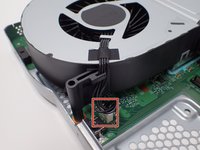
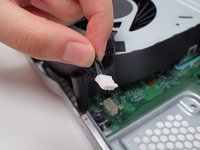
Disconnect the plastic wire connector from the motherboard.
-
-
-
Remove the piece of foam by gently peeling it off the cooling system.
-
-
-
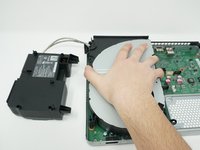
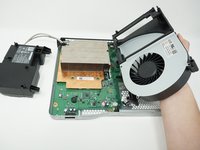
Remove the power supply by lifting it off the motherboard, while leaving its cord attached.
-
Set the power supply outside of the case so that the cord is no longer over the cooling system.
-
-
-
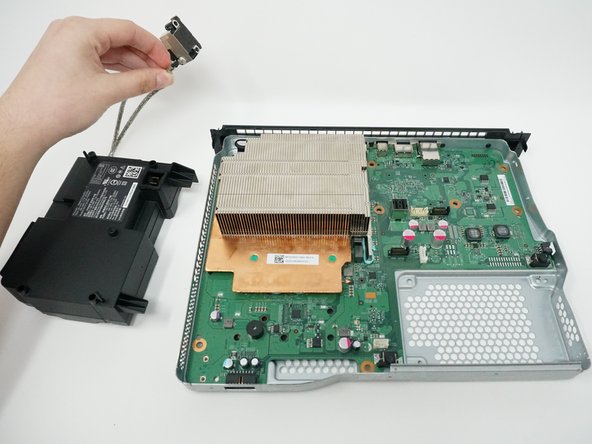
Remove the cooling system by lifting it vertically off of the motherboard.
-
-
-
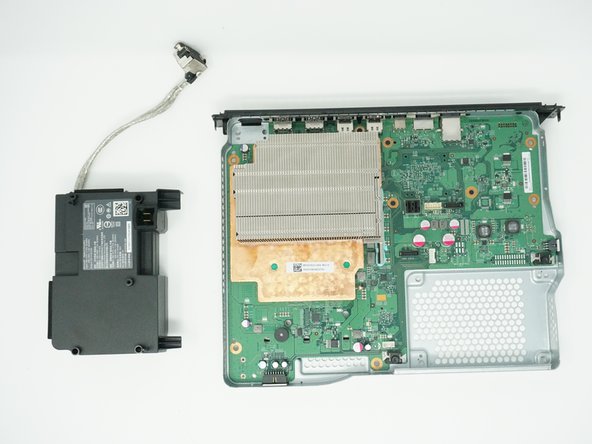
Lift the metal piece connected to the cord out of the case.
-
-
-
Flip the device over, so the bottom of the metal casing is facing up.
-
-
-
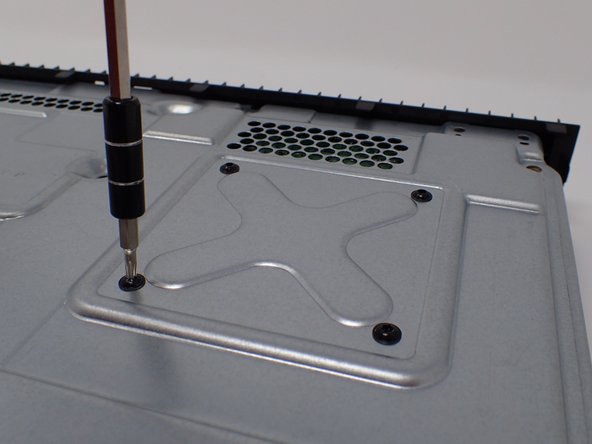
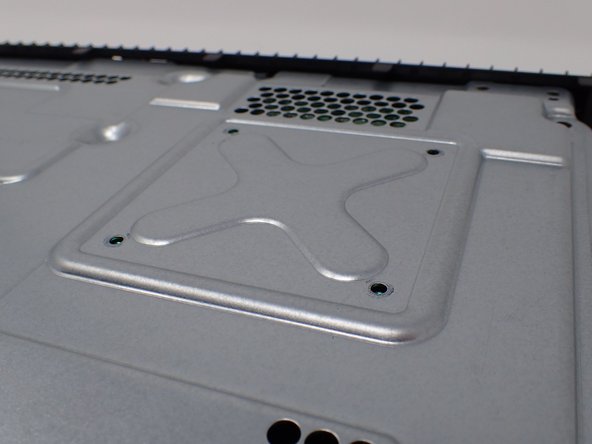
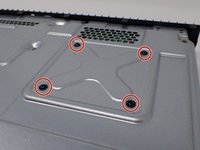
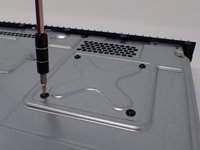
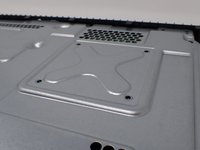
Using a T9 Torx screwdriver, remove the four 9mm screws that are holding the heat sink to the outer metal casing.
-
-
-
Flip over the device again, so that the metal casing is on the bottom.
-
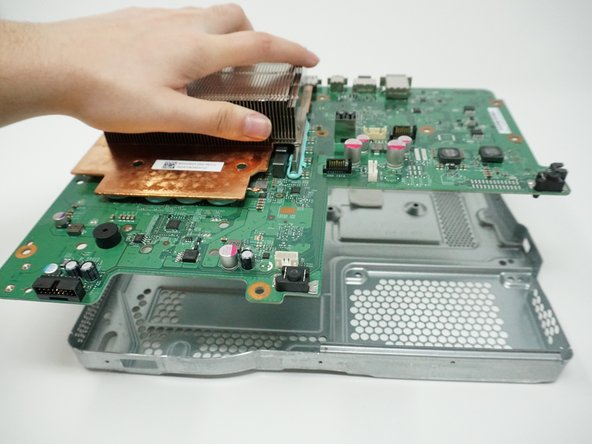
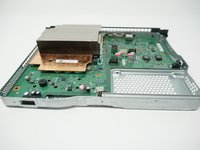
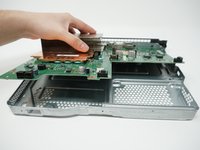
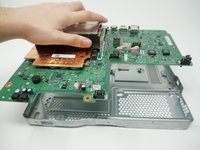
Lift the motherboard vertically to remove it from the casing.
-
-
-
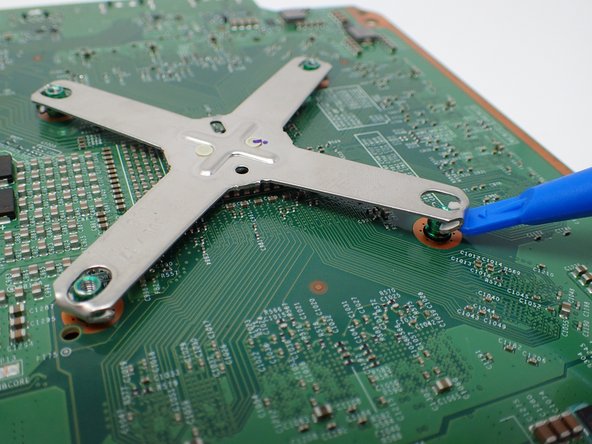
Flip the motherboard over.
-
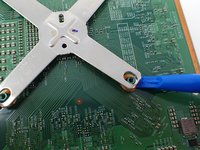
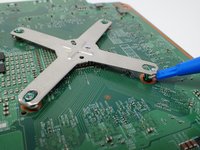
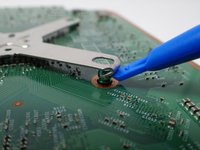
Using a plastic opening tool, pry the corners of the x-shaped metal piece so that they each detach from the motherboard.
-
-
-
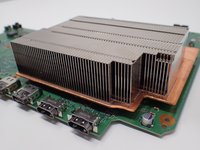
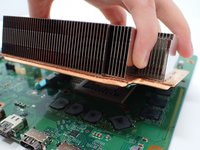
Lift the heat sink to detach it from the motherboard.
-
To reassemble your device, follow these instructions in reverse order.
crwdns2935221:0crwdne2935221:0
crwdns2935229:014crwdne2935229:0
crwdns2947412:03crwdne2947412:0
Hi mate,
Can anyone help me please? Can anyone please send me just one picture closer to this component (Q2)?
I will really appreciate that thanks.
I have circled in red.
anyone can answer me or not?
my xbox one x will turn ON then OFF. Power supply is good, what is the nearest cause of it. Thanks


