crwdns2942213:0crwdne2942213:0
-
-
You can remove the side panels with a pry tool.
 crwdns2952109:0crwdne2952109:0
-
-
-
Remove the 5 Torx Security Bit (TR9) screws.
-
-
-
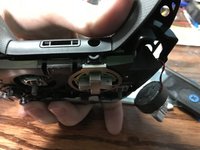
Pry the panel next to the 3.5mm port.
-
-
-
-
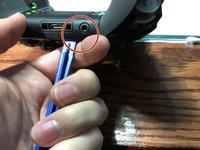
You can pop the connector up to remove the ribbon easily.
-
Ribbon Cable
-
-
-
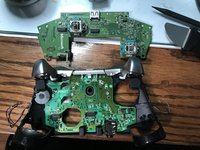
Remove the 2 Torx (T6) screws.
-
-
-
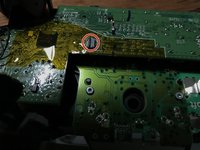
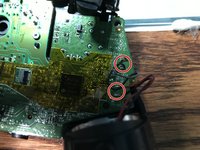
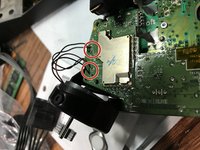
Desolder the 4 wires on each side, these control the vibrations and the RT LT.
-
-
-
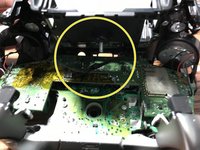
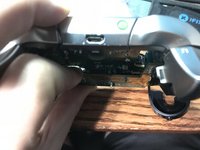
Pull up from the "top" side of the controller on the daughterboard.
-


To reassemble your device, follow these instructions in reverse order.
crwdns2935221:0crwdne2935221:0
crwdns2935229:09crwdne2935229:0

crwdns2947410:01crwdne2947410:0
50 minutes? half of that tops
glenn.fowell - crwdns2934203:0crwdne2934203:0 crwdns2950251:0crwdne2950251:0