crwdns2915892:0crwdne2915892:0
This guide can be used for repair/refurbishing purposes
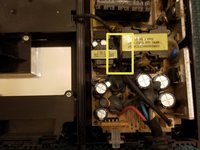
DO NOT work on the power supply while it is plugged in or while the white/orange indicator light is on. High voltage capacitors, while charged, can seriously injure or kill you. Exercise caution during this repair.
crwdns2942213:0crwdne2942213:0
-
-
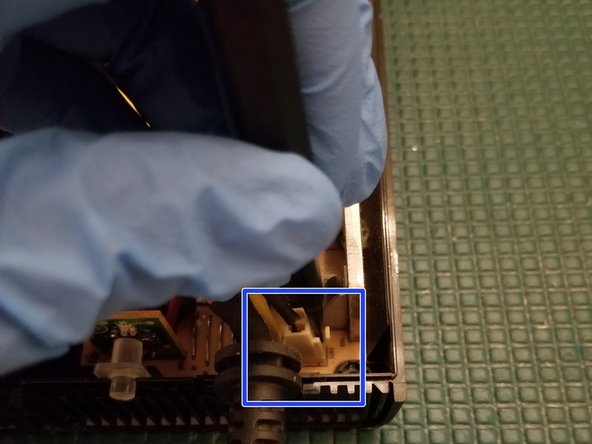
Remove rubber boots
-
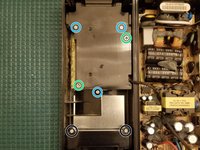
Remove T10 Screws
-
-
-
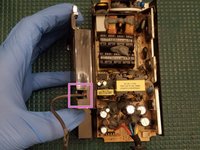
Remove the top shell, flip it over, and place next to lower shell
-
Using a craft knife, carefully cut through the epoxy to get the cable free. Work slowly and carefully. The thick substance and awkward angles make this a slightly tedious process
-
-
-
Remove PH2 screws
-
Remove PH1 screws
-
Removal unnecessary
-
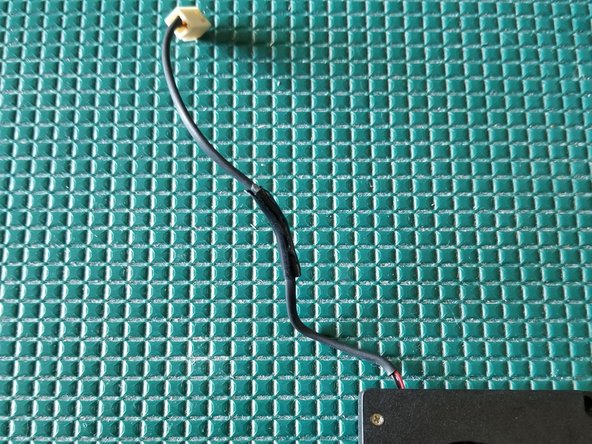
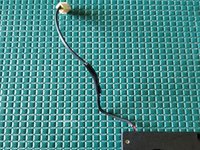
Disconnect cooling fan plug
-
Pull wire through
-
-
-
-
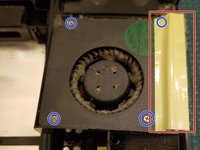
Remove tape in order to remove fan from its housing unit. This also uncovers a hidden screw.
-
Remove 4 PH0 screws
-
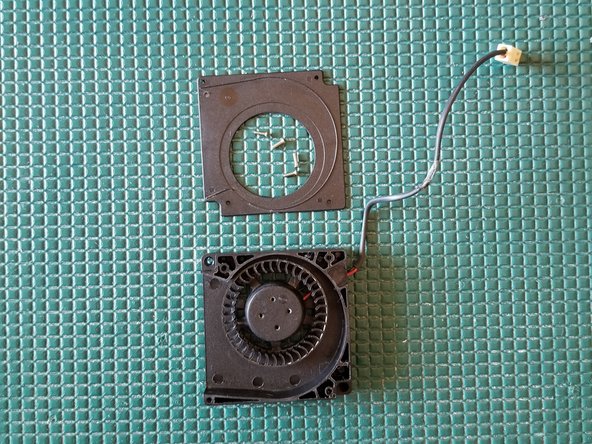
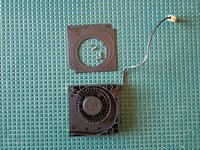
Remove fan upper housing plate
-
Gently lift the fan up and over the post
-
-
-
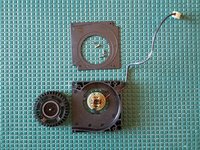
Fan model info in case you need to search out new parts
-
-
-
The fans +/- wires are covered by a thin protective sleeve.
-
Apply some electrical or kaptom tape to patch it if necessary.
-
-
-
Remove PCB from lower shell and place face down
-
To quickly and safely remove I suggest using ChipQuik on the 2 single sided through holes. Alternatively you can use solder wick
-


To reassemble your device, follow these instructions in reverse order.
crwdns2935221:0crwdne2935221:0
crwdns2935229:024crwdne2935229:0
crwdns2947412:03crwdne2947412:0
If anyone else is wondering how to turn on the 12V supply, you short the 2 small center pins together. The outer rings are ground, and the inner rings are the +12V. The two small pins are the +5Vsb and the 12V enable pin, which turns on the 12V when pulled up to 5V
Greetings, friend. Hey, I have an Xbox 360 Slim power supply that outputs 16V at 12V. Any suggestions? The power supply is an A10-120N1A board, A120R001L.
Hola, amigo. Tengo una fuente de alimentación para Xbox 360 Slim que genera 16 V a 12 V. ¿Alguna sugerencia? La fuente de alimentación es una placa A10-120N1A, A120R001L.