crwdns2915892:0crwdne2915892:0
This guide will involve the replacement of the core motor servos that steers the X-Street SRT Viper. The model of the core motor that you will need to buy to replace this part is the CL-FC130 motor produced by the Guangdong Chaoli Motor Machinery Co. Reinstalling the motor will require you to re-solder the wires back on. Core Motor Replacement Part
crwdns2942213:0crwdne2942213:0
-
-
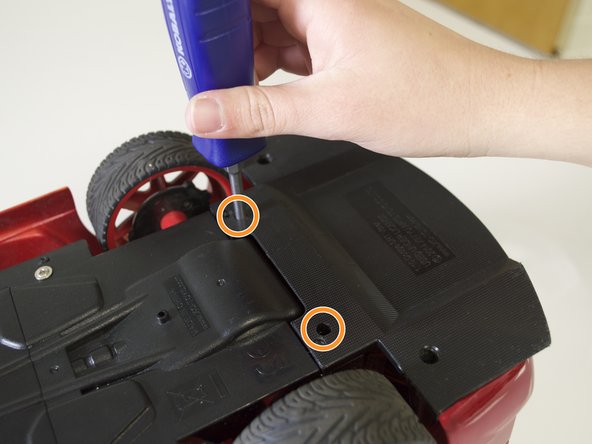
Remove the four 3 mm screws from the bottom panel using a 3 mm Philips #1 screwdriver.
-
-
-
Use the 3 mm Philips #1 screwdriver to remove the three 3 mm screws that connect the front panel with the main underside panel. Also remove the 6 mm front panel screw.
-
Remove the bottom panel by pulling the plastic tabs from either side of the car.
-
-
-
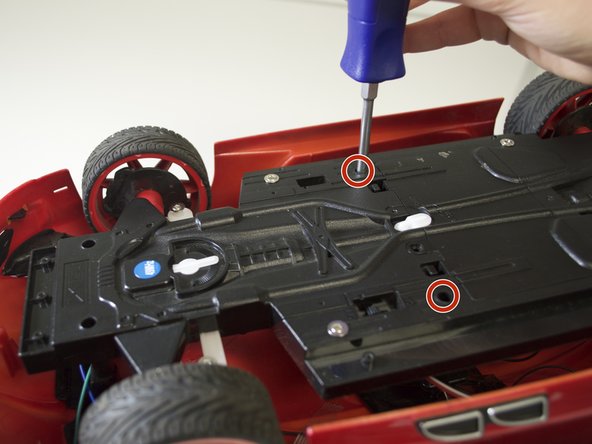
Remove the two 6 mm screws and the two 3 mm screws that connect the back panel to the main underside panel.
-
Remove the two 6 mm screws that connect the rear panel to the body of the car.
-
-
-
-
Remove the two front 6 mm screws and the two middle 6 mm screws.
-
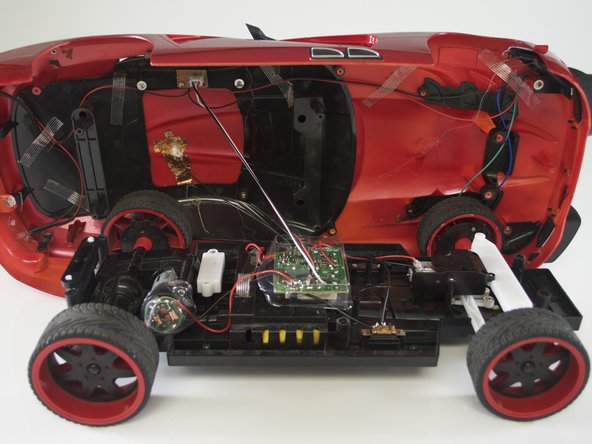
Remove the car shell and place it on the left side of the car.
-
-
-
Begin by removing all underside panels of the car. You can do this by referring to the prerequisite up to this point.
-
Remove screws. Take your #1 Phillips head screwdriver and remove the six 8mm Phillips #1 screws holding down the panel above the servos motor.
-
-
-
Remove top cover. Lift the panel off the top of the motor and place it back with the wires.
-
-
-
Remove motor. Lift the servos core motor out of the motor housing. Be careful not to pull out the plastic gears while doing so.
-
-
-
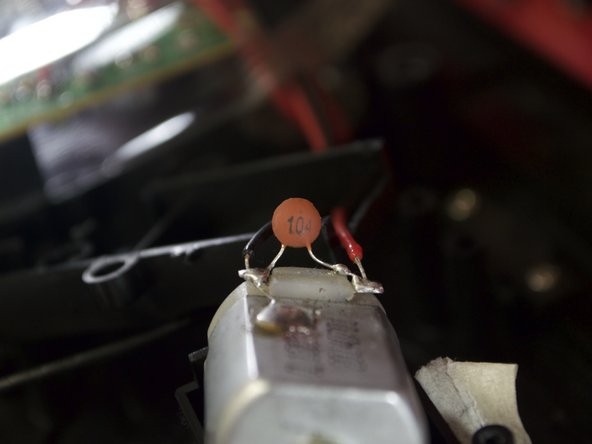
Detach wires. Desolder or clip the back red and black wires from the motor. Use a soldering iron or wire cutters; do not use scissors as shown in the photo.
-
-
-
Solder wires back on. The last step will be to solder the red wire back on the left side of the motor and the black wire back on the right side. You can do this by referring to this how to solder/desolder page.
-


To reassemble your device, follow these instructions in reverse order.
To reassemble your device, follow these instructions in reverse order.
crwdns2935221:0crwdne2935221:0
crwdns2935227:0crwdne2935227:0
crwdns2915084:0crwdne2915084:0

Cal Poly, Team 12-6, Lancaster Spring 2015 crwdns2935289:0Cal Poly, Team 12-6, Lancaster Spring 2015crwdne2935289:0
CPSU-LANCASTER-S15S12G6
crwdns2931471:04crwdne2931471:0
crwdns2935297:06crwdne2935297:0