crwdns2942213:0crwdne2942213:0
-
-
Dévisser les deux vis
-
Enlever la batterie
-
-
-
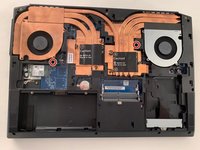
Dévisser les 5 vis.
-
Faire glisser le capot
-
-
-
-
Faire glisser le capot
-
Enlever le capot
-
-
-
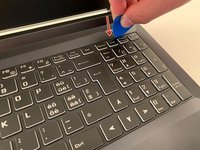
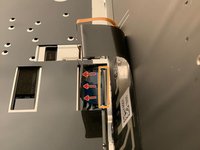
Dévisser les deux vis se trouvant à côté des symboles de claviers.
-
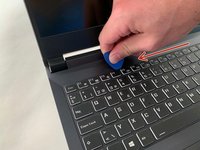
Introduire le médiator iFixit dans la fente supérieure du clavier et le glisser jusqu'au bout.
-
-
-
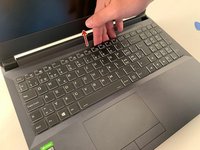
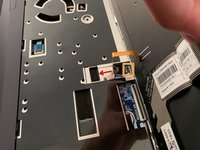
Soulever avec précaution le clavier.
-
Ouvrir la nappe et retirer le câble des touches (noir) avec précaution.
-
Répéter avec le câble du rétroéclairage (orange)
-


crwdns2935219:0crwdne2935219:0
Pour réassembler votre appareil, suivez les instructions dans l'ordre inverse.
crwdns2915888:0crwdne2915888:0
Pour réassembler votre appareil, suivez les instructions dans l'ordre inverse.