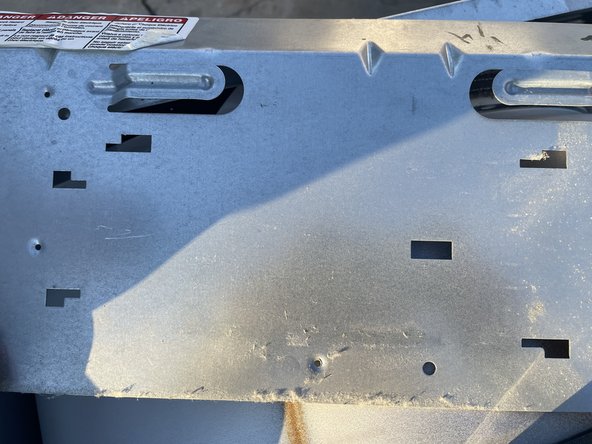
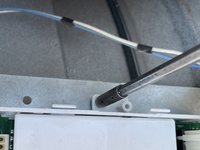
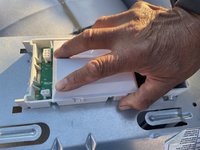
crwdns2915892:0crwdne2915892:0
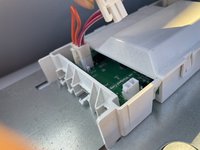
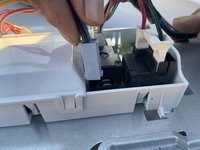
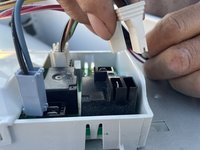
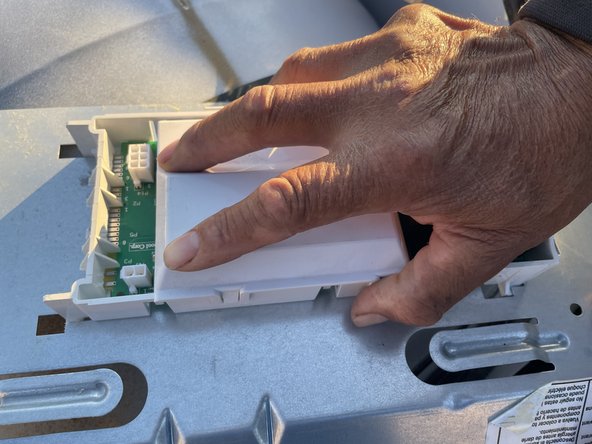
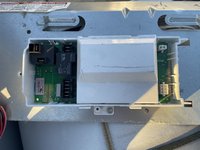
If your Whirlpool Duet Electric Dryer, model number WED9200SQ1 has not been working, it could be that the circuit board is malfunctioning and needs to be replaced. In this guide, we will walk you through the steps to replace the malfunctioning circuit board. The main board is an integral part of your dryer's electrical system, distributing power to various components for safe and efficient operation. Before attempting this repair, it is crucial to unplug your dryer to prevent electric shock. Utilize ESD-safe tools to protect the dryer's electronic components from static damage.
crwdns2942213:0crwdne2942213:0
-
-
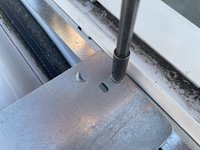
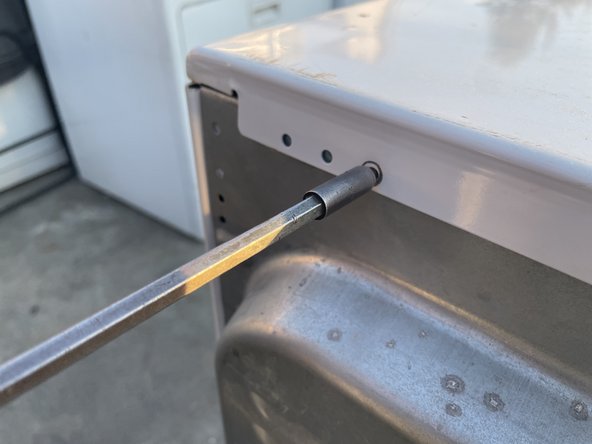
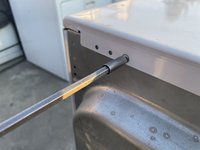
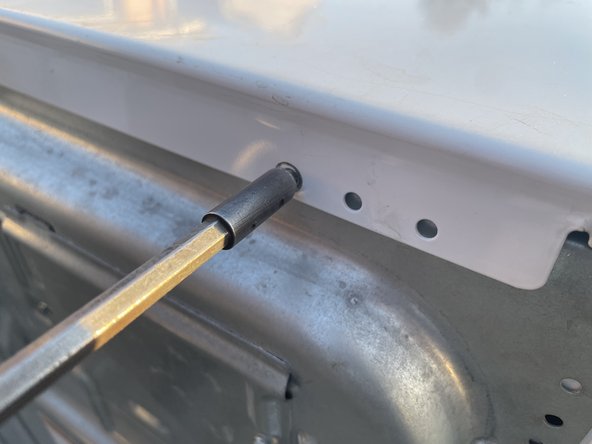
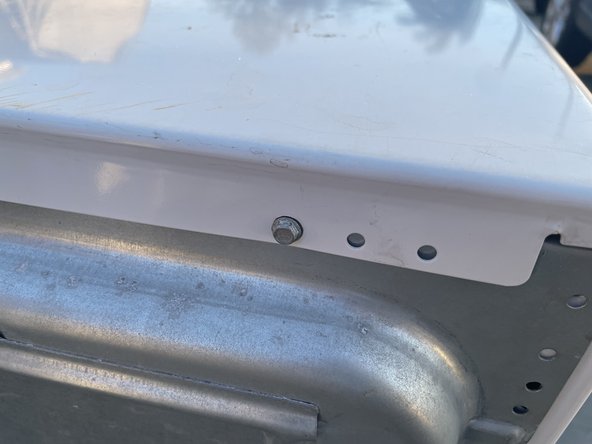
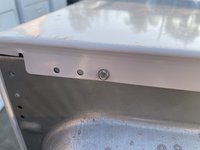
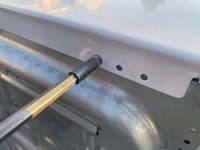
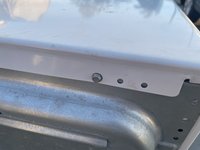
Use a T5 Torx screwdriver to remove two 6.3 mm screws. from the top back of the dryer.
-
-
-
Slide the top of the dryer off to access the internal components.
-
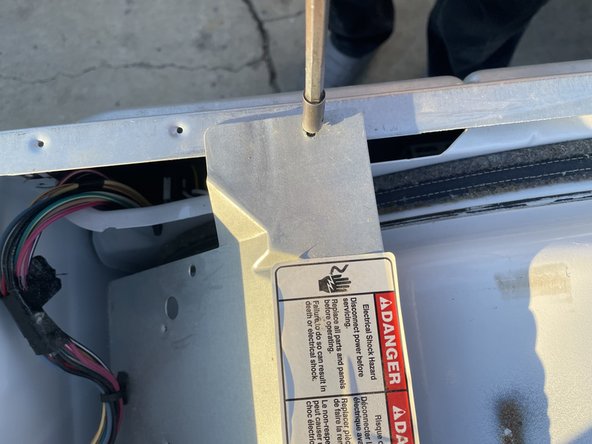
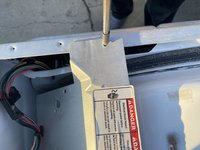
Use a T5 Torx screwdriver to remove two 6.3mm screws.
-
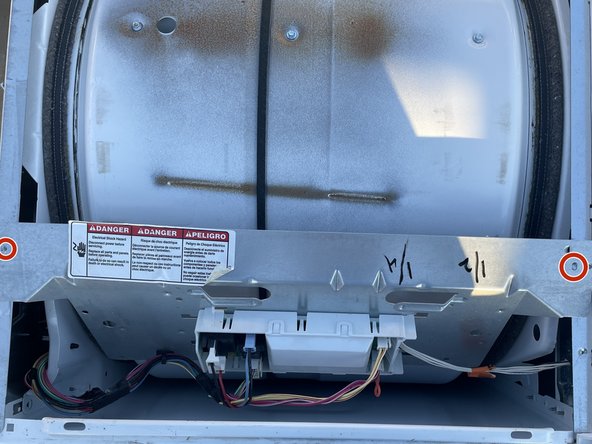
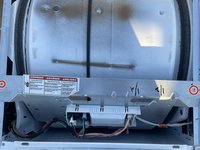
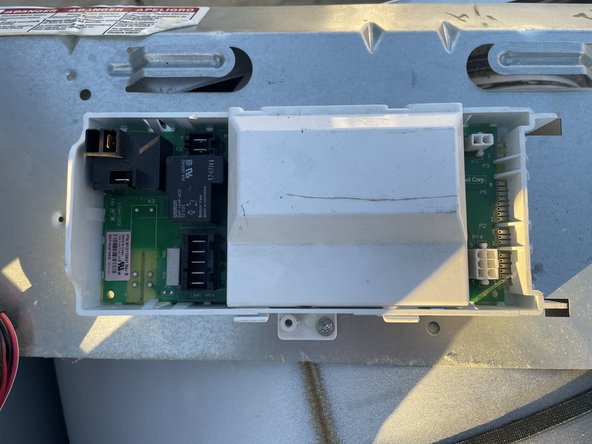
The circuit board is mounted on a metal rack..
-
-
-
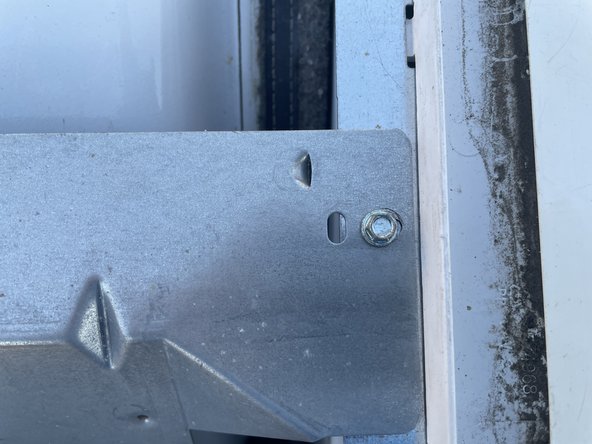
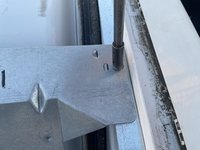
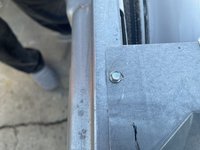
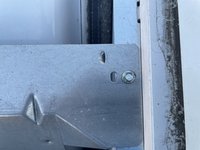
Use a T5 Torx screwdriver to remove the 6.3 mm screws on both ends of the metal shelve.
-
Slide the metal shelve out to access the main board.
-
-
-
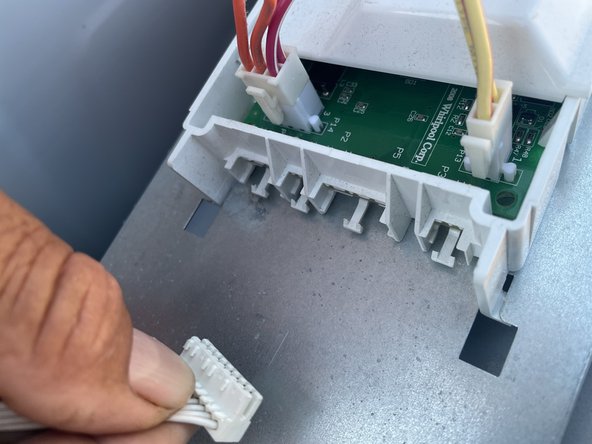
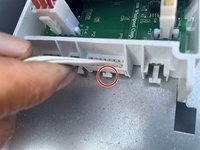
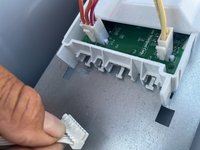
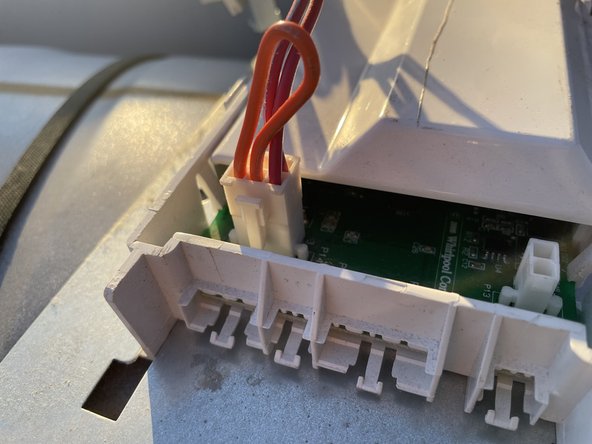
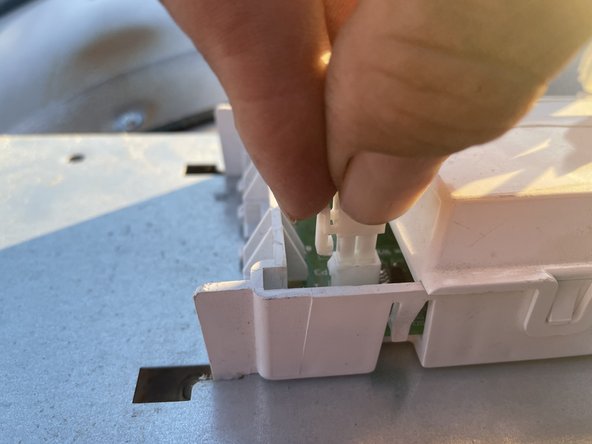
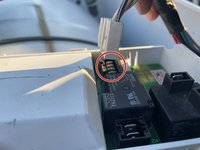
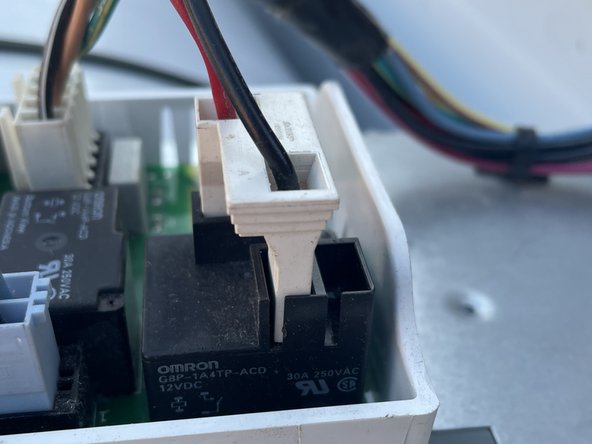
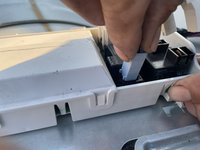
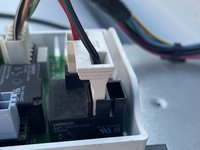
Remove all the circuit wires from the circuit board. Grab the circled wire to remove.
-
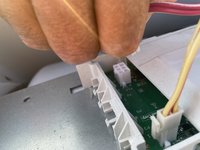
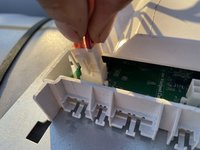
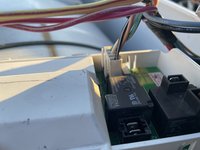
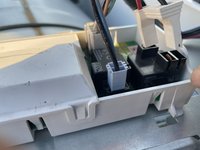
Remove the other wires.
-
-
-
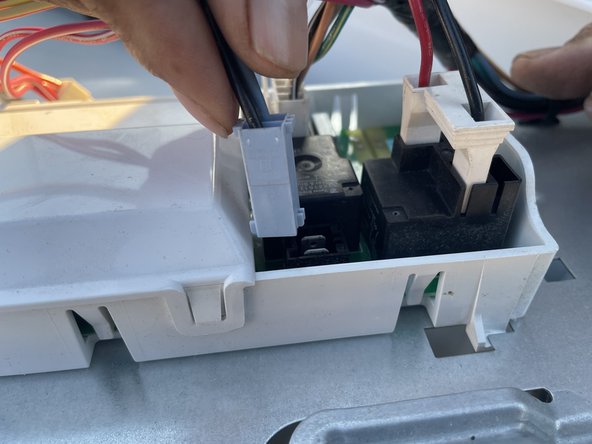
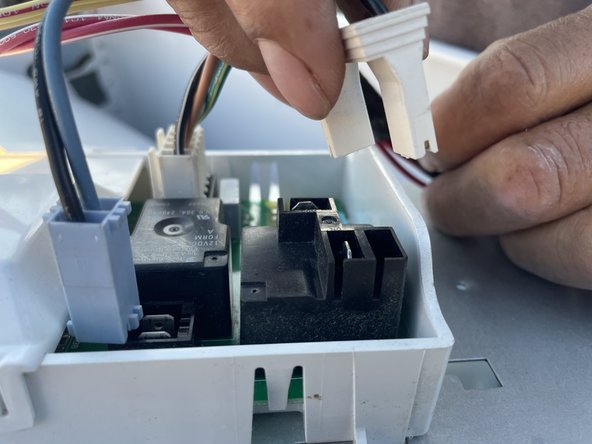
Keep removing the wires until every wire is disconnected from the old circuit.
-
-
-
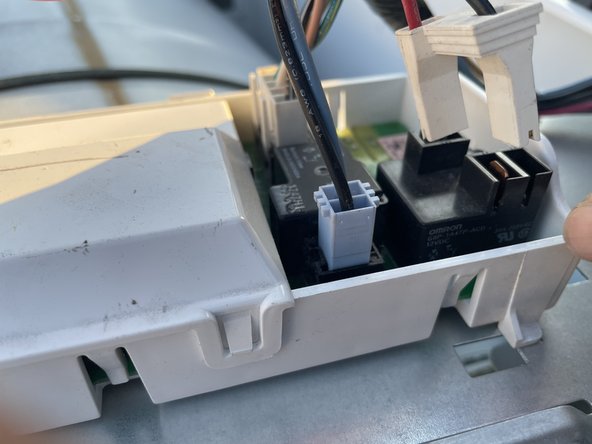
Once you've disconnected the wires, the wires should look like this in the image.
-
-
-
-
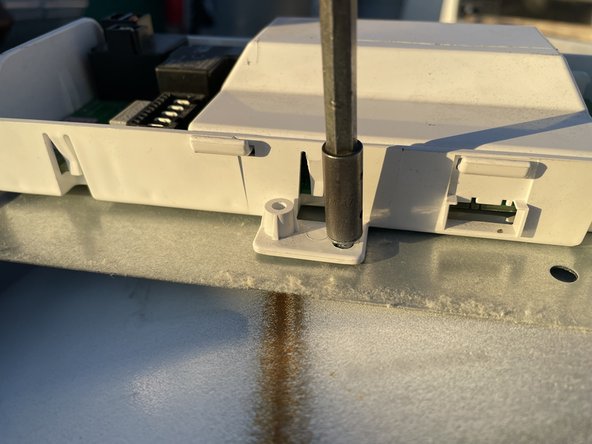
Use a T5 Torx screwdriver to remove the 6.3mm screw.
-
Use your hand to grab the old circuit and move it from the left to the right to get the circuit removed.
-
There should not be anything on the board.
-
-
-
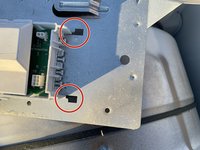
Use the new circuit to put in the board. Ensure the two white hooks are connected to the metal base.
-
Use the T5 Torx screwdriver to screw the 6.3mm screw to the new circuit attached to the metal board.
-
The new circuit shouold be tight to the metal
-
-
-
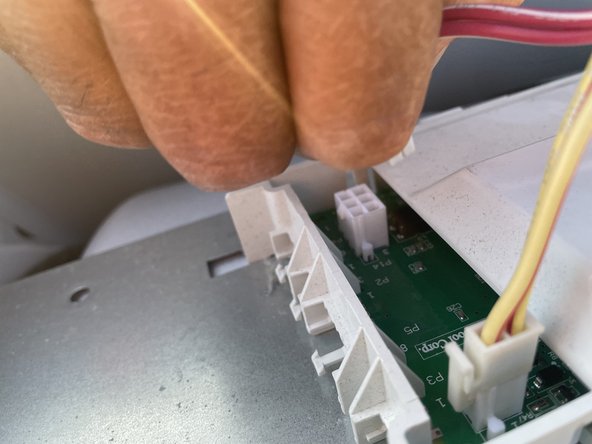
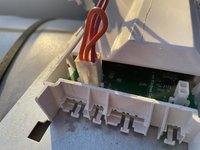
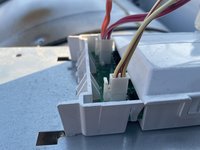
Attach the orange and red wires into the circuit.
-
Do to the same for the other wires
-
-
-
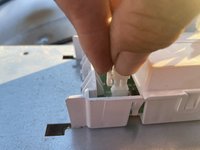
Insert the red and white wires into the circuit.
-
-
-
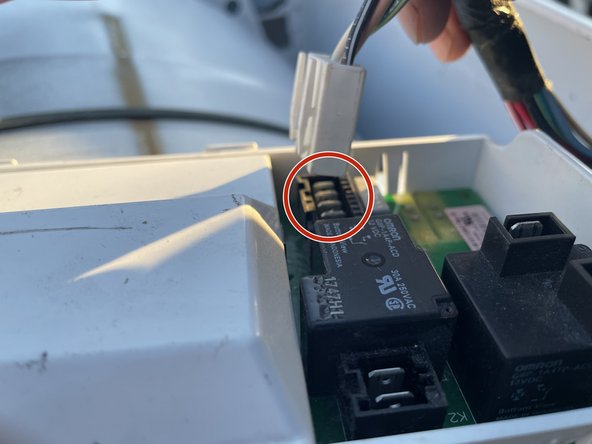
Refer to the image for where to insert the wires.
-
-
-
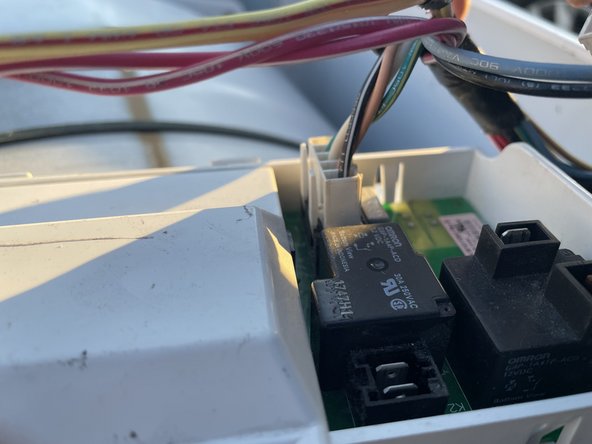
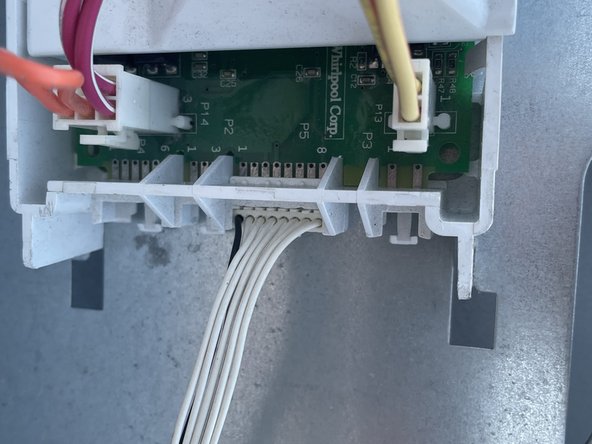
Attach the white wire to the circuit.
-
-
-
Use the T5 Torx screwdriver to screw the 6.3mm screw at both sides of the metal board.
-
-
-
Reattach the top board
-
Use a T5 Torx screwdriver to screw the left 6.3mm screw into the top of the board
-
-
-
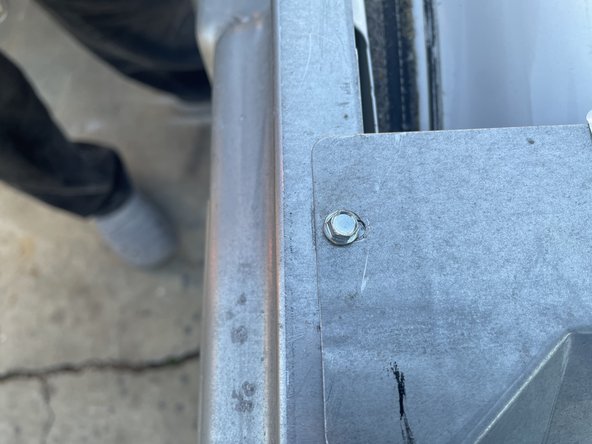
Use a T5 Torx screwdriver to screw the 6.3mm screw on the right.
-
-
-
Once you are done screwing the back, the dyer should be ready to use.
-
To reassemble your device, follow these instructions in reverse order.
To reassemble your device, follow these instructions in reverse order.


