crwdns2915892:0crwdne2915892:0
This guide will show you how to remove the plastic casing so that it can be replaced.
crwdns2942213:0crwdne2942213:0
-
-
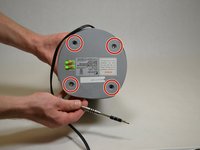
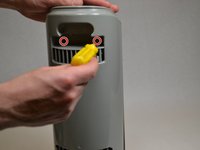
Locate the knob at the top of the fan.
-
-
-
Remove the knob by gripping it and pulling straight up. Use a spudger if it is difficult to grip.
-
-
-
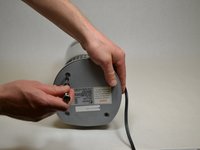
Using the plastic opening tool, turn the device over and remove the black plastic covers over the four screw holes.
-
-
-
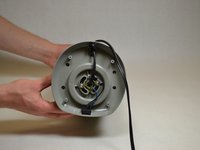
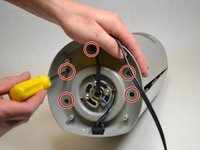
Remove the four screws underneath the plastic covers.
-
-
-
-
Remove 5 smaller screws visible through small holes between the base and the casing.
-
-
-
Remove four screws on the back, two near the top and two near the bottom.
-
-
-
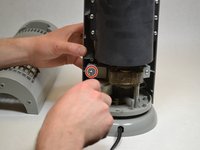
Remove the 2 screws that attach the front part of the casing to the motor.
-
-
-
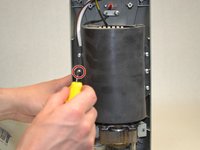
Remove the two middle screws attaching the black plastic cover to the front .
-
-
-
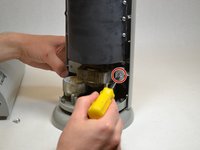
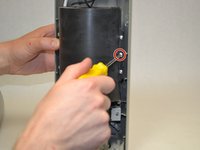
Remove the two screws attached to the white bar near the red light on the top of the front casing.
-
-
-
Remove the two screws keeping the button attached to the top of the casing.
-


To reassemble your device, follow these instructions in reverse order.
To reassemble your device, follow these instructions in reverse order.
crwdns2935221:0crwdne2935221:0
crwdns2935227:0crwdne2935227:0
crwdns2915084:0crwdne2915084:0

UW Tacoma, Team S3-G4, Liner Spring 2017 crwdns2935289:0UW Tacoma, Team S3-G4, Liner Spring 2017crwdne2935289:0
UWT-LINER-S17S3G4
crwdns2931471:04crwdne2931471:0
crwdns2935297:03crwdne2935297:0