crwdns2915892:0crwdne2915892:0
The motor drives the clipper blades. Motors can wear out after extended use. Replacing a worn-out motor can extend the longevity of this device.
crwdns2942213:0crwdne2942213:0
-
-
Remove the two 5.0 mm JIS #1 screws to loosen the cutting blades.
-
-
-
Lift the bottom blade straight up from the device body to remove it.
-
-
-
Remove the three 9.0 mm JIS #1 screws attaching the base of the blade assembly to the body.
-
-
-
Lift the base of blade assembly straight up off of the body.
-
-
-
-
Remove the two 12.0 mm JIS #1 screws on the back of the device body.
-
-
-
Remove the 13.0 mm Phillips #2 screw on the side of the device body.
-
This screw is located on the opposite side of the body from the switch.
-
-
crwdns2935267:0crwdne2935267:0Tweezers$4.99
-
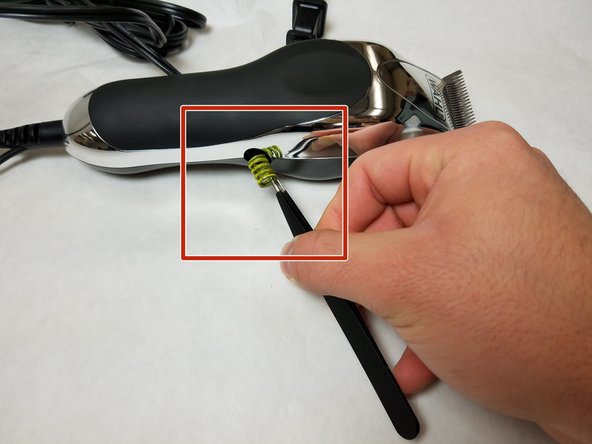
Remove the spring on the side of the body using tweezers.
-
-
-
Pry the body case off of the device using a spudger.
-
-
-
Lift power cord tab (black wire) from slot on motor base.
-
-
-
Lift switch tab (teal wire) from slot on motor base.
-
-
-
Remove two 23.0 mm JIS #1 screws attaching motor base to device body.
-
-
-
Lift motor base straight up from device body to remove.
-


To reassemble your device, follow these instructions in reverse order.
To reassemble your device, follow these instructions in reverse order.
crwdns2935221:0crwdne2935221:0
crwdns2935229:03crwdne2935229:0
crwdns2915084:0crwdne2915084:0

IUPUI, Team S7-G3, Baechle Fall 2017 crwdns2935289:0IUPUI, Team S7-G3, Baechle Fall 2017crwdne2935289:0
IUPUI-BAECHLE-F17S7G3
crwdns2931471:03crwdne2931471:0
crwdns2935297:08crwdne2935297:0