crwdns2915892:0crwdne2915892:0
Use this guide to replace the motherboard in a Wacom Intuos4.
The motherboard is behind the functionality of your device's touchscreen and USB port. A broken motherboard could result in issues with either your touchscreen or USB port. Since the USB port is connected to the motherboard, you may have to review the iFixIt Soldering guide (How To Solder and Desolder Connections).
This guide was created with a model PTK-640 Wacom Intuos4. Different models may vary in design.
crwdns2942213:0crwdne2942213:0
-
-
Flip device on its back and remove all fourteen 7.1 mm screws using a Phillips #1 screwdriver.
-
There is a single screw located under each of the rubber leg pieces. Use a shimmy tool to remove these pieces to access the screws.
-
-
-
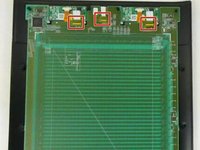
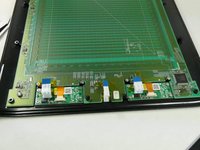
Lift the screen's foam backing connecting the motherboard/drawing board to the two smaller express-key boards, placing it onto the motherboard.
-
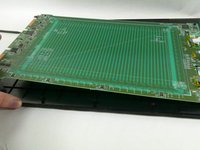
Separate the outer casing from the rest of the tablet.
-
-
-
crwdns2935267:0crwdne2935267:0Tweezers$4.99
-
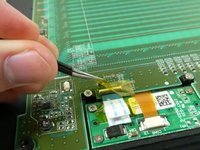
Using tweezers, remove the yellow tape covering the three cable connectors.
-
-
-
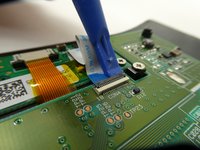
Lift the black plastic clip holding the flat wire to the connector with either tweezers or an iFixit opening tool.
-
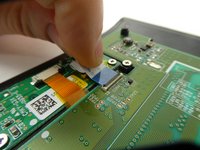
Pull on the white plastic tab to disconnect the flat wire.
-
-
-
Carefully remove the motherboard from the casing.
-


To reassemble your device, follow these instructions in reverse order.
To reassemble your device, follow these instructions in reverse order.

crwdns2915084:0crwdne2915084:0

UMass Dartmouth, Team 3-6, Botvin Fall 2022 crwdns2935289:0UMass Dartmouth, Team 3-6, Botvin Fall 2022crwdne2935289:0
UMASSD-BOTVIN-F22S3G6
crwdns2931471:04crwdne2931471:0
crwdns2935297:010crwdne2935297:0