crwdns2915892:0crwdne2915892:0
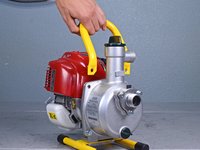
Use this guide to replace the mechanical seal kit behind the impeller on a Wacker PG1 (2014) Pump.
crwdns2942213:0crwdne2942213:0
-
-
Before beginning repairs, disconnect and remove all hoses.
-
Flip the motor ignition switch into the OFF position.
-
-
-
Use a 13 mm socket to remove the two bolts securing the handle.
-
-
-
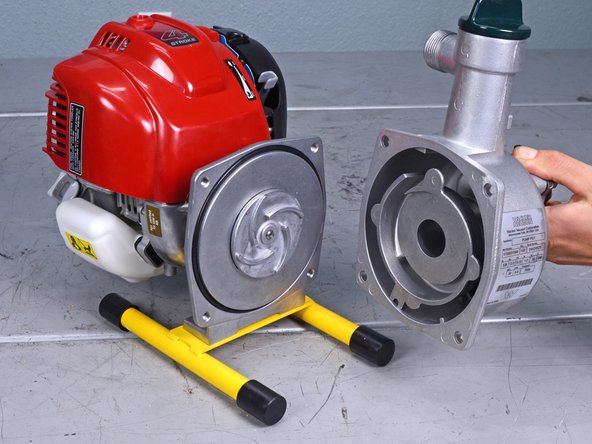
Use a 13 mm socket to remove the two bolts securing the float chamber housing.
-
-
-
-
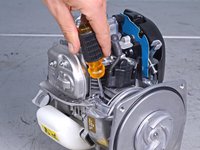
Use a 4 mm hex key to remove the bolt securing the engine cover.
-
-
-
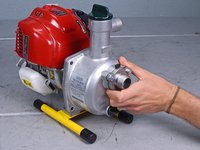
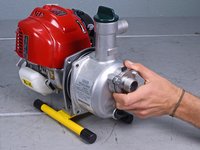
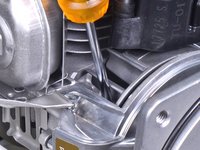
Insert a flathead screwdriver between two fan blades on the motor fan assembly.
-
-
-
Tap the impeller on one of its blades with a rubber mallet and a punch to break it loose from the threads on the output shaft.
-
-
-
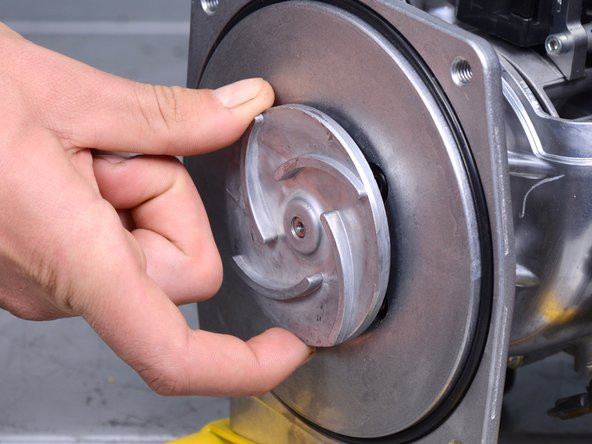
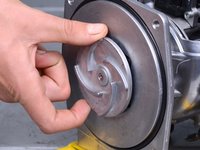
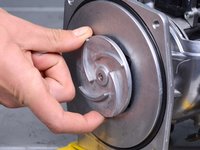
Use your fingers to unthread and remove the impeller.
-
-
-
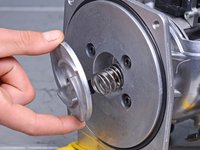
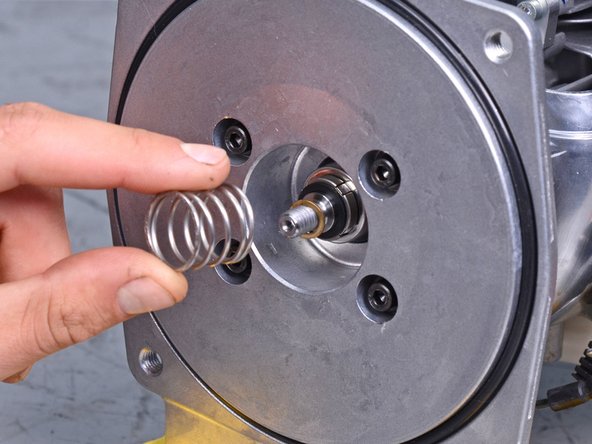
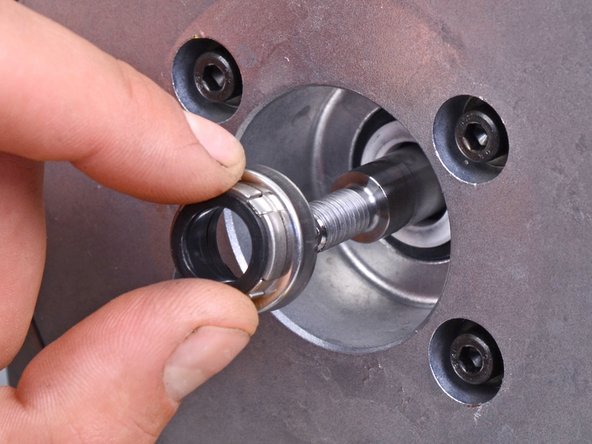
Remove the seal kit spring.
-
-
-
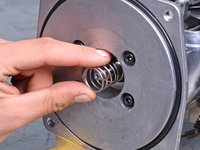
Remove the seal kit washer.
-
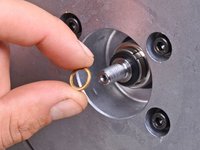
Remove the seal kit flange.
-
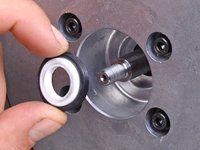
Remove the seal kit bushing.
-


To reassemble your device, follow these instructions in reverse order.

