crwdns2915892:0crwdne2915892:0
Welcome!
If your plate compactor isn’t vibrating but the engine is running fine, a great place to start is by inspecting the V-belt and replacing it if damaged. It is also good practice to inspect the V-belt regularly and to keep the V-belt housing clean in order to reduce wear and prevent the tool from failing when it is needed.
crwdns2942213:0crwdne2942213:0
-
-
-
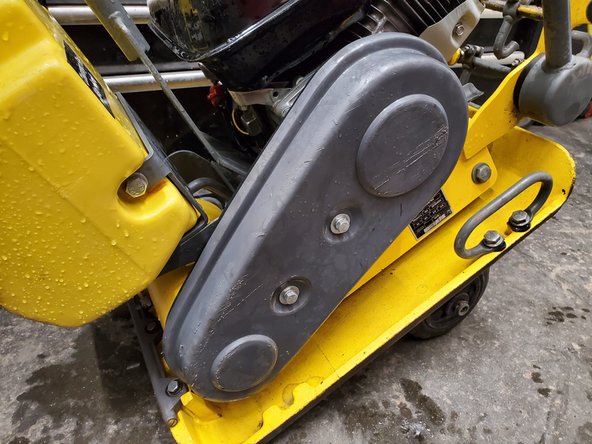
The V-belt is located in a large gray compartment on the left side of the machine
 crwdns2952109:0crwdne2952109:0
-
-
-
There are two 1/2 in bolts in the center of the belt guard cover that hold it on. Loosen them using the 1/2 in socket and the 3/8 in drive ratchet, but don't fully remove them
-
-
-
Remove the belt guard cover and set it aside
-
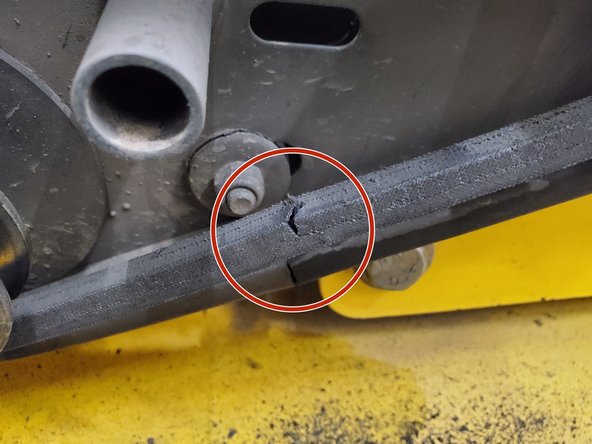
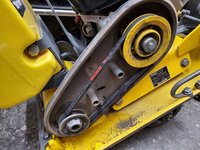
Rotate the belt slowly, inspecting for signs of damage such as the crack shown
-
-
-
-
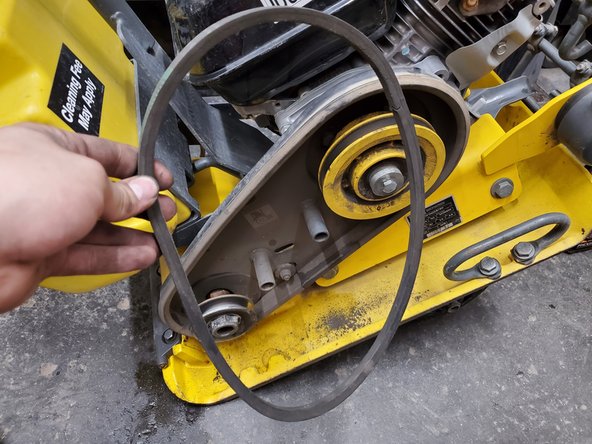
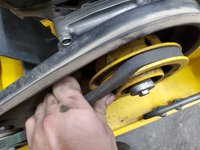
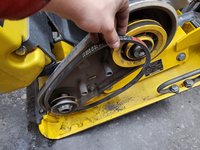
Pull part of the V-belt up and over the top of the large pulley with one hand
-
Maintain tension on the belt while using your other hand to rotate the pulley clockwise until the belt comes off. This will require a bit of force
-
Clean any dirt or residue off of the area where the belt rode on the pulleys to ensure the new belt doesn't get any unnecessary wear
-
-
-
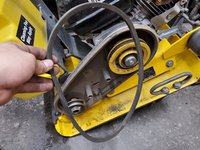
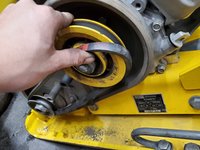
Loop the bottom of the belt around the small pulley
-
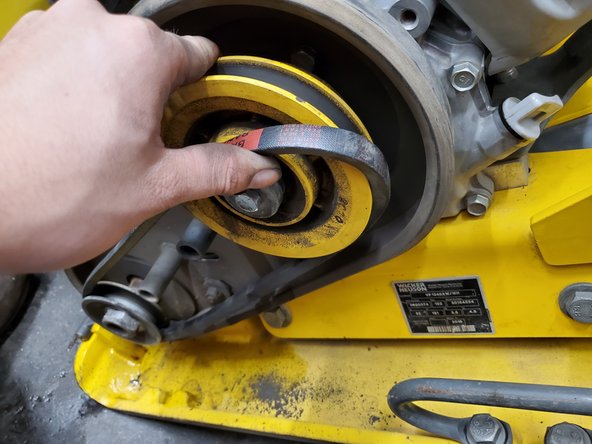
Pull the top of the belt around the bottom of the large pulley
-
Slowly twist the top pulley counter-clockwise while maintaining tension on the belt until the belt is completely on. This will require a bit of force
-
-
-
Lightly pressure wash or otherwise clean the inside of the belt guard and belt guard cover. This will reduce wear and damage on the new belt
-
-
-
Line up the cover of the belt guard and place each bolt in its respective hole
-
Firmly press the belt guard cover into the rubber molding of the belt guard case to ensure proper sealing
-
Tighten the bolts firmly with a 1/2 in socket and a 3/8 in drive ratchet
-
-




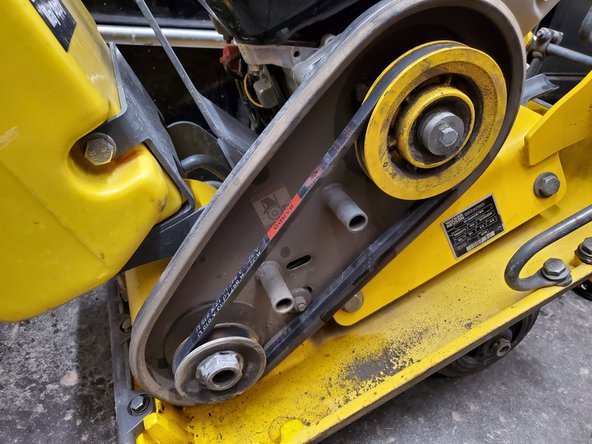


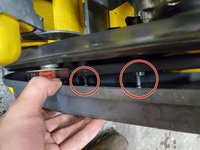
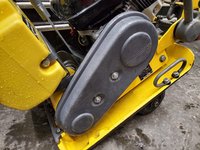
Congrats! Your belt is now replaced.
Please give this guide a favorite and like if you found it helpful and please leave your feedback in the comments below. Thank you and have a great rest of your day.
crwdns2935221:0crwdne2935221:0
crwdns2935229:03crwdne2935229:0

crwdns2935287:0crwdne2935287:0

The Home Depot crwdns2935289:0The Home Depotcrwdne2935289:0
Community
crwdns2931471:028,555crwdne2931471:0
crwdns2935297:0851crwdne2935297:0
crwdns2947412:02crwdne2947412:0
In step #2 they are NOT 1/2in bolts, they are 5/16in bolts , please learn how bolts are measured before posting false information
JAMES - crwdns2934203:0crwdne2934203:0 crwdns2950251:0crwdne2950251:0
To be fair, mine were all 1/2 inch, sounds like yours were replaced with a different size. Maybe fact check before you accuse people of posting false info
GREGORY - crwdns2934203:0crwdne2934203:0 crwdns2950251:0crwdne2950251:0
