crwdns2933423:0crwdne2933423:0

Wacker 4-Stroke Rammer BS504AS REV 101 (2019) Clutch Drum Replacement

crwdns2942213:0crwdne2942213:0

  1. Wacker 4-Stroke Rammer BS504AS REV 101 (2019) Clutch Drum Replacement, Disconnect the spark plug wire: crwdns2935265:01crwdnd2935265:01crwdnd2935265:02crwdne2935265:0 Wacker 4-Stroke Rammer BS504AS REV 101 (2019) Clutch Drum Replacement, Disconnect the spark plug wire: crwdns2935265:01crwdnd2935265:02crwdnd2935265:02crwdne2935265:0
    • Ensure the device is powered down and cool to the touch before starting your repair.

    • Firmly grip the base of the spark plug wire's connector and pull it away from the spark plug to disconnect it.

  2. Wacker 4-Stroke Rammer BS504AS REV 101 (2019) Clutch Drum Replacement, Loosen the sight gauge: crwdns2935265:02crwdnd2935265:01crwdnd2935265:01crwdne2935265:0
    • Use a 1-1/16 inch socket to break loose the oil sight gauge near the bottom of the device.

    • Do not fully remove the oil sight gauge yet with the device in this upright position.

    • The oil sight gauge doubles as the oil drain and fill plug.

  3. Wacker 4-Stroke Rammer BS504AS REV 101 (2019) Clutch Drum Replacement, Prepare a drain pan: crwdns2935265:03crwdnd2935265:01crwdnd2935265:01crwdne2935265:0
    • Lay the device down horizontally with the oil sight gauge facing down.

    • Position a shallow oil drain pan underneath the sight gauge.

  4. Wacker 4-Stroke Rammer BS504AS REV 101 (2019) Clutch Drum Replacement, Drain the oil: crwdns2935265:04crwdnd2935265:01crwdnd2935265:01crwdne2935265:0
    • Remove the oil sight gauge.

    • Let the oil drain until drips are infrequent.

    • Replace and retighten the oil sight gauge.

    • This model requires 0.7 liters of SAE 10W-40 oil.

  5. Wacker 4-Stroke Rammer BS504AS REV 101 (2019) Clutch Drum Replacement, Support the device: crwdns2935265:05crwdnd2935265:01crwdnd2935265:02crwdne2935265:0 Wacker 4-Stroke Rammer BS504AS REV 101 (2019) Clutch Drum Replacement, Support the device: crwdns2935265:05crwdnd2935265:02crwdnd2935265:02crwdne2935265:0
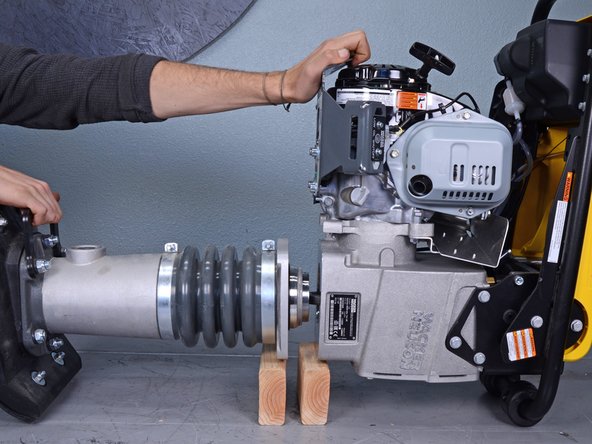
    • Flip the device onto the work surface such that the motor and handles face up.

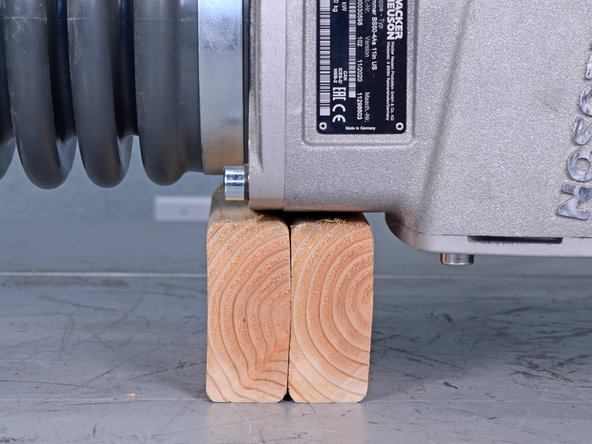
    • Place two separate blocks of wood underneath the seam between the leg assembly and crankcase.

    • Once the two halves separate, each side will need to be supported.

  6. Wacker 4-Stroke Rammer BS504AS REV 101 (2019) Clutch Drum Replacement, Remove the leg assembly bolts: crwdns2935265:06crwdnd2935265:01crwdnd2935265:02crwdne2935265:0 Wacker 4-Stroke Rammer BS504AS REV 101 (2019) Clutch Drum Replacement, Remove the leg assembly bolts: crwdns2935265:06crwdnd2935265:02crwdnd2935265:02crwdne2935265:0
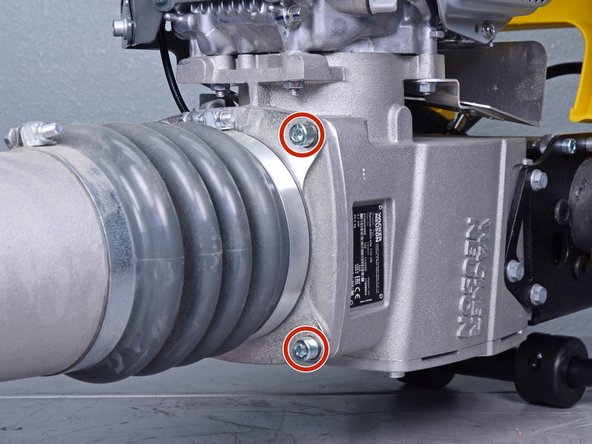
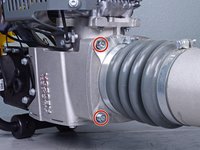
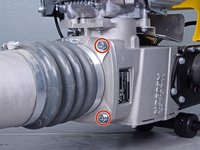
    • Use an 8 mm hex key socket to remove the four bolts securing the leg's guiding cylinder to the crankcase.

    • You may need to use an impact driver or breaker bar to break these bolts loose.

    • During reassembly, ensure each bolt has its accompanying lock washer.

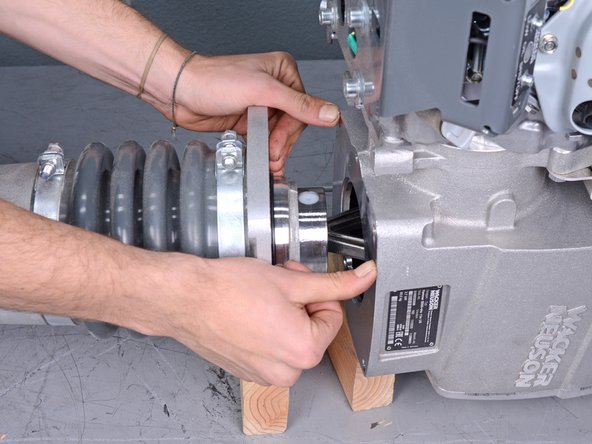
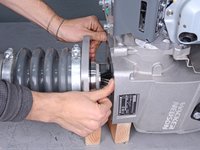
  7. Wacker 4-Stroke Rammer BS504AS REV 101 (2019) Clutch Drum Replacement, Begin to separate the halves: crwdns2935265:07crwdnd2935265:01crwdnd2935265:02crwdne2935265:0 Wacker 4-Stroke Rammer BS504AS REV 101 (2019) Clutch Drum Replacement, Begin to separate the halves: crwdns2935265:07crwdnd2935265:02crwdnd2935265:02crwdne2935265:0
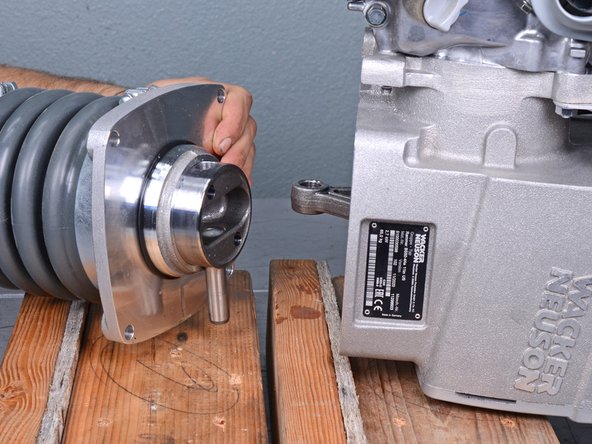
    • Pull the leg assembly away from the rest of the device.

    • Ensure each half stays adequately supported.

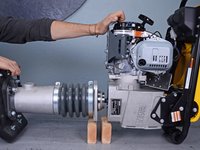
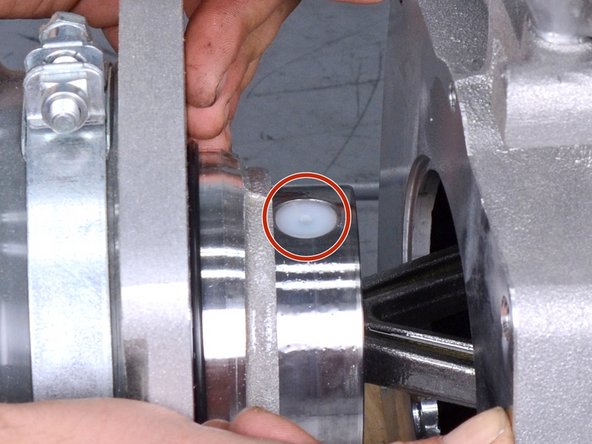
  8. Wacker 4-Stroke Rammer BS504AS REV 101 (2019) Clutch Drum Replacement, Reveal the pin: crwdns2935265:08crwdnd2935265:01crwdnd2935265:03crwdne2935265:0 Wacker 4-Stroke Rammer BS504AS REV 101 (2019) Clutch Drum Replacement, Reveal the pin: crwdns2935265:08crwdnd2935265:02crwdnd2935265:03crwdne2935265:0 Wacker 4-Stroke Rammer BS504AS REV 101 (2019) Clutch Drum Replacement, Reveal the pin: crwdns2935265:08crwdnd2935265:03crwdnd2935265:03crwdne2935265:0
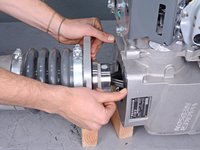
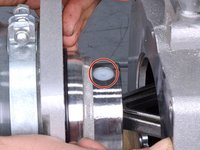
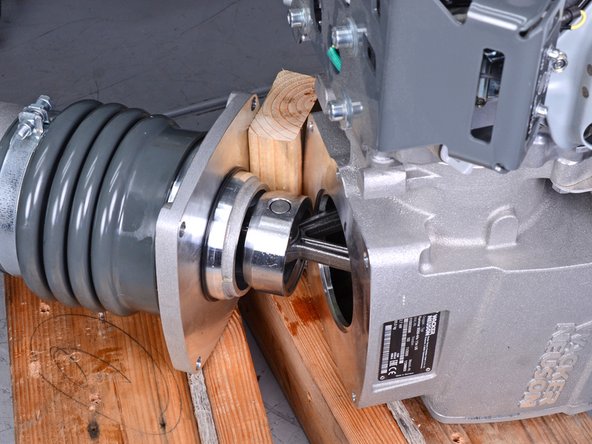
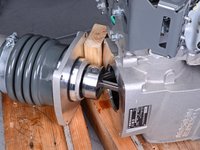
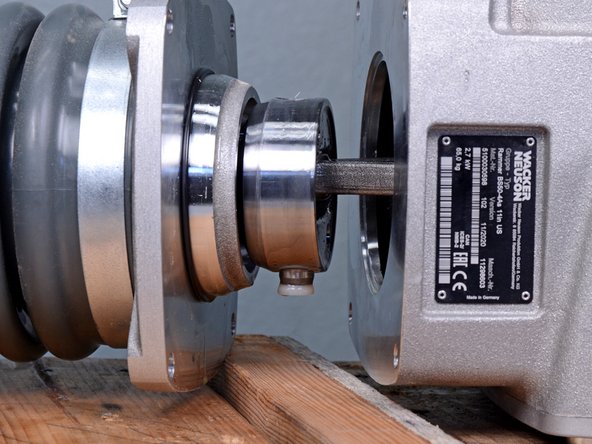
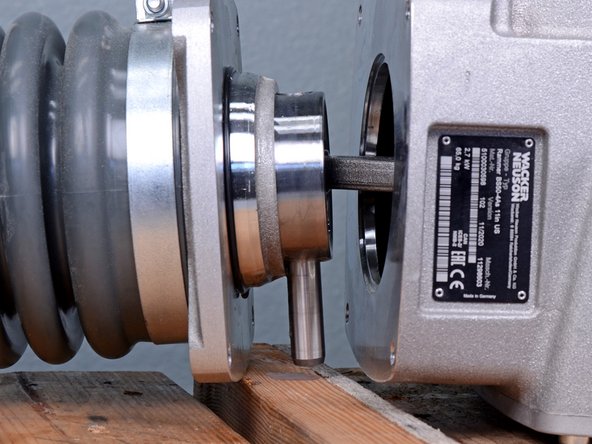
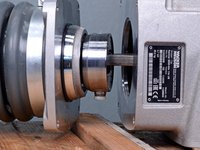
    • Continue to separate the two halves by compressing the bellows until the nylon plug covering the piston pin is visible.

  9. Wacker 4-Stroke Rammer BS504AS REV 101 (2019) Clutch Drum Replacement, Procedure tip: crwdns2935265:09crwdnd2935265:01crwdnd2935265:02crwdne2935265:0 Wacker 4-Stroke Rammer BS504AS REV 101 (2019) Clutch Drum Replacement, Procedure tip: crwdns2935265:09crwdnd2935265:02crwdnd2935265:02crwdne2935265:0
    • Tip: To compress the bellows, insert a block of wood between the two halves and pivot the leg assembly off of the crankcase to compress the guide cylinder, revealing the pin.

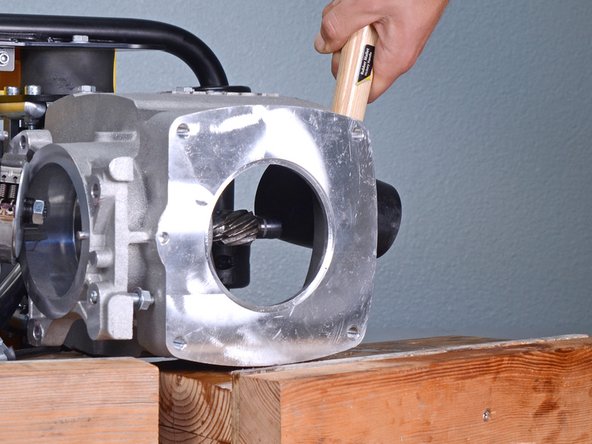
  10. Wacker 4-Stroke Rammer BS504AS REV 101 (2019) Clutch Drum Replacement, Remove the pin: crwdns2935265:010crwdnd2935265:01crwdnd2935265:03crwdne2935265:0 Wacker 4-Stroke Rammer BS504AS REV 101 (2019) Clutch Drum Replacement, Remove the pin: crwdns2935265:010crwdnd2935265:02crwdnd2935265:03crwdne2935265:0 Wacker 4-Stroke Rammer BS504AS REV 101 (2019) Clutch Drum Replacement, Remove the pin: crwdns2935265:010crwdnd2935265:03crwdnd2935265:03crwdne2935265:0
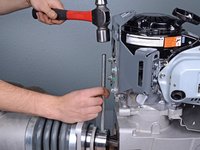
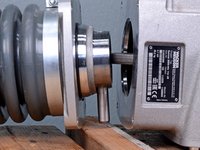
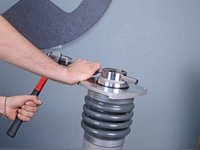
    • Use an appropriately-sized punch and a ball-peen hammer to tap the pin out of its hole on the guide piston until it is no longer securing the connecting rod.

    • Once the piston and connecting rod are separated, the two halves become completely disconnected and will need to be adequately supported.

    • During reassembly, ensure that both nylon plugs are reinstalled and are flush with the surface of the guide piston.

  11. Wacker 4-Stroke Rammer BS504AS REV 101 (2019) Clutch Drum Replacement, Remove the leg assembly: crwdns2935265:011crwdnd2935265:01crwdnd2935265:02crwdne2935265:0 Wacker 4-Stroke Rammer BS504AS REV 101 (2019) Clutch Drum Replacement, Remove the leg assembly: crwdns2935265:011crwdnd2935265:02crwdnd2935265:02crwdne2935265:0
    • Remove the leg assembly from the crankcase.

  12. Wacker 4-Stroke Rammer BS504AS REV 101 (2019) Clutch Drum Replacement, Completely remove the pin: crwdns2935265:012crwdnd2935265:01crwdnd2935265:02crwdne2935265:0 Wacker 4-Stroke Rammer BS504AS REV 101 (2019) Clutch Drum Replacement, Completely remove the pin: crwdns2935265:012crwdnd2935265:02crwdnd2935265:02crwdne2935265:0
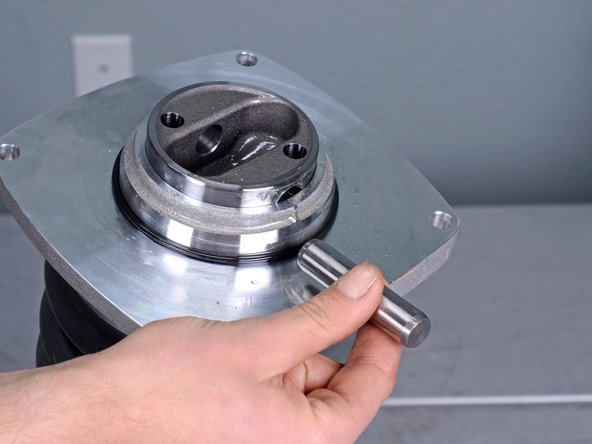
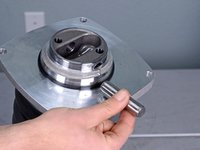
    • Use a punch and hammer to tap the pin out of the guide piston.

    • Once the pin is removed, the guide cylinder may spring up due to the compression of the bellows.

    • During reassembly, the bellows will need to be compressed to uncover the pin hole on the guide piston.

  13. Wacker 4-Stroke Rammer BS504AS REV 101 (2019) Clutch Drum Replacement, Support the device in an upright position: crwdns2935265:013crwdnd2935265:01crwdnd2935265:01crwdne2935265:0
    • Use wood blocks to support the device on the work surface, motor facing up.

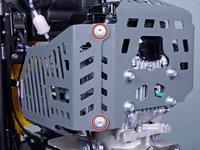
  14. Wacker 4-Stroke Rammer BS504AS REV 101 (2019) Clutch Drum Replacement, Remove the engine guard: crwdns2935265:014crwdnd2935265:01crwdnd2935265:01crwdne2935265:0
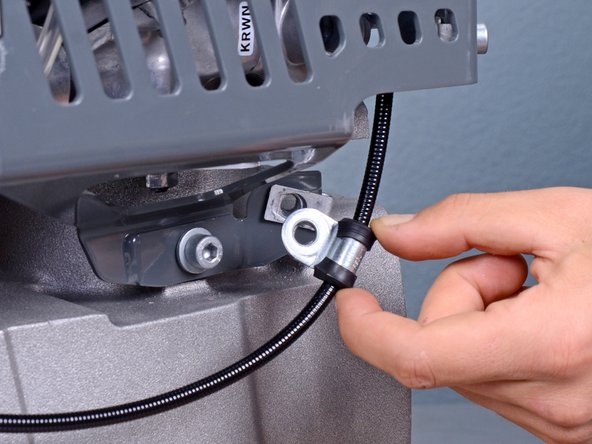
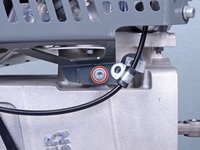
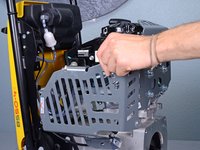
    • Use a 6 mm hex socket to remove the engine guard bolt securing the cable guide.

  15. Wacker 4-Stroke Rammer BS504AS REV 101 (2019) Clutch Drum Replacement: crwdns2935265:015crwdnd2935265:01crwdnd2935265:02crwdne2935265:0 Wacker 4-Stroke Rammer BS504AS REV 101 (2019) Clutch Drum Replacement: crwdns2935265:015crwdnd2935265:02crwdnd2935265:02crwdne2935265:0
    • Pull the cable guide away from the engine guard.

  16. Wacker 4-Stroke Rammer BS504AS REV 101 (2019) Clutch Drum Replacement: crwdns2935265:016crwdnd2935265:01crwdnd2935265:02crwdne2935265:0 Wacker 4-Stroke Rammer BS504AS REV 101 (2019) Clutch Drum Replacement: crwdns2935265:016crwdnd2935265:02crwdnd2935265:02crwdne2935265:0
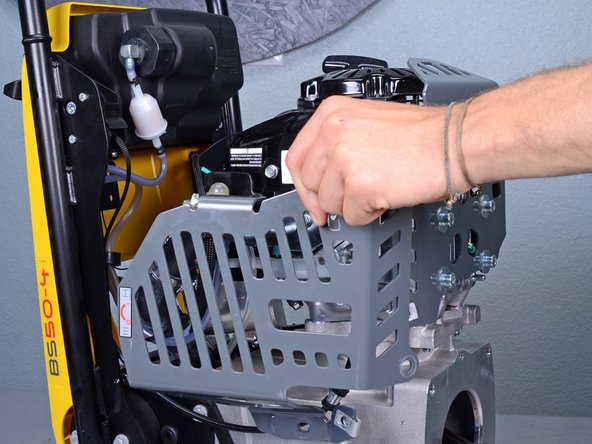
    • Use a 6 mm hex socket to remove the three remaining bolts securing the engine guard: two on the outer edge and one near the crankcase.

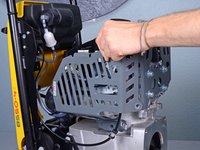
  17. Wacker 4-Stroke Rammer BS504AS REV 101 (2019) Clutch Drum Replacement: crwdns2935265:017crwdnd2935265:01crwdnd2935265:02crwdne2935265:0 Wacker 4-Stroke Rammer BS504AS REV 101 (2019) Clutch Drum Replacement: crwdns2935265:017crwdnd2935265:02crwdnd2935265:02crwdne2935265:0
    • Remove the engine guard.

  18. Wacker 4-Stroke Rammer BS504AS REV 101 (2019) Clutch Drum Replacement, Remove the motor nuts: crwdns2935265:018crwdnd2935265:01crwdnd2935265:03crwdne2935265:0 Wacker 4-Stroke Rammer BS504AS REV 101 (2019) Clutch Drum Replacement, Remove the motor nuts: crwdns2935265:018crwdnd2935265:02crwdnd2935265:03crwdne2935265:0 Wacker 4-Stroke Rammer BS504AS REV 101 (2019) Clutch Drum Replacement, Remove the motor nuts: crwdns2935265:018crwdnd2935265:03crwdnd2935265:03crwdne2935265:0
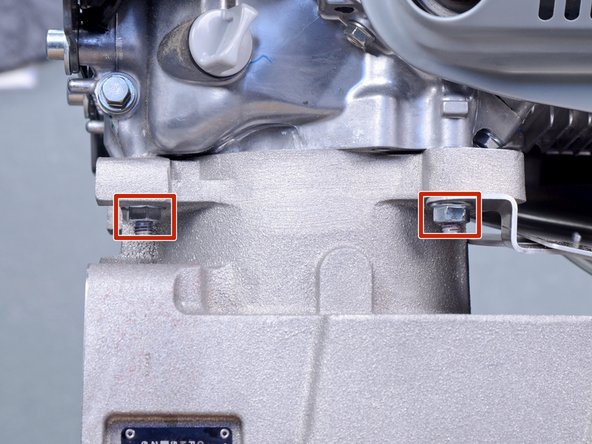
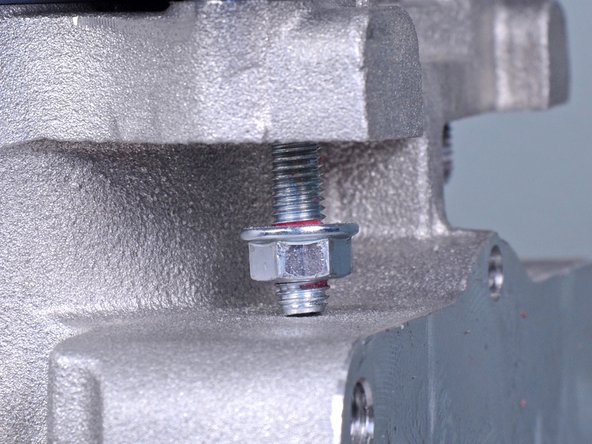
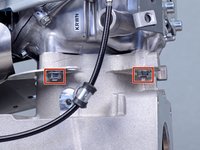
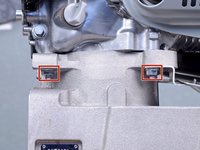
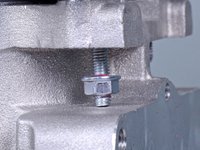
    • Use a 13 mm wrench to remove the four nuts securing the motor to the crankcase, two on each side.

    • When removing the nuts, the crankcase bolts may also become unthreaded, preventing its accompanying nut from being removed. This is fine.

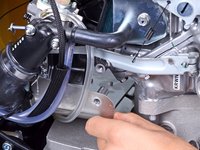
  19. Wacker 4-Stroke Rammer BS504AS REV 101 (2019) Clutch Drum Replacement, Move the muffler shroud: crwdns2935265:019crwdnd2935265:01crwdnd2935265:01crwdne2935265:0
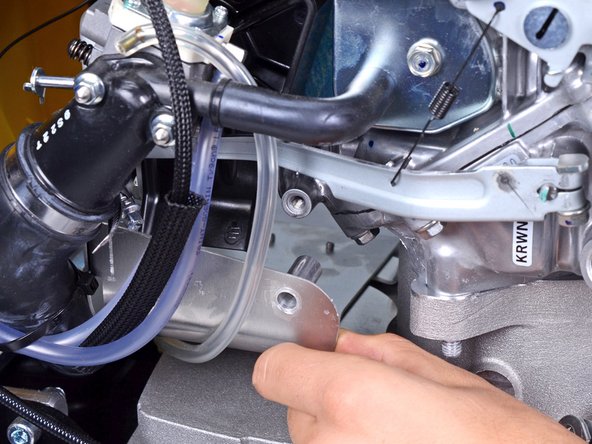
    • Use a 10 mm socket to remove the bolt securing the muffler shroud.

  20. Wacker 4-Stroke Rammer BS504AS REV 101 (2019) Clutch Drum Replacement: crwdns2935265:020crwdnd2935265:01crwdnd2935265:02crwdne2935265:0 Wacker 4-Stroke Rammer BS504AS REV 101 (2019) Clutch Drum Replacement: crwdns2935265:020crwdnd2935265:02crwdnd2935265:02crwdne2935265:0
    • Lower the muffler shroud away from the motor, down onto the crankcase.

    • Do not fully remove the muffler shroud.

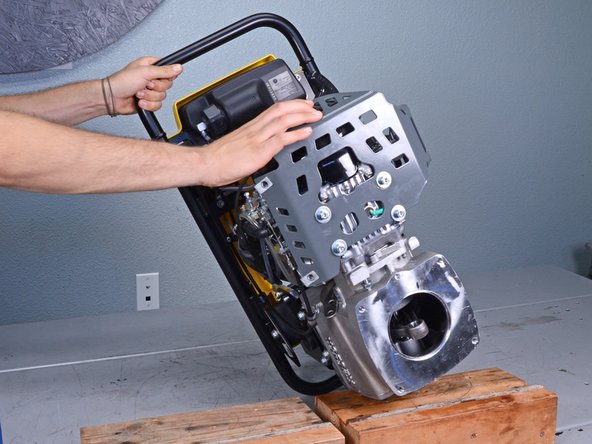
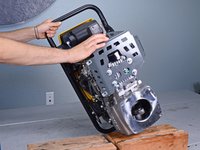
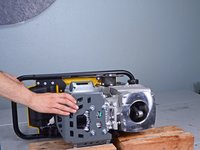
  21. Wacker 4-Stroke Rammer BS504AS REV 101 (2019) Clutch Drum Replacement, Separate the motor from the crankcase: crwdns2935265:021crwdnd2935265:01crwdnd2935265:03crwdne2935265:0 Wacker 4-Stroke Rammer BS504AS REV 101 (2019) Clutch Drum Replacement, Separate the motor from the crankcase: crwdns2935265:021crwdnd2935265:02crwdnd2935265:03crwdne2935265:0 Wacker 4-Stroke Rammer BS504AS REV 101 (2019) Clutch Drum Replacement, Separate the motor from the crankcase: crwdns2935265:021crwdnd2935265:03crwdnd2935265:03crwdne2935265:0
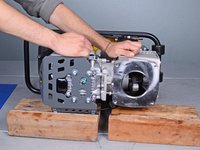
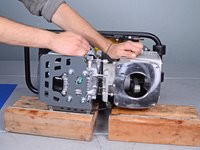
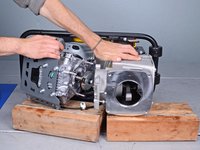
    • Tilt the device down onto its side, supporting both the crankcase and motor with blocks of wood.

    • The motor is loose from the crankcase, so support the motor as you lower the device down.

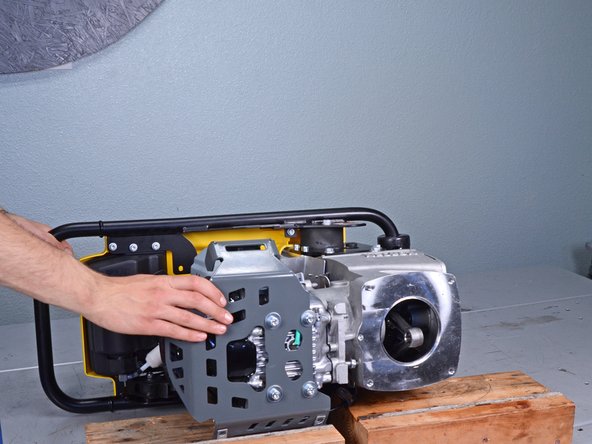
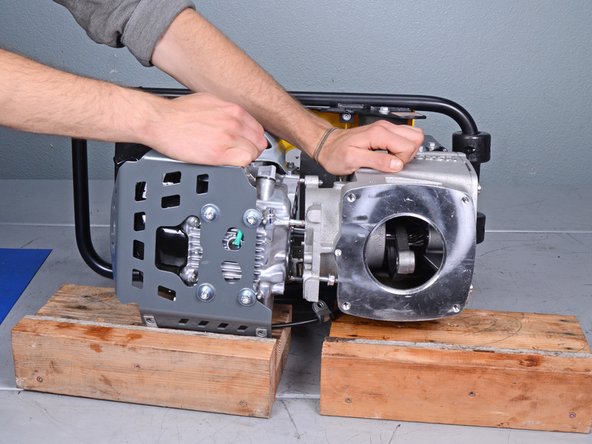
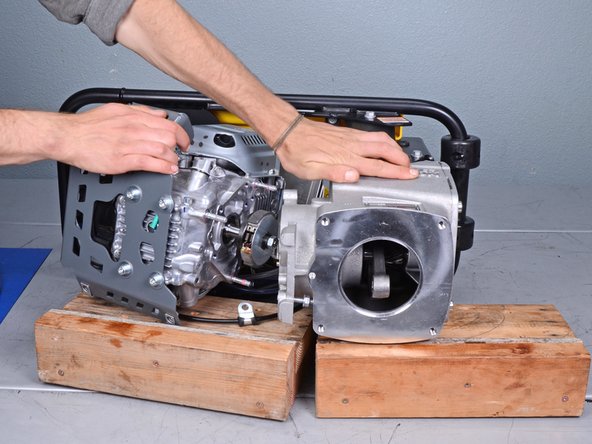
  22. Wacker 4-Stroke Rammer BS504AS REV 101 (2019) Clutch Drum Replacement: crwdns2935265:022crwdnd2935265:01crwdnd2935265:03crwdne2935265:0 Wacker 4-Stroke Rammer BS504AS REV 101 (2019) Clutch Drum Replacement: crwdns2935265:022crwdnd2935265:02crwdnd2935265:03crwdne2935265:0 Wacker 4-Stroke Rammer BS504AS REV 101 (2019) Clutch Drum Replacement: crwdns2935265:022crwdnd2935265:03crwdnd2935265:03crwdne2935265:0
    • Hold the crankcase steady and pull the motor directly away from it.

    • Ensure each half stays adequately supported.

    • The motor is still attached to the rest of the device via various hoses and cables, so don't attempt to completely remove it.

  23. Wacker 4-Stroke Rammer BS504AS REV 101 (2019) Clutch Drum Replacement, Remove the crankcase cover bolts: crwdns2935265:023crwdnd2935265:01crwdnd2935265:01crwdne2935265:0
    • Use an 8 mm hex socket to remove the four bolts securing the crankcase cover.

  24. Wacker 4-Stroke Rammer BS504AS REV 101 (2019) Clutch Drum Replacement, Separate the crankcase cover from the crankcase: crwdns2935265:024crwdnd2935265:01crwdnd2935265:03crwdne2935265:0 Wacker 4-Stroke Rammer BS504AS REV 101 (2019) Clutch Drum Replacement, Separate the crankcase cover from the crankcase: crwdns2935265:024crwdnd2935265:02crwdnd2935265:03crwdne2935265:0 Wacker 4-Stroke Rammer BS504AS REV 101 (2019) Clutch Drum Replacement, Separate the crankcase cover from the crankcase: crwdns2935265:024crwdnd2935265:03crwdnd2935265:03crwdne2935265:0
    • Any excess oil that did not drain out of the drain plug may leak out here. Be prepared with a shop rag or shop towel to catch any drips.

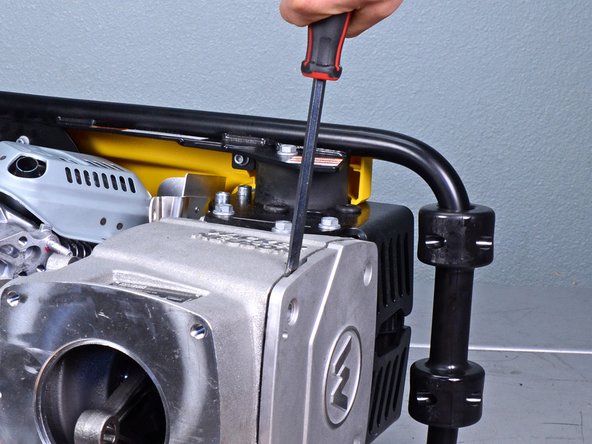
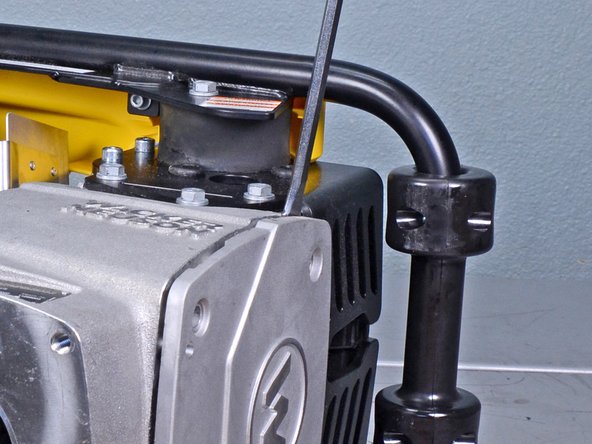
    • Insert a flathead screwdriver into one of the side gaps between the crankcase cover and the crankcase.

    • Twist the screwdriver to begin to pull the crankcase cover away from the crankcase.

    • Repeat for the opposite side gap, and repeat until the crankcase cover comes loose from the crankcase.

    • During reassembly, check that the crankcase cover O-ring is in good condition, and replace it if it is cracked or deformed.

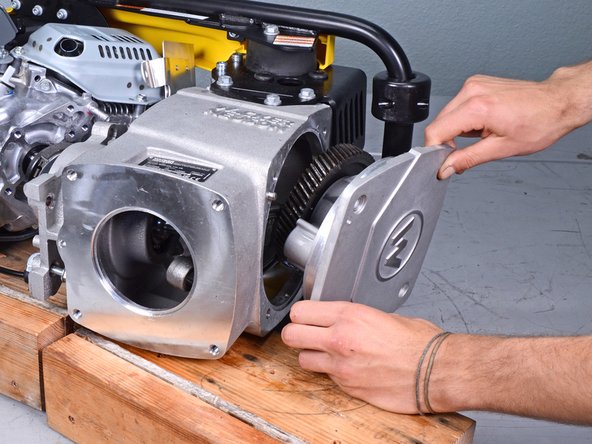
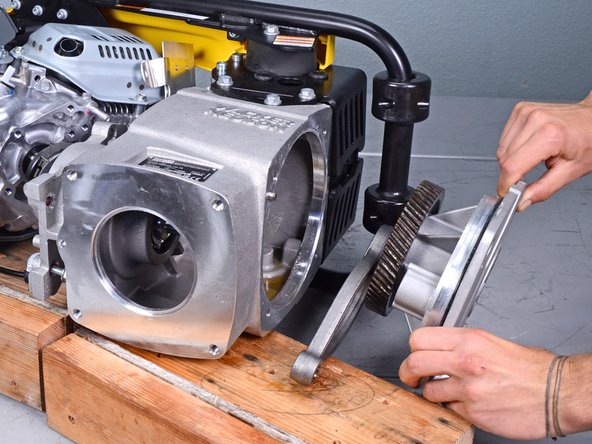
  25. Wacker 4-Stroke Rammer BS504AS REV 101 (2019) Clutch Drum Replacement, Remove the crankcase cover: crwdns2935265:025crwdnd2935265:01crwdnd2935265:03crwdne2935265:0 Wacker 4-Stroke Rammer BS504AS REV 101 (2019) Clutch Drum Replacement, Remove the crankcase cover: crwdns2935265:025crwdnd2935265:02crwdnd2935265:03crwdne2935265:0 Wacker 4-Stroke Rammer BS504AS REV 101 (2019) Clutch Drum Replacement, Remove the crankcase cover: crwdns2935265:025crwdnd2935265:03crwdnd2935265:03crwdne2935265:0
    • Use your fingers to pull the crankcase cover off of the crankcase.

    • Feed the connecting rod around the clutch drum shaft and out through the crankcase cover hole.

    • During reassembly, feed the connecting rod around the clutch drum shaft and ensure the helical gears fully mesh.

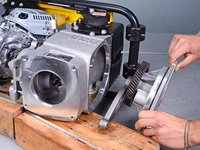
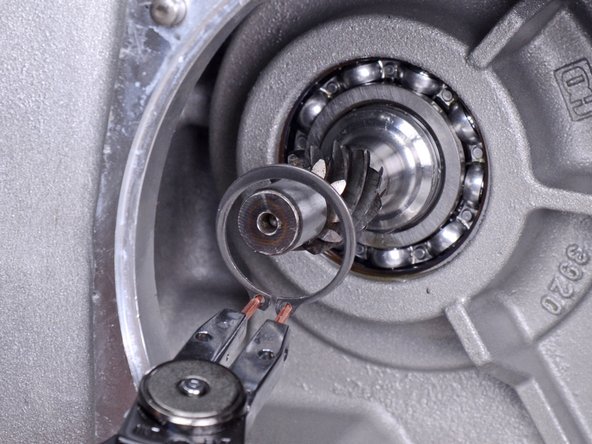
  26. Wacker 4-Stroke Rammer BS504AS REV 101 (2019) Clutch Drum Replacement, Remove the clutch drum snap ring: crwdns2935265:026crwdnd2935265:01crwdnd2935265:02crwdne2935265:0 Wacker 4-Stroke Rammer BS504AS REV 101 (2019) Clutch Drum Replacement, Remove the clutch drum snap ring: crwdns2935265:026crwdnd2935265:02crwdnd2935265:02crwdne2935265:0
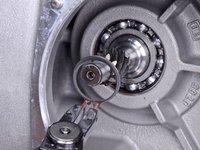
    • Use a pair of snap ring pliers to remove the snap ring securing the clutch drum to the crankcase bearing assembly.

    • During reassembly, ensure the clutch drum shaft is fully seated in the bearing assembly before attempting to reinstall the snap ring.

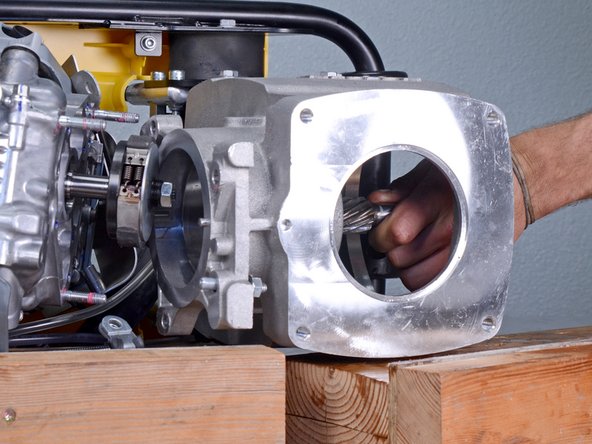
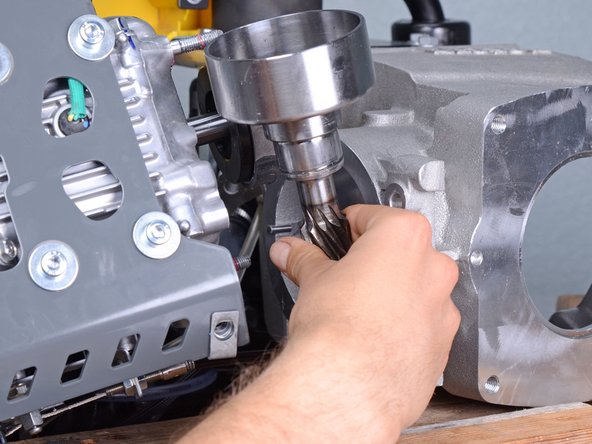
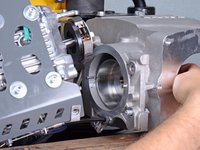
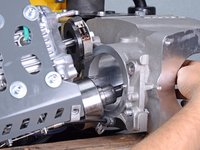
  27. Wacker 4-Stroke Rammer BS504AS REV 101 (2019) Clutch Drum Replacement, Tap out the clutch drum: crwdns2935265:027crwdnd2935265:01crwdnd2935265:03crwdne2935265:0 Wacker 4-Stroke Rammer BS504AS REV 101 (2019) Clutch Drum Replacement, Tap out the clutch drum: crwdns2935265:027crwdnd2935265:02crwdnd2935265:03crwdne2935265:0 Wacker 4-Stroke Rammer BS504AS REV 101 (2019) Clutch Drum Replacement, Tap out the clutch drum: crwdns2935265:027crwdnd2935265:03crwdnd2935265:03crwdne2935265:0
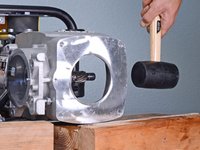
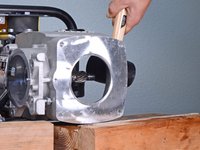
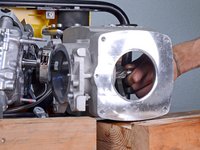
    • Use a rubber mallet to tap the end of the clutch drum shaft through its hole on the top of the crankcase until it becomes loose enough to be moved by hand.

    • During reassembly, reseat the clutch drum into the bearing assembly by tapping it by the drum end.

    • Oil the new clutch drum shaft to ease installation.

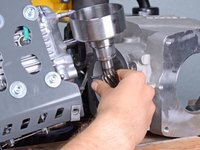
  28. Wacker 4-Stroke Rammer BS504AS REV 101 (2019) Clutch Drum Replacement, Remove the clutch drum: crwdns2935265:028crwdnd2935265:01crwdnd2935265:03crwdne2935265:0 Wacker 4-Stroke Rammer BS504AS REV 101 (2019) Clutch Drum Replacement, Remove the clutch drum: crwdns2935265:028crwdnd2935265:02crwdnd2935265:03crwdne2935265:0 Wacker 4-Stroke Rammer BS504AS REV 101 (2019) Clutch Drum Replacement, Remove the clutch drum: crwdns2935265:028crwdnd2935265:03crwdnd2935265:03crwdne2935265:0
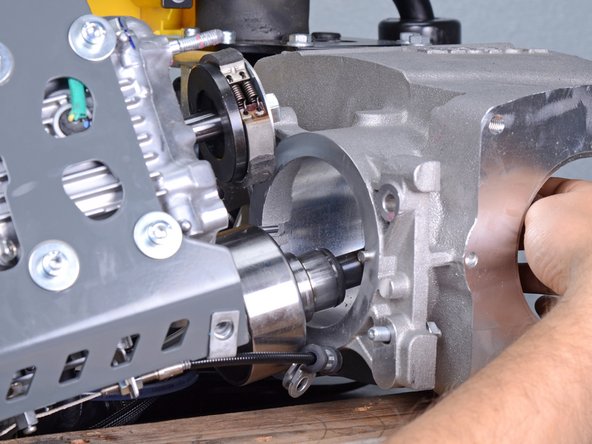
    • Push the clutch drum shaft with your fingers until it can be gripped from the top of the crankcase.

    • Since the motor is still connected to the crankcase, you may need to shift the motor's position on the wood blocks in order to fully remove the clutch drum.

    • Remove the clutch drum.

crwdns2915888:0crwdne2915888:0

To reassemble your device, follow these instructions in reverse order.

After reassembly, tilt the device upright and check the oil level through the sight glass. The oil should cover 1/2 to 3/4 of the sight glass to be considered full. This model requires up to 0.7 liters of SAE 10W-40 oil.

Carsten Frauenheim

crwdns2935283:003/10/20crwdne2935283:0

113.871 crwdns2915208:0crwdne2915208:0

crwdns2935297:0338crwdne2935297:0
crwdns2915084:0crwdne2915084:0
iFixit crwdns2935289:0iFixitcrwdne2935289:0
Staff

crwdns2931471:0135crwdne2931471:0

crwdns2935297:017.144crwdne2935297:0
crwdns2944067:00crwdne2944067:0

crwdns2917038:0crwdne2917038:0
crwdns2936625:0crwdne2936625:0:

crwdns2936751:024crwdne2936751:0 0

crwdns2936753:07crwdne2936753:0 2

crwdns2936753:030crwdne2936753:0 16

crwdns2942667:0crwdne2942667:0 427