crwdns2915892:0crwdne2915892:0
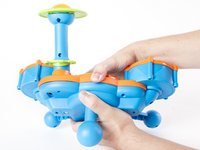
A broken or cracked drum head can be very hazardous to small children. Additionally, a damaged drum head could prevent the drum set from working properly. This guide is designed to show how to correctly replace the white drum head(s) in order restore your drum set to a safe and functioning condition.
crwdns2942213:0crwdne2942213:0
-
-
Locate the battery panel that is centered between the three leg supports at the bottom of the drum set.
-
-
-
To remove the battery panel, loosen the 10 mm panel screw using a flathead 4.0 screwdriver.
-
-
-
Using your fingers, pry open and remove the back battery panel.
-
-
-
Use your fingers to remove each battery from its housing.
-
-
-
-
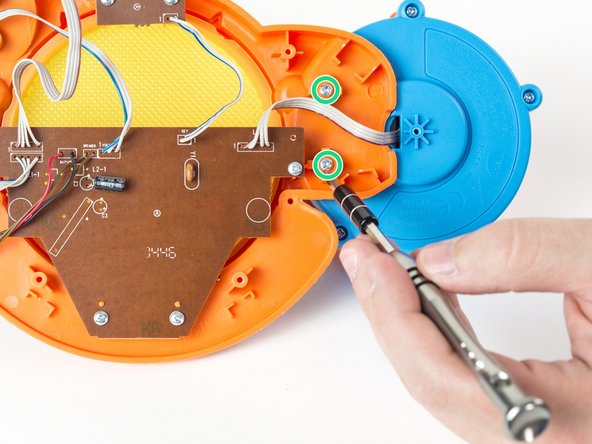
Using a Phillips #2 screwdriver, loosen and remove the six 14 mm screws.
-
-
-
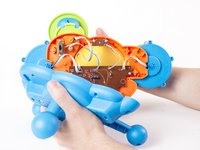
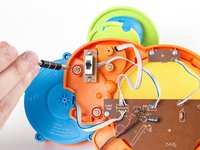
With your hands, separate the bottom panel from the drum set.
-
-
-
To replace the white drum head on the cymbal side, use a Phillips #00 screwdriver to loosen and remove the two 8 mm screws.
-
To replace the white drum head on the side opposite of the cymbal, use a Phillips #00 screwdriver to loosen and remove the two 8 mm screws.
-
-
-
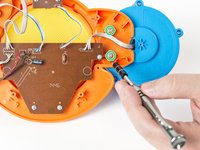
Loosen and remove the five 15 mm screws using a Phillips #2 screwdriver.
-
-
-
Using your hands, remove the orange rim and white drum head from the blue base.
-
-
-
Using your hands, pull apart the white drum head from the orange rim.
-


To reassemble your device, follow these instructions in reverse order.
To reassemble your device, follow these instructions in reverse order.
crwdns2915084:0crwdne2915084:0

USF Tampa, Team 2-8, Cagle Spring 2016 crwdns2935289:0USF Tampa, Team 2-8, Cagle Spring 2016crwdne2935289:0
USFT-CAGLE-S16S2G8
crwdns2931471:02crwdne2931471:0
crwdns2935297:012crwdne2935297:0