crwdns2933423:0crwdne2933423:0
crwdns2947577:0crwdnd2947577:0crwdne2947577:0

Vtech Innotab 3 Button Replacement

crwdns2942213:0crwdne2942213:0

    1. Vtech Innotab 3 Button Replacement, Rear Panel: crwdns2935265:01crwdnd2935265:01crwdnd2935265:03crwdne2935265:0 Vtech Innotab 3 Button Replacement, Rear Panel: crwdns2935265:01crwdnd2935265:02crwdnd2935265:03crwdne2935265:0 Vtech Innotab 3 Button Replacement, Rear Panel: crwdns2935265:01crwdnd2935265:03crwdnd2935265:03crwdne2935265:0
      • Slide the battery compartment door lock down.

      • While still holding the battery compartment lock down, slide the two battery doors outwards on either side of the device.

      • Carefully remove the batteries from the battery compartment.

      • The standard option for the InnoTab 3 is four AA batteries. Vtech also offers a rechargeable battery online, but both battery options are removed from the device the same way.

      crwdns2952109:0crwdne2952109:0

      crwdns2917038:0crwdne2917038:0

    2. Vtech Innotab 3 Button Replacement: crwdns2935265:02crwdnd2935265:01crwdnd2935265:01crwdne2935265:0
      • Remove the six 7.6mm screws found in the battery compartment using a PH00 screwdriver.

      crwdns2952109:0crwdne2952109:0

      crwdns2917038:0crwdne2917038:0

    3. Vtech Innotab 3 Button Replacement: crwdns2935265:03crwdnd2935265:01crwdnd2935265:03crwdne2935265:0 Vtech Innotab 3 Button Replacement: crwdns2935265:03crwdnd2935265:02crwdnd2935265:03crwdne2935265:0 Vtech Innotab 3 Button Replacement: crwdns2935265:03crwdnd2935265:03crwdnd2935265:03crwdne2935265:0
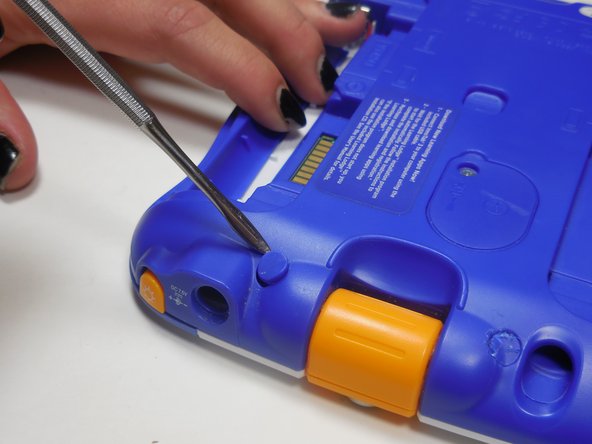
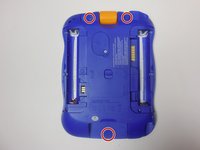
      • There are three hidden screws on the back of the device, two at the top and one near the bottom.

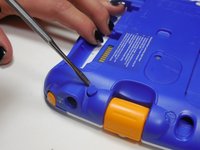
      • Using a nylon or metal spudger, remove the three caps that hide the screws.

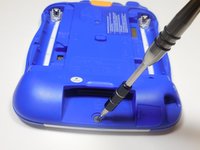
      • Remove the 5mm screw near the bottom and the two 7.6mm at the top using a PH00 screwdriver.

      crwdns2952109:0crwdne2952109:0

      crwdns2917038:0crwdne2917038:0

    4. Vtech Innotab 3 Button Replacement: crwdns2935265:04crwdnd2935265:01crwdnd2935265:01crwdne2935265:0
      • Carefully separate the back panel from the front panel revealing the motherboard connected to the front panel.

      crwdns2952109:0crwdne2952109:0

      crwdns2917038:0crwdne2917038:0

    1. Vtech Innotab 3 Button Replacement, Button Repair: crwdns2935265:05crwdnd2935265:01crwdnd2935265:03crwdne2935265:0 Vtech Innotab 3 Button Replacement, Button Repair: crwdns2935265:05crwdnd2935265:02crwdnd2935265:03crwdne2935265:0 Vtech Innotab 3 Button Replacement, Button Repair: crwdns2935265:05crwdnd2935265:03crwdnd2935265:03crwdne2935265:0
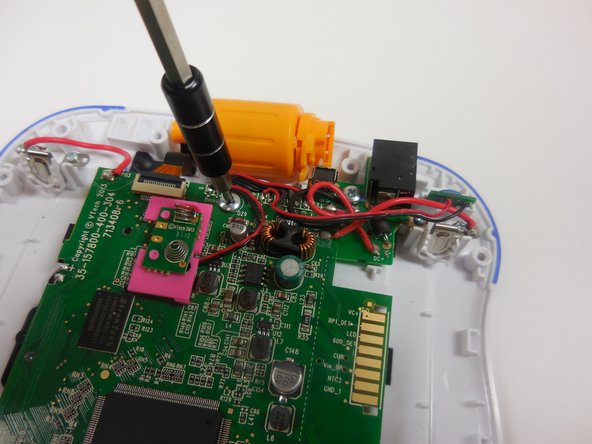
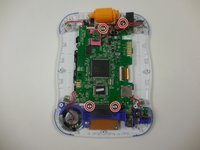
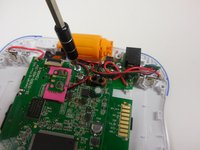
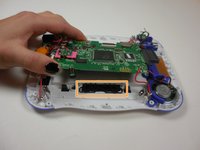
      • Remove the four 7.6 mm screws using a PH00 screwdriver.

      • Lift the circuit board up to give yourself room to remove the buttons.

      crwdns2952109:0crwdne2952109:0

      crwdns2917038:0crwdne2917038:0

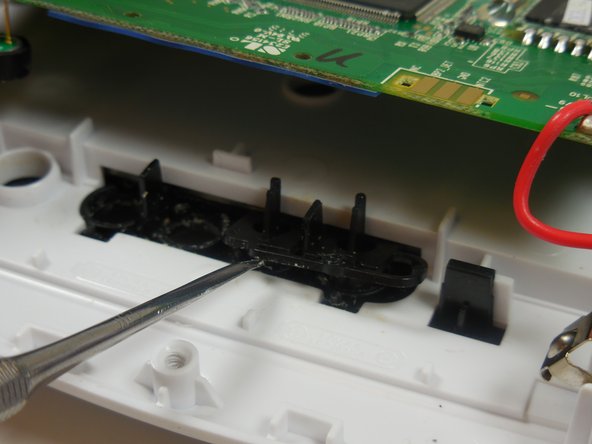
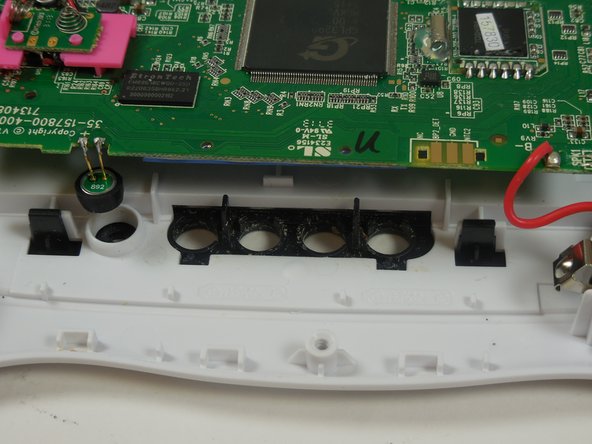
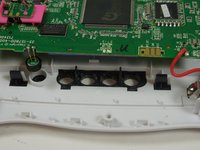
    2. Vtech Innotab 3 Button Replacement: crwdns2935265:06crwdnd2935265:01crwdnd2935265:03crwdne2935265:0 Vtech Innotab 3 Button Replacement: crwdns2935265:06crwdnd2935265:02crwdnd2935265:03crwdne2935265:0 Vtech Innotab 3 Button Replacement: crwdns2935265:06crwdnd2935265:03crwdnd2935265:03crwdne2935265:0
      • Using a nylon or metal spudger, lift up the buttons to remove them from their holding. they should just pop out of place.

      • The buttons are joined together in pairs, be sure not to break them apart during removal.

      crwdns2952109:0crwdne2952109:0

      crwdns2917038:0crwdne2917038:0

crwdns2915888:0crwdne2915888:0

To reassemble your device, follow these instructions in reverse order.

crwdns2935221:0crwdne2935221:0

Zach Diviney

crwdns2935283:003/11/15crwdne2935283:0

419 crwdns2915208:0crwdne2915208:0

crwdns2935297:04crwdne2935297:0

crwdns2935287:0crwdne2935287:0

Colorado Springs, Team 5-4, Panko Spring 2015 crwdns2935289:0Colorado Springs, Team 5-4, Panko Spring 2015crwdne2935289:0

UCCS-PANKO-S15S5G4

crwdns2931471:03crwdne2931471:0

crwdns2935297:060crwdne2935297:0

crwdns2947412:00crwdne2947412:0

crwdns2917038:0crwdne2917038:0

crwdns2936625:0crwdne2936625:0:

crwdns2936751:024crwdne2936751:0 2

crwdns2936753:07crwdne2936753:0 15

crwdns2936753:030crwdne2936753:0 83

crwdns2942667:0crwdne2942667:0 1,083