crwdns2915892:0crwdne2915892:0
This guide provides the instructions needed to remove the motherboard from the 781HD DVR camcorder.
crwdns2942213:0crwdne2942213:0
-
-
Begin with the camcorder lens up on a clear working surface.
-
Remove the two 4mm Phillips #1 screws holding the switch plate in place. Rotate the device 180 degrees and repeat for the screws on the opposite side.
-
-
-
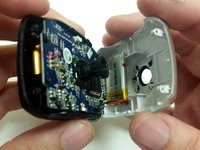
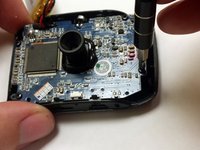
Slide the plastic opening tool into the seam between the front and back sections of the case and apply a small amount of force to pop the case open.
-
-
-
-
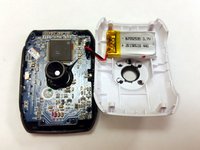
Move the plastic opening tool around the seam and apply force at each step to separate the front plate from the back plate and motherboard.
-
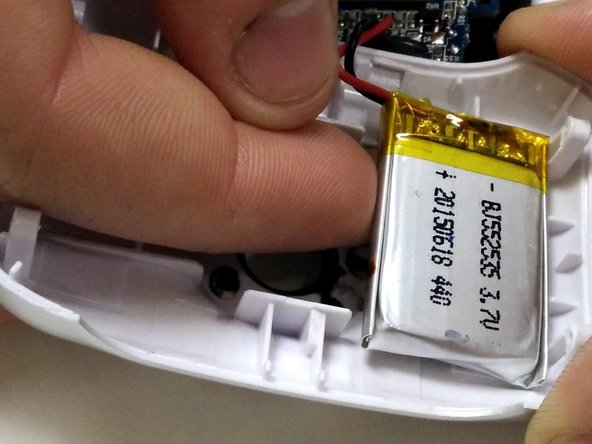
The battery is held to the front half of the case with double-sided tape. Peel it up with a finger, being careful not to damage the battery.
-
-
-
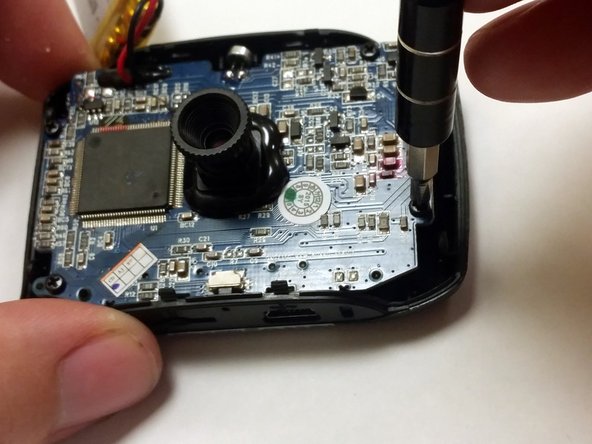
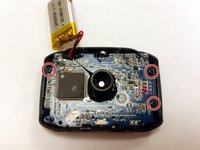
Using a P1 screwdriver, remove the 4mm screws holding the motherboard into the case.
-
-
-
Gently lift the motherboard, handling it by the edges.
-


To reassemble your device, follow these instructions in reverse order.
crwdns2935221:0crwdne2935221:0
crwdns2935229:02crwdne2935229:0
crwdns2935287:0crwdne2935287:0

IUPUI, Team 54-6, Wilson Spring 2016 crwdns2935289:0IUPUI, Team 54-6, Wilson Spring 2016crwdne2935289:0
IUPUI-WILSON-S16S54G6
crwdns2931471:03crwdne2931471:0
crwdns2935297:013crwdne2935297:0
crwdns2947412:03crwdne2947412:0
It says no parts required, but it is instructions to replace the motherboard.
There is nothing about getting another motherboard, and how much.
How do you get a motherboard?
Where do we get one?