crwdns2915892:0crwdne2915892:0
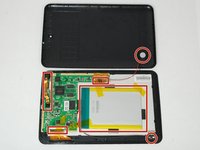
In this guide you will be shown how to completely disassemble the entire device in order to fix the screen. Broken screens are usually caused by two issues: either the glass/plastic screen is cracked, or the LCD behind said screen is malfunctioning. When replacing only the screen be careful not to damage the LCD as it is fairly delicate. The hardest part is separating the LCD screen and Front Glass. This replacement does not require soldering and there are only three screws that need to be removed and accounted for.
crwdns2942213:0crwdne2942213:0
-
-
Using the large plastic opening tool, start along a side of the device and apply light pressure in the seam between the top and bottom outer covers.
-
Maneuver the smaller plastic opening tool at the spot of the large opening tool and slowly slide along the edge.
-
-
-
Move tool around each connection, and continue around the device until all connections have been loosened.
-
-
-
Once all connections have been loosened and using a soft surface, place the device onto its screen and lift gently on the outer casing.
-
-
crwdns2935267:0crwdne2935267:0Tweezers$4.99
-
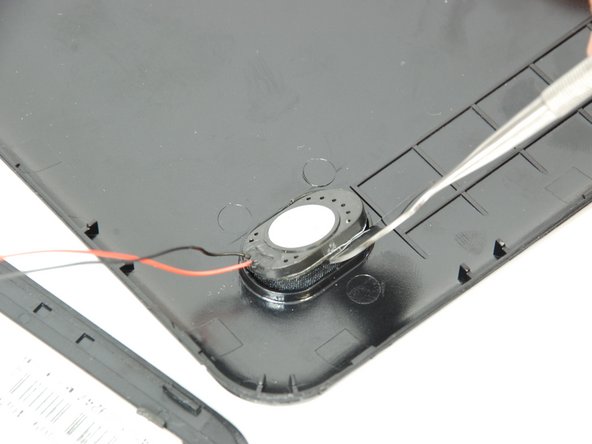
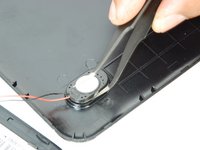
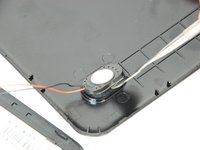
Using hook tweezers and a spudger, gently remove the glued speaker away from the casing.
-
-
-
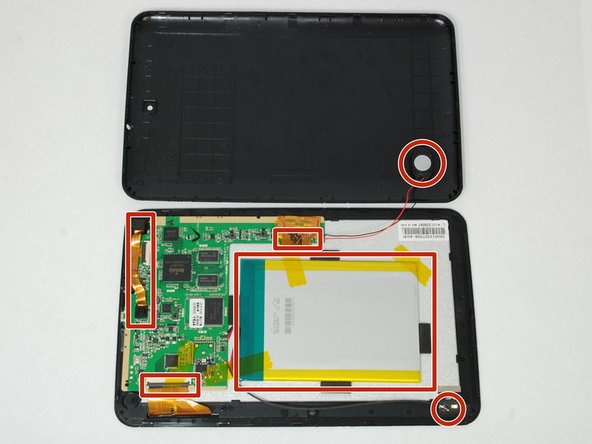
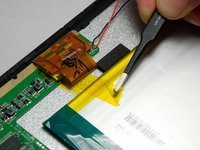
Using wide-tip tweezers, gently remove the three pieces of tape attached to battery
-
-
-
Next remove the WiFi module from the bottom of the device. This is simply pealed off.
-
-
-
-
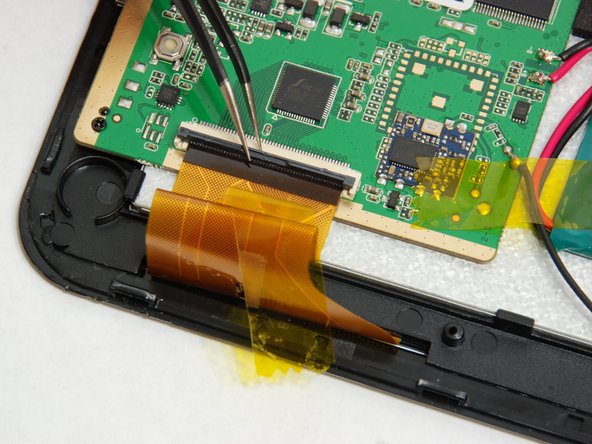
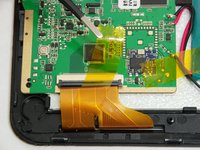
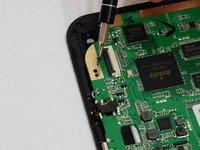
Gently remove tape from circuit board, and disconnect the ZIF (zero insertion force) connectors for the front panel and LCD screen.
-
Use tweezers to lift up the black hinged lock on top of the ZIF connector.
-
-
-
Use pointed hook tweezers to gently lift up front facing camera by grabbing the padding on back of camera.
-
-
-
Use pointed hook tweezers to gently remove rear facing camera by grabbing the corner of camera casing.
-
-
-
Use pointed hook tweezers to gently flip up hinged ZIF connector.
-
After ZIF connector is flipped up, remove camera module.
-
-
-
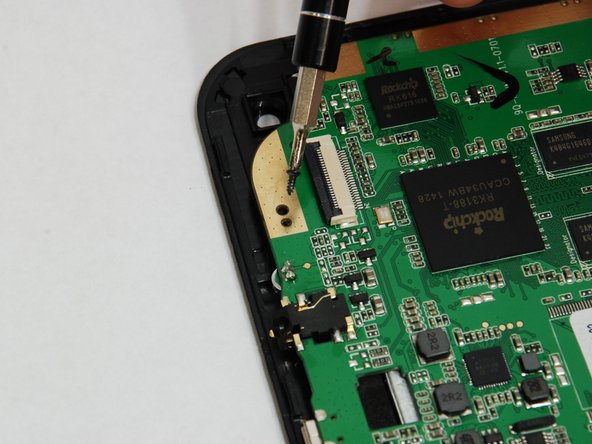
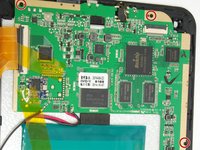
These are the three screws holding the circuit board.
-
Use J00 or PH00 to remove the three screws.
-
-
-
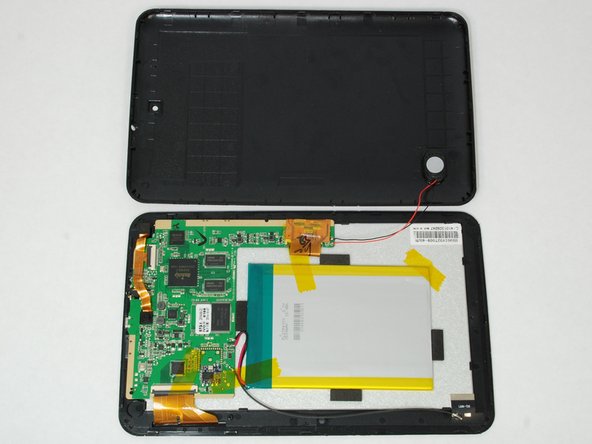
Make space in work area, and remove battery, circuit board, speaker, and wifi module as one from the LCD screen and front glass.
-
-
-
Shown are all the clips that hold the LCD screen to the front glass.
-
-
-
Start in the corner and pull back one of the black tabs. At the same time try to get under the screen with the tweezers.
-
-
-
After detaching front glass from LCD Screen, lay LCD screen down on white styrofoam side and this is what it will look like.
-
-
-
After removing LCD screen this is what the front glass component will look like.
-


To reassemble your device, follow these instructions in reverse order.
To reassemble your device, follow these instructions in reverse order.
crwdns2935221:0crwdne2935221:0
crwdns2935229:02crwdne2935229:0
crwdns2915084:0crwdne2915084:0

University of Memphis, Team 1-1, Kim SU 2016 crwdns2935289:0University of Memphis, Team 1-1, Kim SU 2016crwdne2935289:0
UM-KIM-SU16S1G1
crwdns2931471:04crwdne2931471:0
crwdns2935297:08crwdne2935297:0
crwdns2947410:01crwdne2947410:0
Would this process work for the Prestige Elite 8qi as well?