crwdns2933423:0crwdne2933423:0
crwdns2947577:0crwdnd2947577:0crwdne2947577:0

Visual Land Prestige 10 Digitizer Replacement

crwdns2942213:0crwdne2942213:0

    1. Visual Land Prestige 10 Digitizer Replacement, Back Case: crwdns2935265:01crwdnd2935265:01crwdnd2935265:03crwdne2935265:0 Visual Land Prestige 10 Digitizer Replacement, Back Case: crwdns2935265:01crwdnd2935265:02crwdnd2935265:03crwdne2935265:0 Visual Land Prestige 10 Digitizer Replacement, Back Case: crwdns2935265:01crwdnd2935265:03crwdnd2935265:03crwdne2935265:0
      crwdns2935267:0crwdne2935267:0
      Magnetic Project Mat
      $19.95
      • Remove the 3mm screws from bottom of tablet with the precision screwdriver and place on magnetic mat. label where they came from.

      • All screws throughout this guide are the same 3mm size.

      crwdns2952109:0crwdne2952109:0

      crwdns2917038:0crwdne2917038:0

    2. Visual Land Prestige 10 Digitizer Replacement: crwdns2935265:02crwdnd2935265:01crwdnd2935265:03crwdne2935265:0 Visual Land Prestige 10 Digitizer Replacement: crwdns2935265:02crwdnd2935265:02crwdnd2935265:03crwdne2935265:0 Visual Land Prestige 10 Digitizer Replacement: crwdns2935265:02crwdnd2935265:03crwdnd2935265:03crwdne2935265:0
      • Using the spudger, create a small opening to be used to open the back case.

      • While holding the case open, insert the plastic opening tool to get a larger opening.

      • Once you have a slight opening, insert the spudger and work around the edges, separating the back plate from the front.

      crwdns2952109:0crwdne2952109:0

      crwdns2917038:0crwdne2917038:0

    3. Visual Land Prestige 10 Digitizer Replacement: crwdns2935265:03crwdnd2935265:01crwdnd2935265:03crwdne2935265:0 Visual Land Prestige 10 Digitizer Replacement: crwdns2935265:03crwdnd2935265:02crwdnd2935265:03crwdne2935265:0 Visual Land Prestige 10 Digitizer Replacement: crwdns2935265:03crwdnd2935265:03crwdnd2935265:03crwdne2935265:0
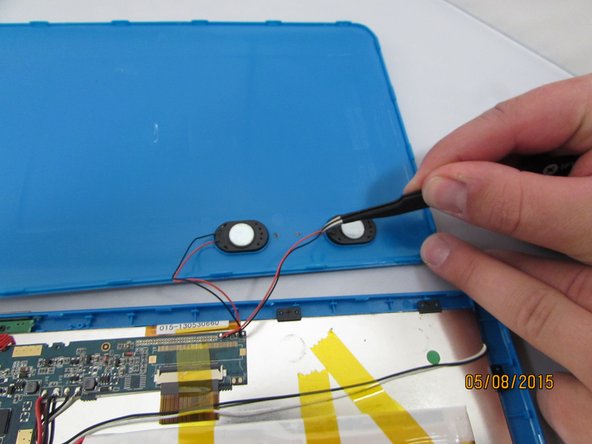
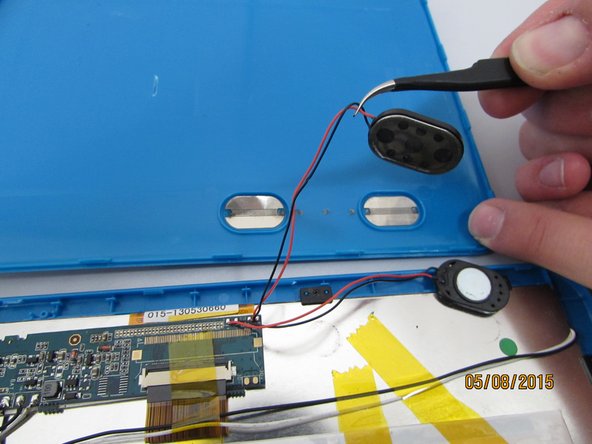
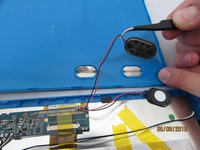
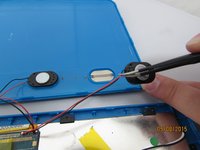
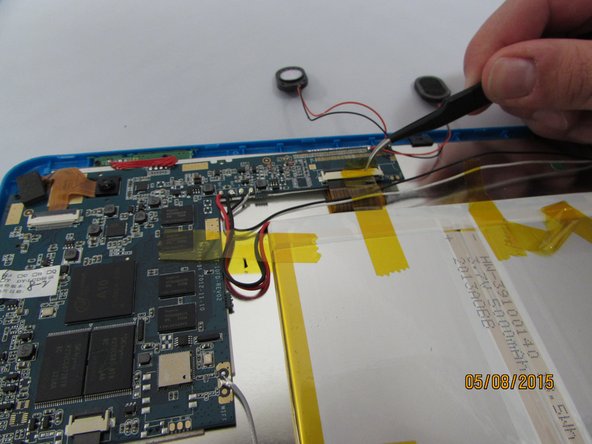
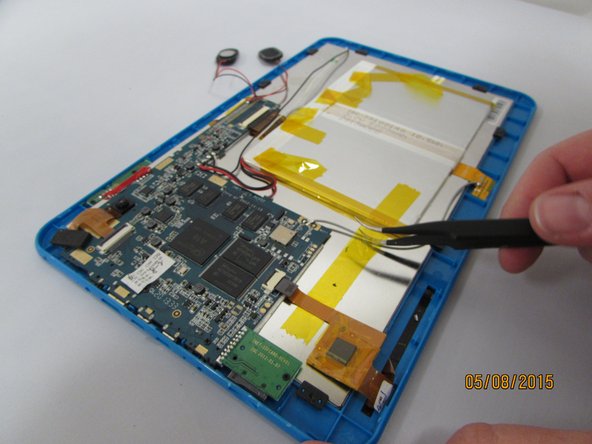
      • now that the case is open, carefully remove the speakers and set aside.

      crwdns2952109:0crwdne2952109:0

      crwdns2917038:0crwdne2917038:0

    4. Visual Land Prestige 10 Digitizer Replacement: crwdns2935265:04crwdnd2935265:01crwdnd2935265:02crwdne2935265:0 Visual Land Prestige 10 Digitizer Replacement: crwdns2935265:04crwdnd2935265:02crwdnd2935265:02crwdne2935265:0
      crwdns2935267:0crwdne2935267:0
      Tweezers
      $4.99
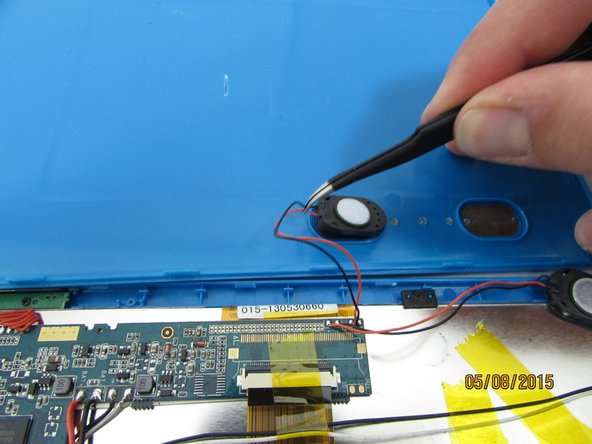
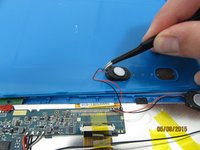
      • Gently remove the speakers from the back case with tweezers and set the case aside.

      crwdns2952109:0crwdne2952109:0

      crwdns2917038:0crwdne2917038:0

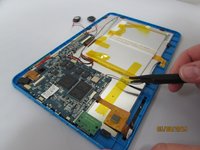
    1. Visual Land Prestige 10 Digitizer Replacement, Battery: crwdns2935265:05crwdnd2935265:01crwdnd2935265:03crwdne2935265:0 Visual Land Prestige 10 Digitizer Replacement, Battery: crwdns2935265:05crwdnd2935265:02crwdnd2935265:03crwdne2935265:0 Visual Land Prestige 10 Digitizer Replacement, Battery: crwdns2935265:05crwdnd2935265:03crwdnd2935265:03crwdne2935265:0
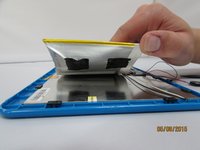
      • Remove yellow tape from surrounding components.

      crwdns2952109:0crwdne2952109:0

      crwdns2917038:0crwdne2917038:0

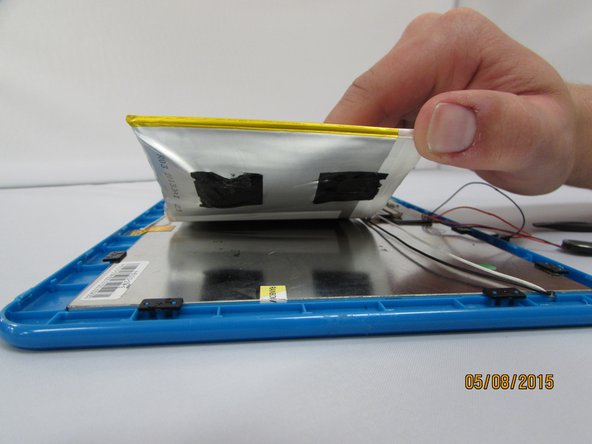
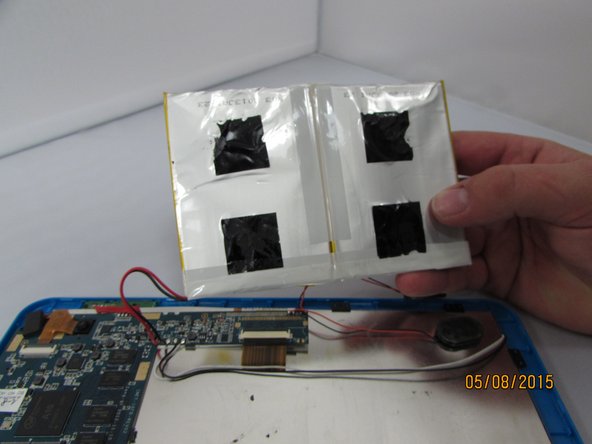
    2. Visual Land Prestige 10 Digitizer Replacement: crwdns2935265:06crwdnd2935265:01crwdnd2935265:03crwdne2935265:0 Visual Land Prestige 10 Digitizer Replacement: crwdns2935265:06crwdnd2935265:02crwdnd2935265:03crwdne2935265:0 Visual Land Prestige 10 Digitizer Replacement: crwdns2935265:06crwdnd2935265:03crwdnd2935265:03crwdne2935265:0
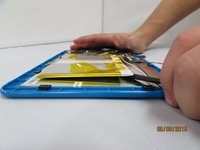
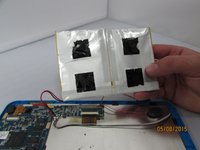
      • insert the spudger and gently work around and underneath the battery.

      • With the battery separated from the LCD Display, set it aside.

      • The battery is held down by very strong adhesive.

      crwdns2952109:0crwdne2952109:0

      crwdns2917038:0crwdne2917038:0

    3. Visual Land Prestige 10 Digitizer Replacement: crwdns2935265:07crwdnd2935265:01crwdnd2935265:01crwdne2935265:0
      • Desolder and remove the 2 wires from the motherboard.

      • Use caution when desoldering to avoid damage to yourself or to the components.

      crwdns2952109:0crwdne2952109:0

      crwdns2917038:0crwdne2917038:0

    1. Visual Land Prestige 10 Digitizer Replacement, Front Facing Camera: crwdns2935265:08crwdnd2935265:01crwdnd2935265:03crwdne2935265:0 Visual Land Prestige 10 Digitizer Replacement, Front Facing Camera: crwdns2935265:08crwdnd2935265:02crwdnd2935265:03crwdne2935265:0 Visual Land Prestige 10 Digitizer Replacement, Front Facing Camera: crwdns2935265:08crwdnd2935265:03crwdnd2935265:03crwdne2935265:0
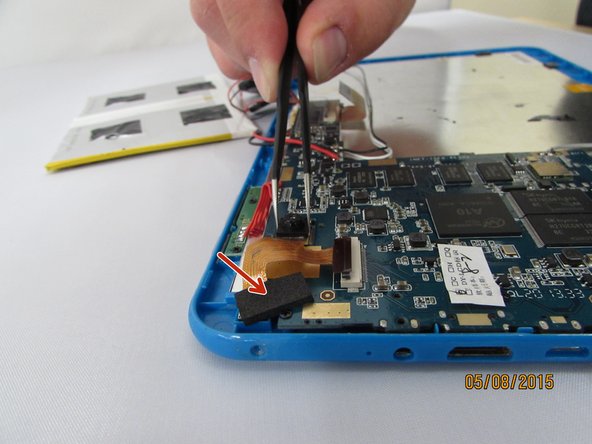
      • Locate the Camera Housing. Gently grip and lift the small black tab until you feel an audible click.

      • Gently remove the connector by pulling straight out, gripping the black connector head or as close as possible.

      • Gently grip and pull up the front camera, covered by protective adhesive foam.

      • Set aside the Camera housing.

      crwdns2952109:0crwdne2952109:0

      crwdns2917038:0crwdne2917038:0

    1. Visual Land Prestige 10 Digitizer Replacement, Motherboard: crwdns2935265:09crwdnd2935265:01crwdnd2935265:03crwdne2935265:0 Visual Land Prestige 10 Digitizer Replacement, Motherboard: crwdns2935265:09crwdnd2935265:02crwdnd2935265:03crwdne2935265:0 Visual Land Prestige 10 Digitizer Replacement, Motherboard: crwdns2935265:09crwdnd2935265:03crwdnd2935265:03crwdne2935265:0
      crwdns2935267:0crwdne2935267:0
      Tweezers
      $4.99
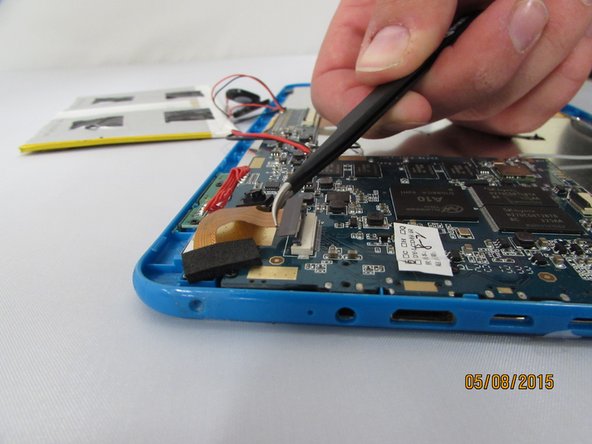
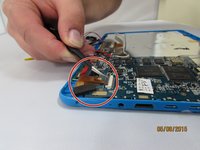
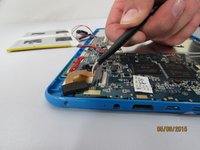
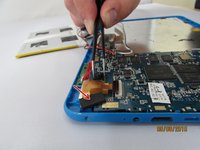
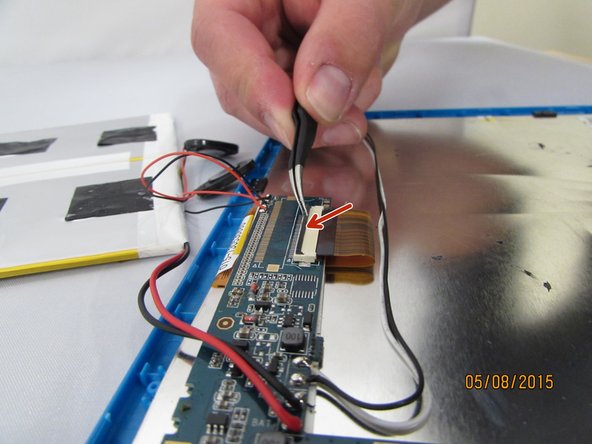
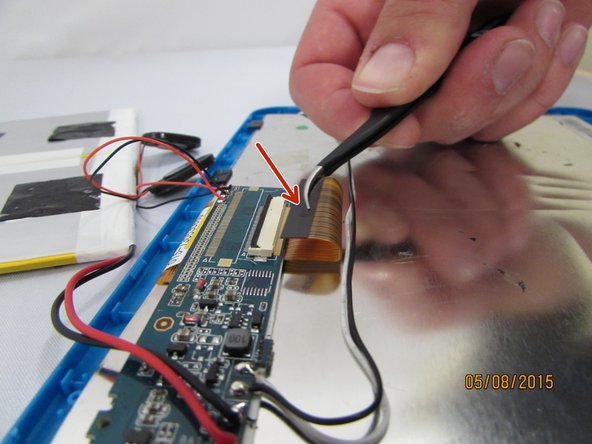
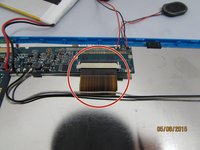
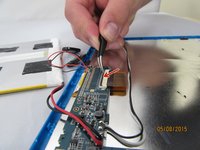
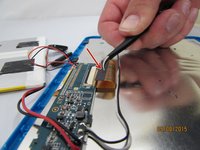
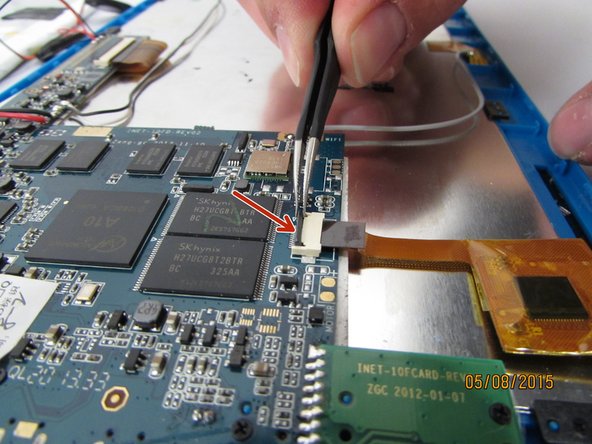
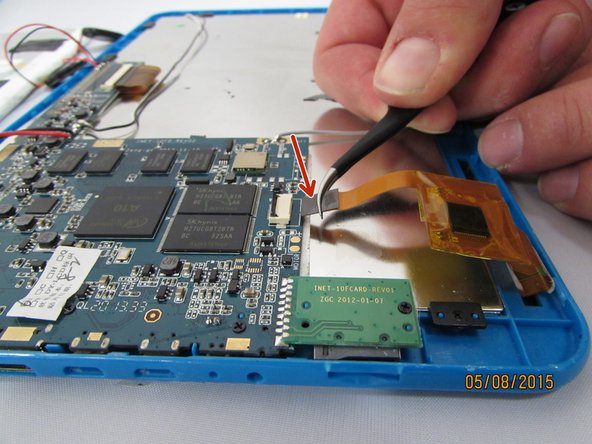
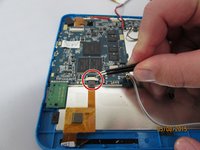
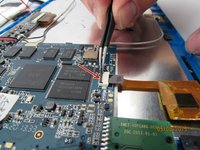
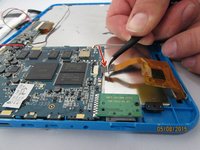
      • Locate the LCD Connector.

      • Using tweezers, grip the small black tab connected to the white plastic.

      • Gently lift the tab towards you until it clicks.

      • Remove the connector by pulling straight out, gripping the black connector head.

      crwdns2952109:0crwdne2952109:0

      crwdns2917038:0crwdne2917038:0

    2. Visual Land Prestige 10 Digitizer Replacement: crwdns2935265:010crwdnd2935265:01crwdnd2935265:03crwdne2935265:0 Visual Land Prestige 10 Digitizer Replacement: crwdns2935265:010crwdnd2935265:02crwdnd2935265:03crwdne2935265:0 Visual Land Prestige 10 Digitizer Replacement: crwdns2935265:010crwdnd2935265:03crwdnd2935265:03crwdne2935265:0
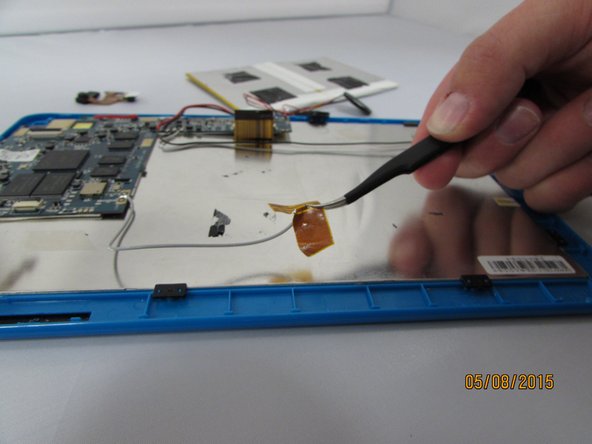
      • Locate the Touchscreen connector and grip the forward-most black tab with the tweezers.

      • Lift the tab towards you until you feel an audible click.

      • Gently remove the connector by pulling straight out, gripping the black connector head.

      crwdns2952109:0crwdne2952109:0

      crwdns2917038:0crwdne2917038:0

    3. Visual Land Prestige 10 Digitizer Replacement: crwdns2935265:011crwdnd2935265:01crwdnd2935265:02crwdne2935265:0 Visual Land Prestige 10 Digitizer Replacement: crwdns2935265:011crwdnd2935265:02crwdnd2935265:02crwdne2935265:0
      • Gently lift up the WiFi antenna and set aside.

      crwdns2952109:0crwdne2952109:0

      crwdns2917038:0crwdne2917038:0

    4. Visual Land Prestige 10 Digitizer Replacement: crwdns2935265:012crwdnd2935265:01crwdnd2935265:02crwdne2935265:0 Visual Land Prestige 10 Digitizer Replacement: crwdns2935265:012crwdnd2935265:02crwdnd2935265:02crwdne2935265:0
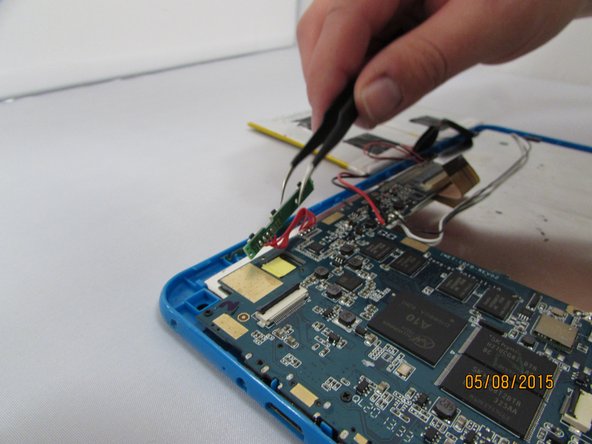
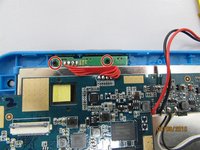
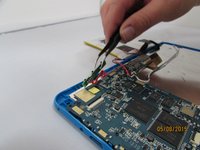
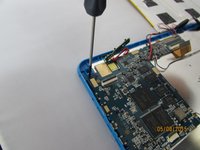
      • Locate and remove the screws holding the volume and hold button controller. Set screws aside on magnetic mat and label them.

      • Gently lift up on the controller and leave it hanging loose.

      crwdns2952109:0crwdne2952109:0

      crwdns2917038:0crwdne2917038:0

    5. Visual Land Prestige 10 Digitizer Replacement: crwdns2935265:013crwdnd2935265:01crwdnd2935265:02crwdne2935265:0 Visual Land Prestige 10 Digitizer Replacement: crwdns2935265:013crwdnd2935265:02crwdnd2935265:02crwdne2935265:0
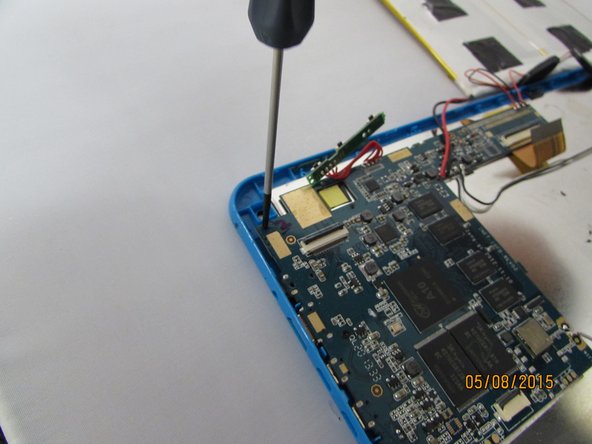
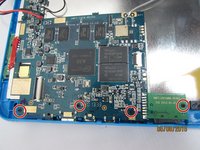
      • Remove screws located on motherboard.

      • Place on magnetic mat and label them

      • Gently remove the Motherboard and any wires connected to it and set it aside on a static free surface.

      crwdns2952109:0crwdne2952109:0

      crwdns2917038:0crwdne2917038:0

    1. Visual Land Prestige 10 Digitizer Replacement, LCD Display: crwdns2935265:014crwdnd2935265:01crwdnd2935265:03crwdne2935265:0 Visual Land Prestige 10 Digitizer Replacement, LCD Display: crwdns2935265:014crwdnd2935265:02crwdnd2935265:03crwdne2935265:0 Visual Land Prestige 10 Digitizer Replacement, LCD Display: crwdns2935265:014crwdnd2935265:03crwdnd2935265:03crwdne2935265:0
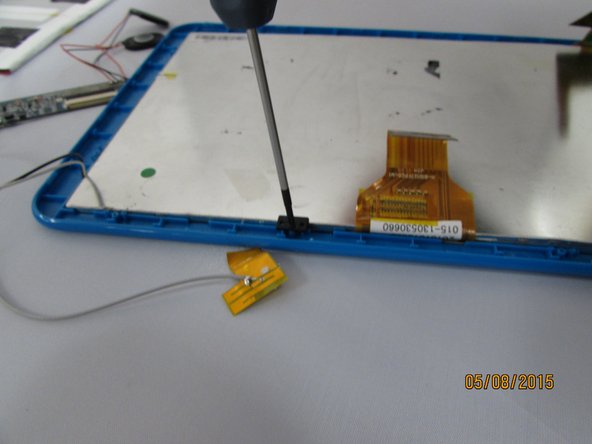
      • Remove the screws and plastic tabs holding the LCD Display and place them on the magnetic mat. Label them.

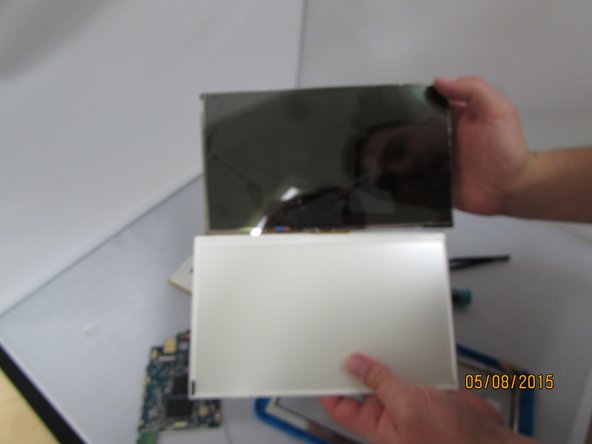
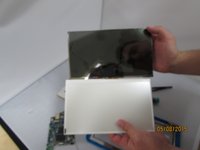
      • Gently remove the LCD Display and backlight by lifting up the LCD Connector with your fingers.

      • Set aside the LCD Assembly.

      • The LCD display and backlight are separated from one another. Be sure to remember how they are aligned when putting the device back together.

      crwdns2952109:0crwdne2952109:0

      crwdns2917038:0crwdne2917038:0

    1. Visual Land Prestige 10 Digitizer Replacement, Digitizer: crwdns2935265:015crwdnd2935265:01crwdnd2935265:01crwdne2935265:0
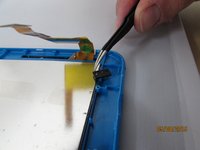
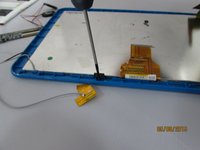
      • Simply lift up the loose metal frame and set aside.

      crwdns2952109:0crwdne2952109:0

      crwdns2917038:0crwdne2917038:0

    2. Visual Land Prestige 10 Digitizer Replacement: crwdns2935265:016crwdnd2935265:01crwdnd2935265:03crwdne2935265:0 Visual Land Prestige 10 Digitizer Replacement: crwdns2935265:016crwdnd2935265:02crwdnd2935265:03crwdne2935265:0 Visual Land Prestige 10 Digitizer Replacement: crwdns2935265:016crwdnd2935265:03crwdnd2935265:03crwdne2935265:0
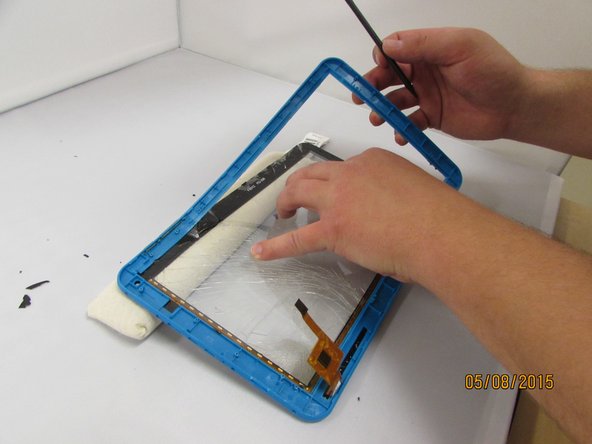
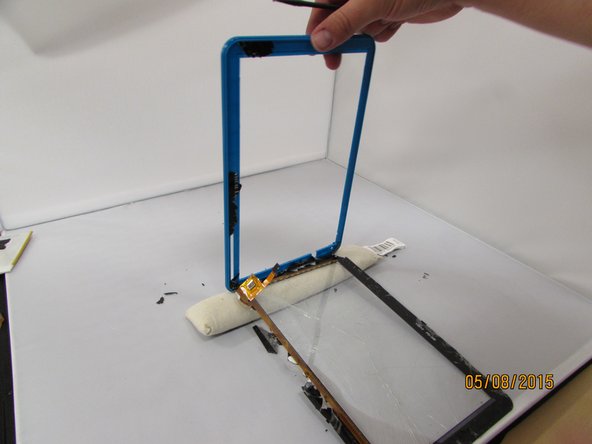
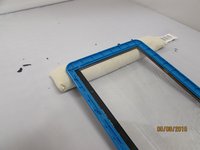
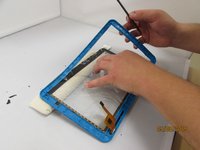
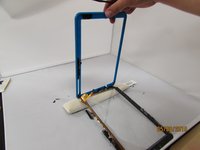
      • Be extremely careful removing the touchscreen, avoiding sharp glass and hot surfaces.

      • Using the heating pad, heat the edges of the touchscreen to loosen the adhesive.

      • using the spudger, slowly and gently work around the edges, removing the touchscreen.

      • The Tablet we used came with a shattered screen, making this step much more difficult.

      crwdns2952109:0crwdne2952109:0

      crwdns2917038:0crwdne2917038:0

crwdns2915888:0crwdne2915888:0

To reassemble your device, follow these instructions in reverse order.

crwdns2935221:0crwdne2935221:0

crwdns2935229:04crwdne2935229:0

Connor Reese

crwdns2935283:004/08/15crwdne2935283:0

1,322 crwdns2915208:0crwdne2915208:0

crwdns2935297:06crwdne2935297:0

crwdns2935287:0crwdne2935287:0

Eastern Washington University, Team 2-1, Matresse Spring 2015 crwdns2935289:0Eastern Washington University, Team 2-1, Matresse Spring 2015crwdne2935289:0

EWU-MATRESSE-S15S2G1

crwdns2931471:03crwdne2931471:0

crwdns2935297:072crwdne2935297:0

crwdns2947410:01crwdne2947410:0

Great write up, but have a question . Could you heat up the adhesive for the digitizer like an iPad and remove it without taking everything apart?

Michael - crwdns2934203:0crwdne2934203:0 crwdns2950251:0crwdne2950251:0

crwdns2917038:0crwdne2917038:0

crwdns2936625:0crwdne2936625:0:

crwdns2936751:024crwdne2936751:0 1

crwdns2936753:07crwdne2936753:0 5

crwdns2936753:030crwdne2936753:0 42

crwdns2942667:0crwdne2942667:0 2,841