crwdns2915892:0crwdne2915892:0
Noticing any old household appliances with plugs that just look like fire hazards but aren't sure on how to replace them?
This guide covers the steps in replacing an older two prong plug, often seen in basic household items in the 70's and equipment such as old saws or motors, with a newer two prong plug for standard outlet.
This guide will walk through the process of cutting off the old plug, cutting the casing away, stripping the wire, feeding the wire into the new plug, connecting the wires to the terminal screws and reassembling the new plug.
crwdns2942213:0crwdne2942213:0
-
-
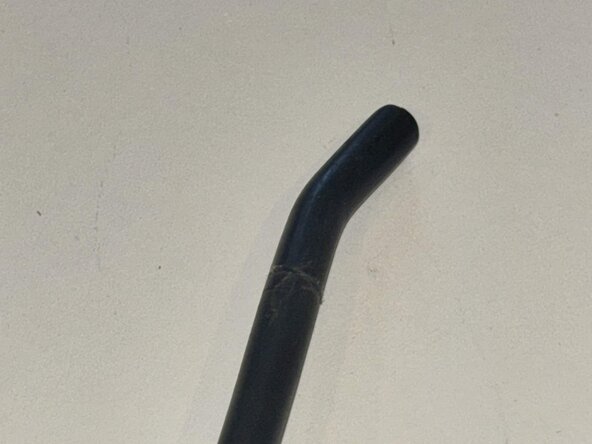
Place your plug on a flat surface.
-
Place the standard cutting plieres about an inch below the end of the plug.
-
Tightly cut down on the wire until the plug is completely removed from the wire, as seen in Photo 2.
-
-
-
Comparing the length of your new plug, take your cutting knife, and mark a line where the end of the plug lines up with the wire.
-
-
-
Remove the two screws on the top of the colored panel where the plugs exit and set them aside with your plug.
-
-
-
-
With the casing now cut open, peel it back until the inner two wires are fully exposed like in Photo 2.
-
Cut off the excess casing you have peeled back; it's not necessary anymore and will only prevent you from feeding the wire into the plug.
-
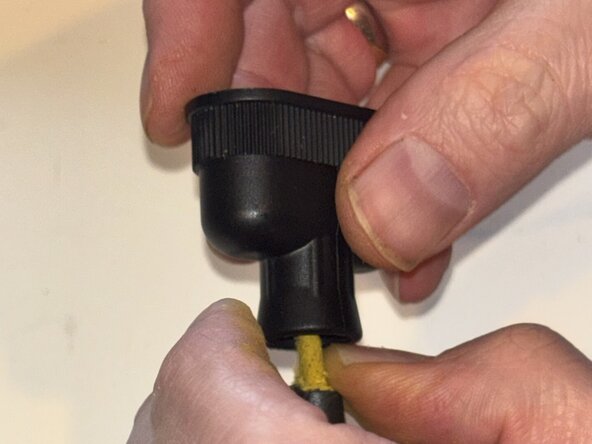
Take your wire and tighten it with your pliers if necessary, then feed it through the bottom hole of the plug. Pull down until you have enough room to move the wire around.
-
-
-
Take your standard wire stripper, and using the size gauge, take your wire and put it roughly about an inch into the hole, about the length of your fingernail.
-
Clamp down onto the insulation, and twist the wire before pulling upwards towards the end of the wire. The insulation will fray and eventually cut off. Your end result should resemble Picture 2.
-
-
-
Loosen the holding screws from the detached colored end of the plug using a screwdriver.
-
Take both of the holding screws, and unscrew them just about halfway from the hole. This will be enough of a gap for you to hook your wires into.
-
-
-
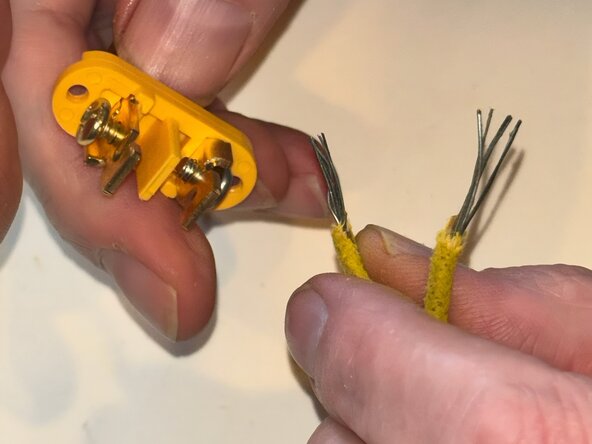
Take your pair of pliers, specifically non cutting pliers and clamp down on the metal ends of the wires and gently twist them until they are connected and thinner as seen in Photo 2.
-
With our holding screws primed, turn your pliers so that the wire makes a hook like shape as seen in Photo 3. Then tighten your holding screws again around each wire as indicated by the red circle.
-
As mentioned in Step 6, the direction the screw needs to be turned to tighten is away from you, so hook the wire into the bottom of the screw so that the tips are pointing towards you. See Photo 3 for the direction it should go.
-
-
-
Take your casing screws and screw them back on, bringing the casing back up to meet the plug. Tightly screw into the casing until the plug is firmly held into place.
-
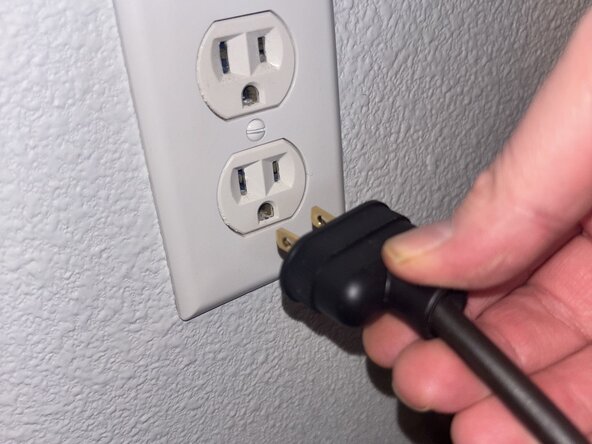
Congratulations! You have taken apart an old plug, and replaced it with a new one. While this last part is optional, you can test this plug in an outlet, preferably closest to where it would be used most.
-


At the end of this guide you will have been able to successfully learn how to cut, strip, and replace an old wire and plug with a new one!
crwdns2935221:0crwdne2935221:0
crwdns2935229:02crwdne2935229:0

crwdns2935287:0crwdne2935287:0

Colorado Springs, Team 1-13, Kiser Spring 2025 crwdns2935289:0Colorado Springs, Team 1-13, Kiser Spring 2025crwdne2935289:0
UCCS-KISER-S25S1G13
crwdns2934841:01crwdne2934841:0
crwdns2935303:01crwdne2935303:0