crwdns2933423:0crwdne2933423:0

VTech Baby's Learning Laptop Volume Switch Replacement

crwdns2942213:0crwdne2942213:0

  1. VTech Baby's Learning Laptop Volume Switch  Replacement, Battery and Rear Panel: crwdns2935265:01crwdnd2935265:01crwdnd2935265:01crwdne2935265:0
    • To remove the battery door, loosen the screw shown using a Phillips #2 screwdriver.

    • A coin can also be used to loosen the screw.

  2. VTech Baby's Learning Laptop Volume Switch  Replacement: crwdns2935265:02crwdnd2935265:01crwdnd2935265:01crwdne2935265:0
    • Remove the battery door.

    • Take out the batteries.

  3. VTech Baby's Learning Laptop Volume Switch  Replacement: crwdns2935265:03crwdnd2935265:01crwdnd2935265:01crwdne2935265:0
    • Remove the rear panel screws using a Phillips #2 screwdriver.

    • Two 21.6mm (Long)

    • One 9.8mm (Short)

    • Five 13.8mm (Medium)

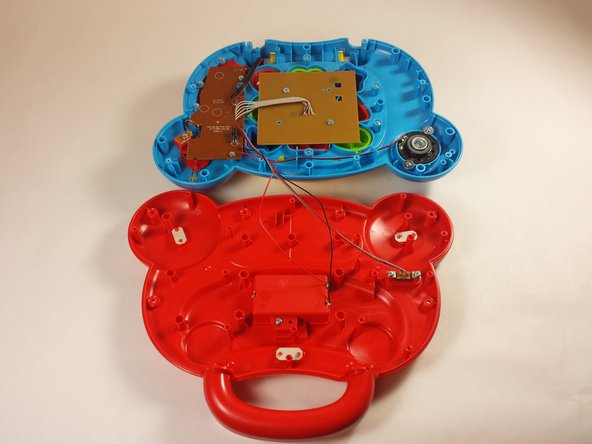
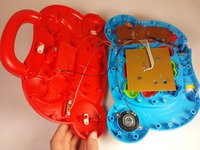
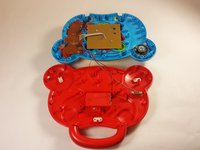
  4. VTech Baby's Learning Laptop Volume Switch  Replacement: crwdns2935265:04crwdnd2935265:01crwdnd2935265:02crwdne2935265:0 VTech Baby's Learning Laptop Volume Switch  Replacement: crwdns2935265:04crwdnd2935265:02crwdnd2935265:02crwdne2935265:0
    • Gently pull up on the rear panel.

    • Be careful not to pull on the wire connections.

    • Rest the laptop open on the table.

  5. VTech Baby's Learning Laptop Volume Switch  Replacement, Volume Switch: crwdns2935265:05crwdnd2935265:01crwdnd2935265:01crwdne2935265:0
    • Flip your device so the bottom panel is facing up.

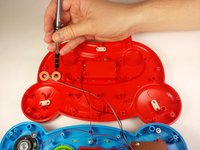
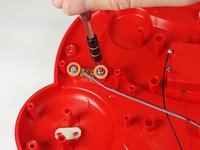
  6. VTech Baby's Learning Laptop Volume Switch  Replacement: crwdns2935265:06crwdnd2935265:01crwdnd2935265:02crwdne2935265:0 VTech Baby's Learning Laptop Volume Switch  Replacement: crwdns2935265:06crwdnd2935265:02crwdnd2935265:02crwdne2935265:0
    • Use a Phillips #2 screwdriver to remove the two 7.7mm screws on the volume switch.

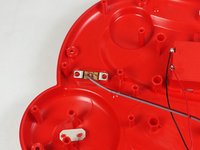
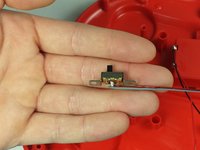
  7. VTech Baby's Learning Laptop Volume Switch  Replacement: crwdns2935265:07crwdnd2935265:01crwdnd2935265:02crwdne2935265:0 VTech Baby's Learning Laptop Volume Switch  Replacement: crwdns2935265:07crwdnd2935265:02crwdnd2935265:02crwdne2935265:0
    • Remove the volume switch.

    • Be careful not damage the wiring.

crwdns2915888:0crwdne2915888:0

To reassemble your device, follow these instructions in reverse order.

Jordan Smith

crwdns2935283:009/03/15crwdne2935283:0

210 crwdns2915208:0crwdne2915208:0

crwdns2935297:02crwdne2935297:0

crwdns2915084:0crwdne2915084:0

USF Tampa, Team 12-2, Blackwell Fall 2015 crwdns2935289:0USF Tampa, Team 12-2, Blackwell Fall 2015crwdne2935289:0

USFT-BLACKWELL-F15S12G2

crwdns2931471:04crwdne2931471:0

crwdns2935297:014crwdne2935297:0

crwdns2944067:00crwdne2944067:0

crwdns2917038:0crwdne2917038:0

crwdns2936625:0crwdne2936625:0:

crwdns2936751:024crwdne2936751:0 0

crwdns2936753:07crwdne2936753:0 7

crwdns2936753:030crwdne2936753:0 9

crwdns2942667:0crwdne2942667:0 687