crwdns2915892:0crwdne2915892:0
If the lights on your utility trailer are no longer functional, use this guide to replace the lights so that your trailer is street legal!
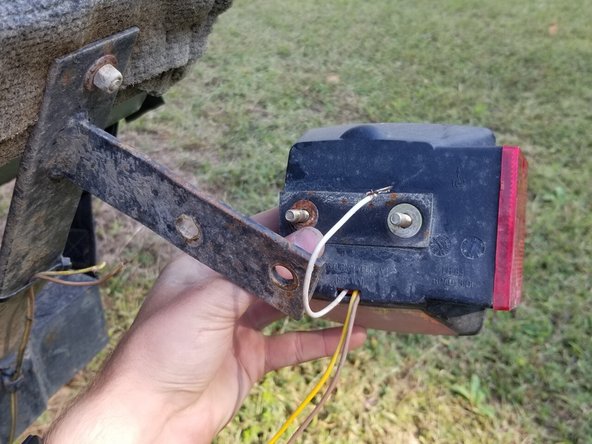
The lights on a utility trailer consist of a running light, brake light, and turn signal that are controlled by two wires that run from the tongue of the trailer to the back and connect to the lights.
Before using this guide, search and go through a guide on how to properly use wire strippers to strip the ends of wires.
Also, prior to making the fix, check to make sure the male adaptor for the lights is not plugged into the female adaptor on your vehicle. If not unplugged, there is risk of electrical shock.
After finishing the fix, be sure to plug into your vehicle to ensure proper function of your new trailer lights.
crwdns2942213:0crwdne2942213:0
-
-
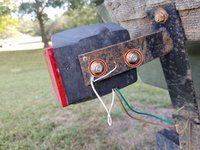
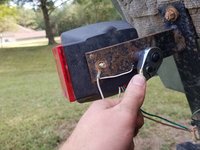
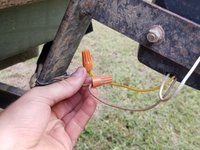
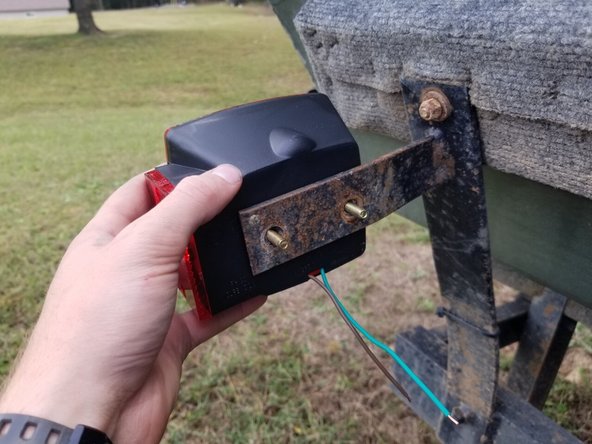
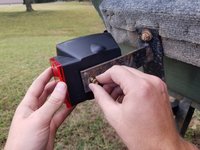
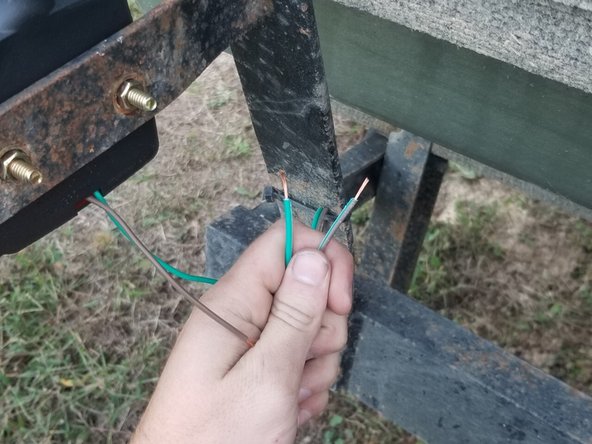
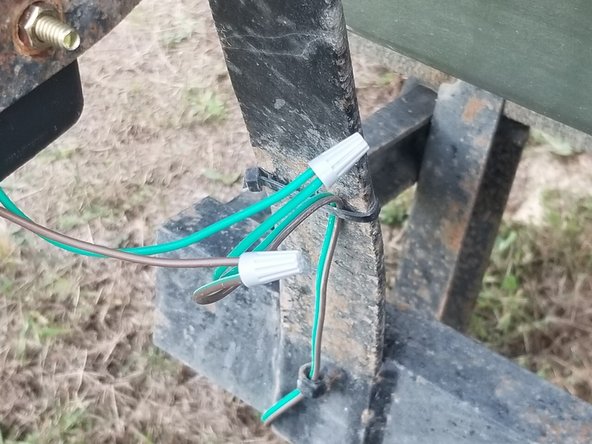
Find the wires running from the trailer to the light.
-
-
-
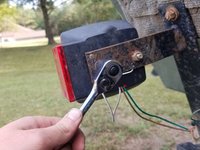
Remove the electrical tape from the wires and wire nuts.
-
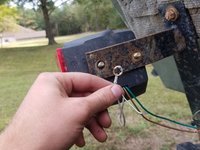
Unscrew the wire nuts from the green and brown wires.
-
-
-
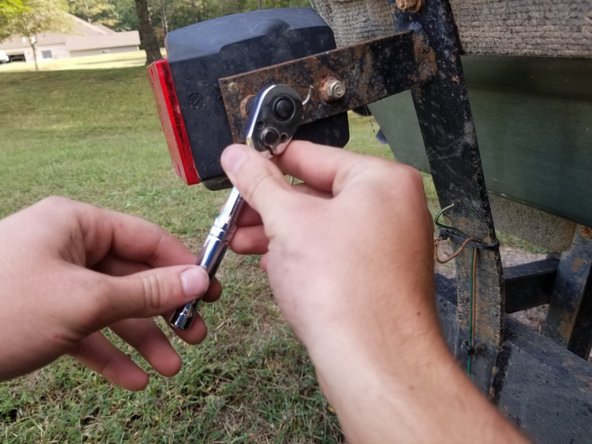
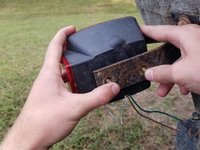
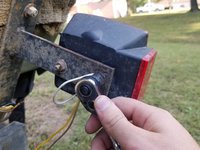
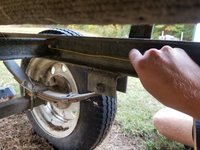
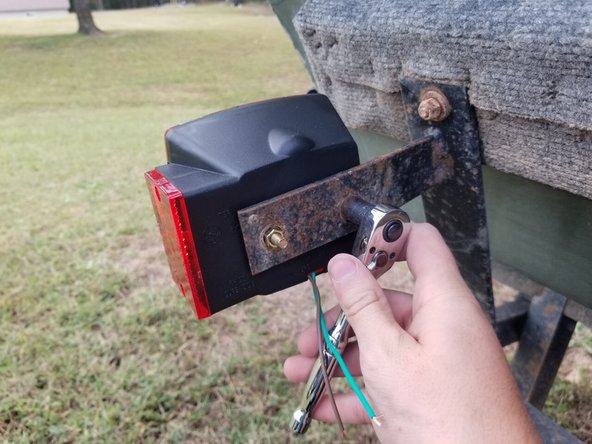
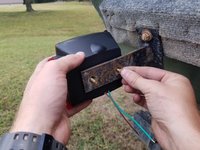
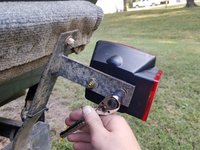
Use a ratchet wrench to remove both hex nuts on the bolts mounting the light to the bracket.
-
-
-
Use the ratchet wrench to remove the second set of hex nuts on the bolts from the light going through the mounting bracket.
-
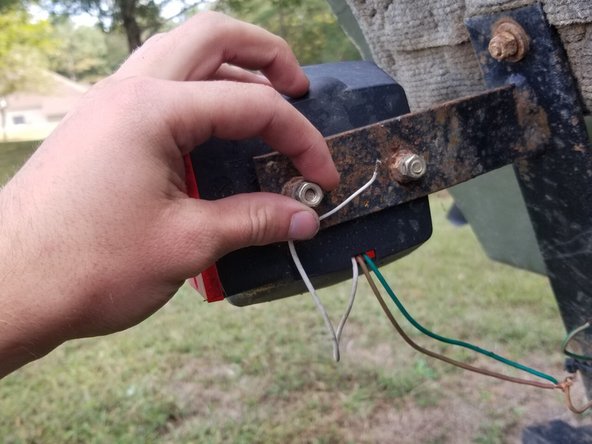
Take the white ground wire off of the bolts going through the mounting bracket.
-
-
-
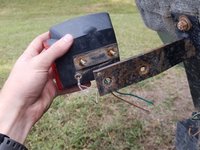
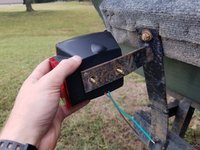
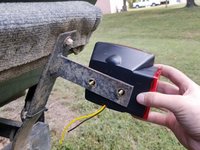
Place your thumbs on the bolts of the trailer light and push with even pressure on both bolts.
-
Remove the light and discard it.
-
-
-
-
Move to the driver side light on the trailer.
-
The process for removing the light on this side is the exact same it is for the light on the passenger side.
-
Follow steps 2-6 for removing the light from the driver side.
-
-
-
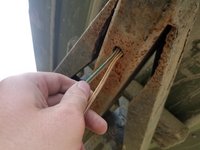
Inspect all the wiring on both sides of the trailer itself and closely look at points of contact where the wires could potentially rub and get damaged.
-
-
-
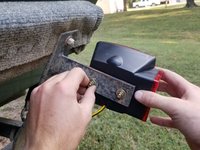
Insert the bolts of the passenger side light into the mounting bracket on the trailer.
-
-
-
Place a lock washer and a hex nut (included in kit) onto each bolt sticking through the mounting bracket.
-
Tighten each hex nut down with a ratchet wrench.
-
-
-
For installing the new light on the mounting bracket on the driver side, repeat steps 9 and 10.
-
-
-
Move back to the passenger side light.
-
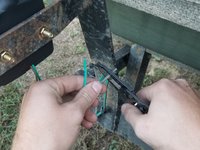
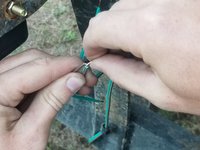
Use a pair of wire strippers to strip the ends of the green and brown wire coming from the newly installed light.
-
-
-
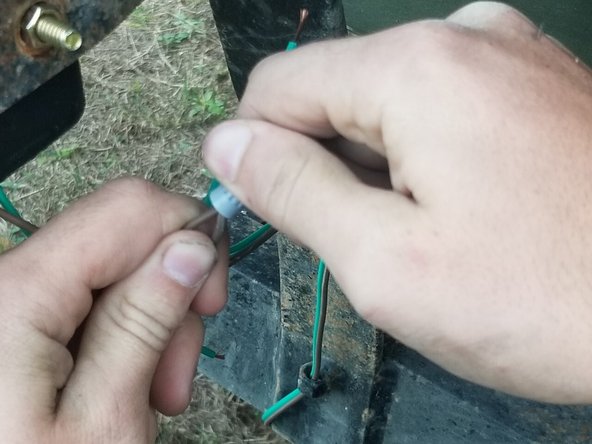
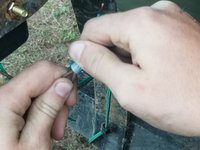
Take the ends of both brown wires and twist them together. Do the same thing with both of the green wires.
-
Take a wire nut and screw it onto the brown twisted-together wires. Do the same thing for the green twisted-together wires.
-
-
-
Move to the driver side.
-
Follow steps 12 and 13 to connect the yellow wires to each other and the brown wires to each other.
-


To test that you were successful, attach the male adapter to your vehicle and test the brake lights and turn signals.
crwdns2935221:0crwdne2935221:0
crwdns2935227:0crwdne2935227:0

crwdns2935287:0crwdne2935287:0

University of Memphis, Team S1-G15, Bishop Fall 2020 crwdns2935289:0University of Memphis, Team S1-G15, Bishop Fall 2020crwdne2935289:0
UM-BISHOP-F20S1G15
crwdns2934841:01crwdne2934841:0
crwdns2935297:02crwdne2935297:0