crwdns2915892:0crwdne2915892:0
Here, you will be taking apart your device so that you will have access to the speaker on your Trio. For the following steps, you must be very careful with some of the wires because of how thin they are, and you will be using soldering tools for this process as well.
crwdns2942213:0crwdne2942213:0
-
-
Remove the two Phillips #00 screws on the side of the tablet.
-
-
-
Take one of the plastic opening tools and wedge it in the middle of the tablet, starting on the USB Port side.
-
Holding the tool in place, take one of the 6 plastic opening picks and slide it across the opening you made with the opening tool.
-
-
-
Continue going around the tablet sides with the plastic pick, being sure that you are maintaining the openings you made with either your hand or the opening tool.
-
-
-
-
Remove the back cover of the tablet to reveal the internals.
-
-
-
Slowly remove the electrical tape holding down the Speaker wires.
-
-
-
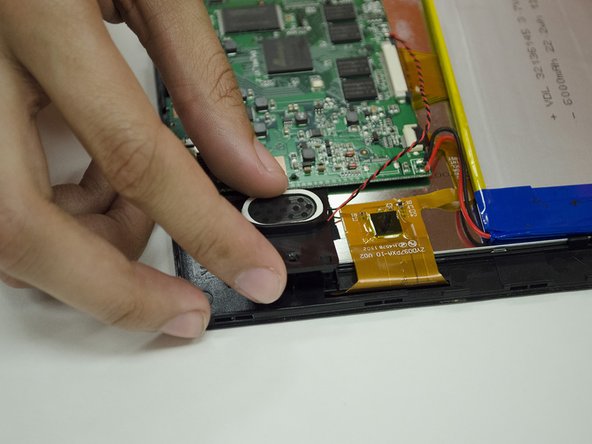
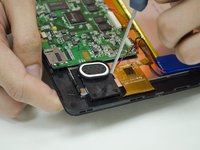
Remove the #00 screw on the Speaker mount and remove the Speaker mount.
-
-
-
Prepare your Soldering tools. Desolder the Speaker leads from the Motherboard.
-
Remove any excess solder as necessary, and apply new solder when replacing a Speaker.
-


To reassemble your device, follow these instructions in reverse order, making sure to be careful with your wiring leads and soldering work.
To reassemble your device, follow these instructions in reverse order, making sure to be careful with your wiring leads and soldering work.