crwdns2915892:0crwdne2915892:0
Transforming high-rise pants into low-rise ones can be a fun and creative way to update your wardrobe without the need to spend money. Whether you’re looking to follow current fashion trends or just want to give your old pants a new look, this guide will walk you through the process step-by-step. With a few simple tools and some basic sewing skills, you’ll be able to achieve a stylish and customized fit that suits your personal style!
crwdns2942213:0crwdne2942213:0
-
-
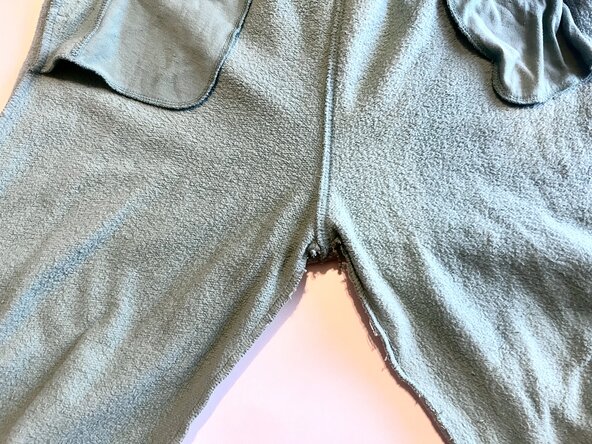
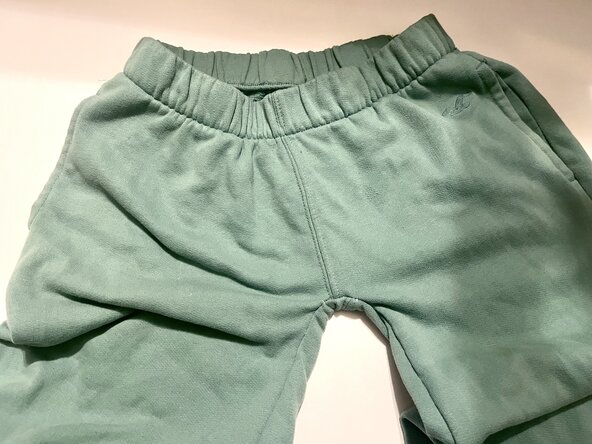
Begin by turning pants inside out and laying flat.
-
-
-
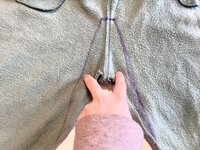
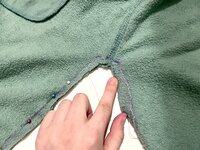
Line up the seams to match on both sides.
-
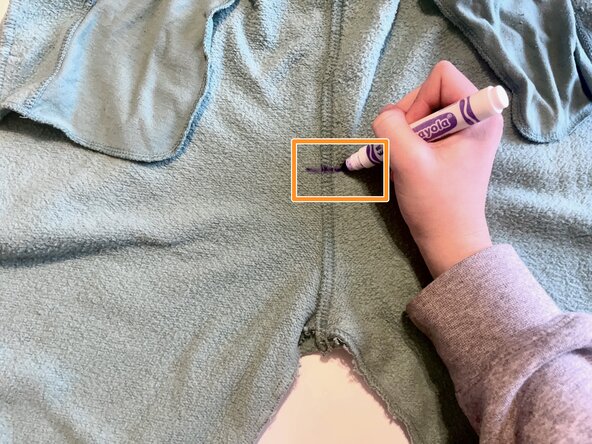
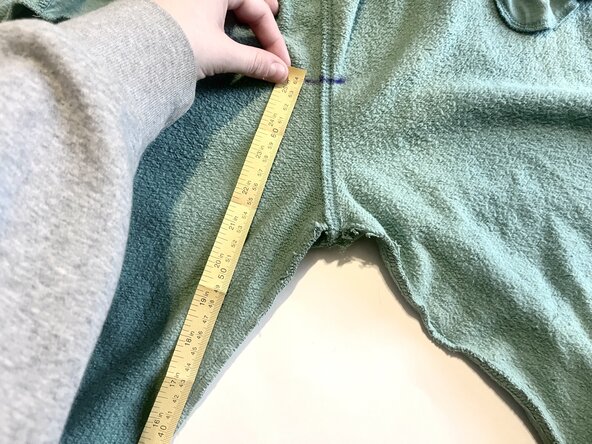
Mark where you would like the new bottom of your pants to sit.
-
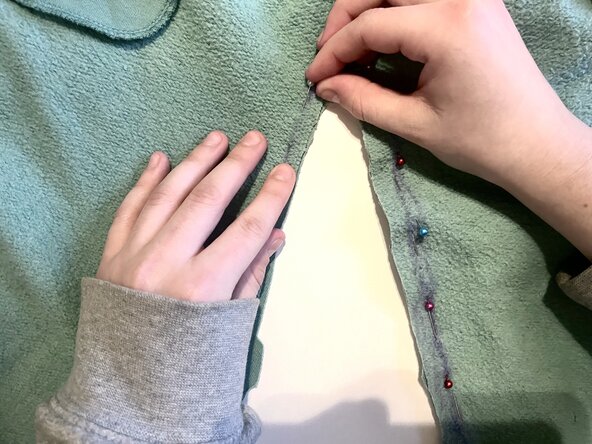
Using a straight edge, mark a line going down from the initial mark down to the leg of the pants.
-
-
-
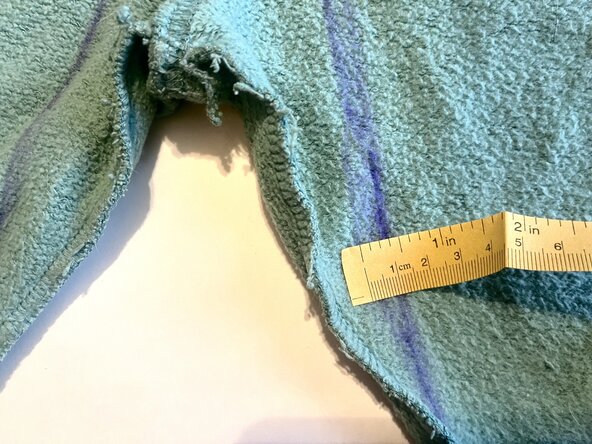
After the guide lines have been drawn out, cut off the fabric marked off leaving roughly 1cm for seam allowance.
-
-
-
-
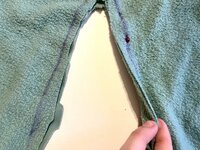
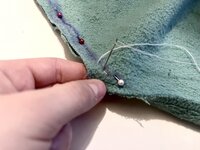
Line up the fabric on both sides and pin together keeping the fabric in line.
-
-
-
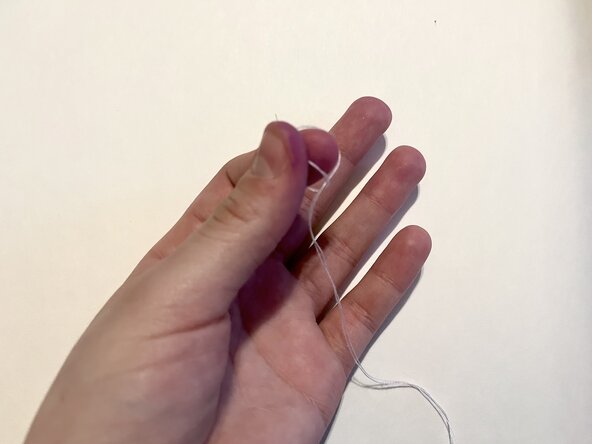
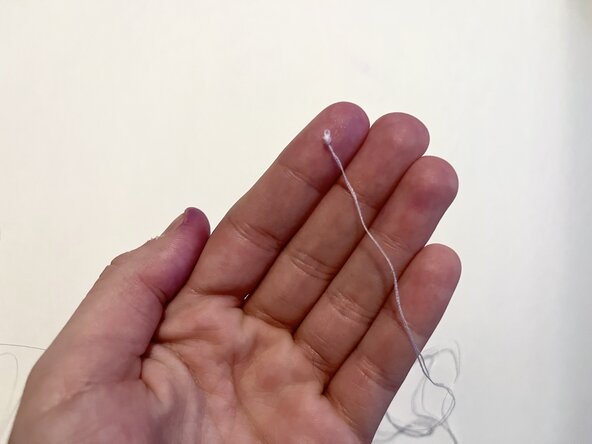
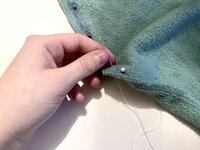
Thread your needle with a thread close to the color of the pants you are altering.
-
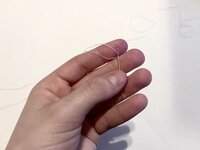
Tie the ends of the thread into a knot large enough to not go through the fabric being sewn.
-
-
-
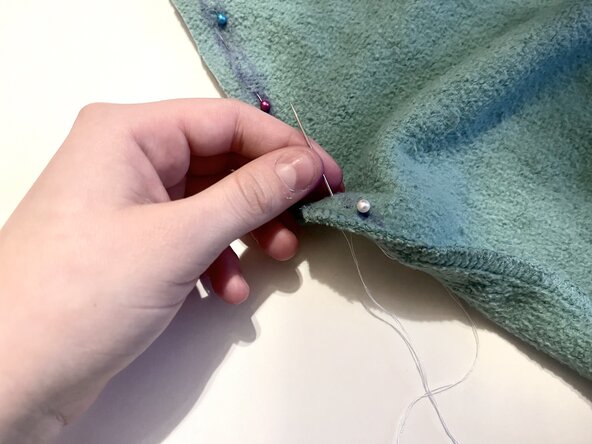
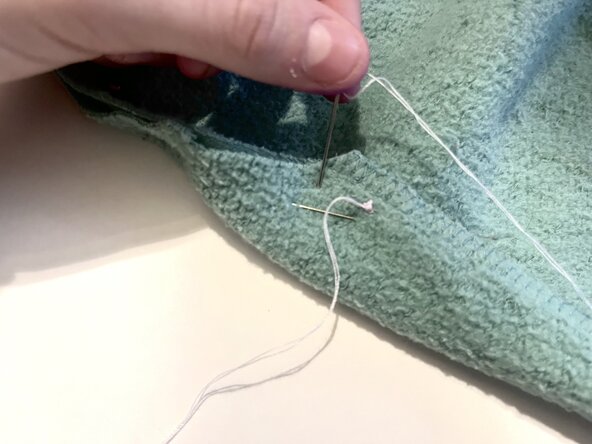
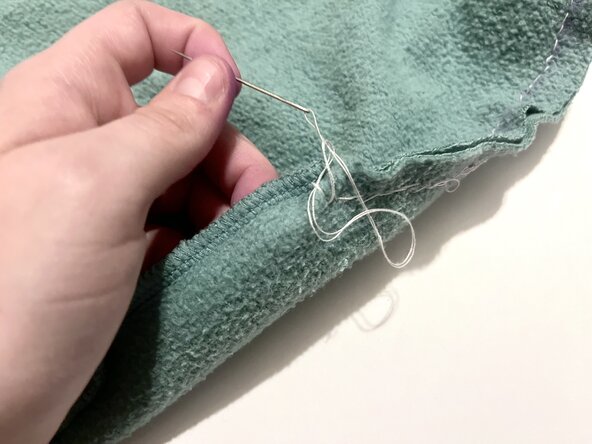
Insert the needle into the bottom of the marked line to begin your stitch.
-
-
-
Pull thread through the fabric and reinsert leaving about 1mm in between.
-
Insert the needle on the back side of the fabric about 1mm away from the previous stitch.
-
Insert the needle back into the initial stitch to create a backstitch.
-
-
-
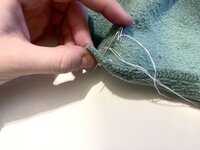
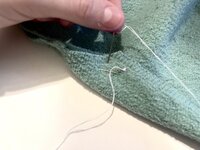
Continue backstitching all around the marked line.
-
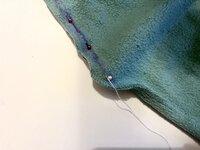
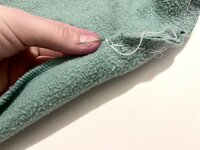
Tie off the thread once you reach the end by tying a knot into the final stitch.
-
-
-
Flip pants right side out and enjoy your new low-rise pants!
-


crwdns2935287:0crwdne2935287:0

Rose State College, Team 2-4, Kirkman Spring 2025 crwdns2935289:0Rose State College, Team 2-4, Kirkman Spring 2025crwdne2935289:0
ROSE-KIRKMAN-S25S2G4
crwdns2934841:01crwdne2934841:0
crwdns2935303:01crwdne2935303:0