crwdns2915892:0crwdne2915892:0
In the rare case of a power surge, if the device is not plugged into a surge protecting outlet, the fuse will blow out and need to be replaced. This guide will show how to tear the whole projector down to get the fuse and replace it.
crwdns2942213:0crwdne2942213:0
-
-
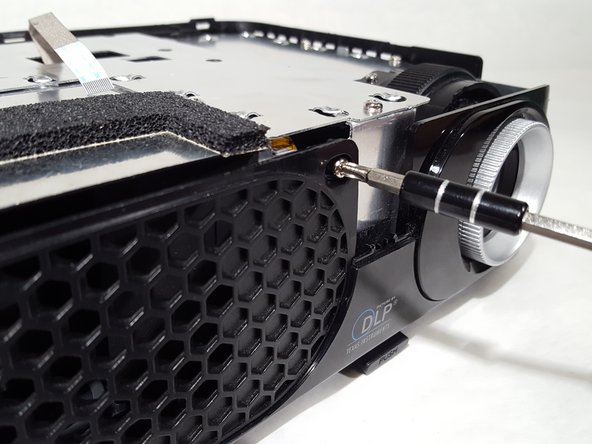
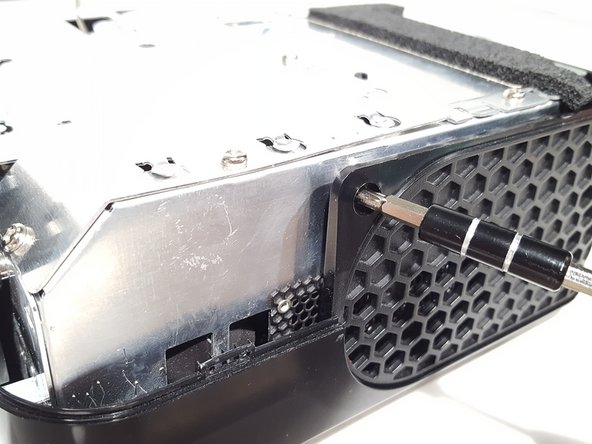
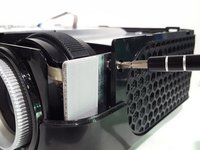
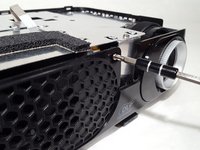
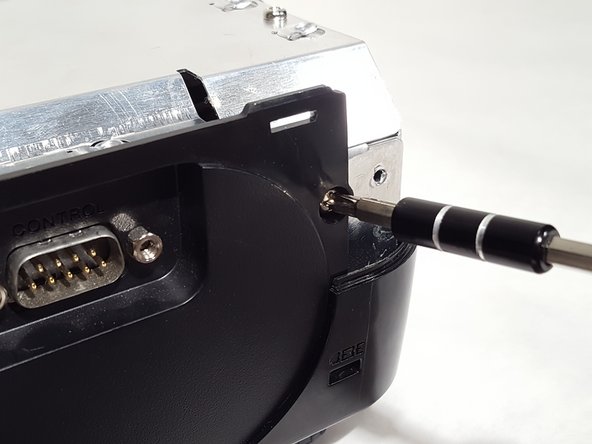
Start by removing the two screws on the bottom of the device as shown.
-
-
-
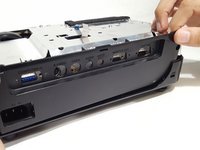
Remove the top plastic cover from the device. The back is snapped on so it would help to have leverage from a prying tool.
-
Remove the ribbon cable attached to the plastic piece just removed. Remember its orientation for re-assembling later.
-
-
-
Remove the screws from the case located around the device.
-
-
-
Remove the plastic panels from the body.
-
-
-
-
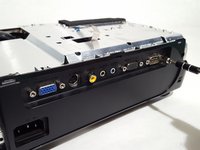
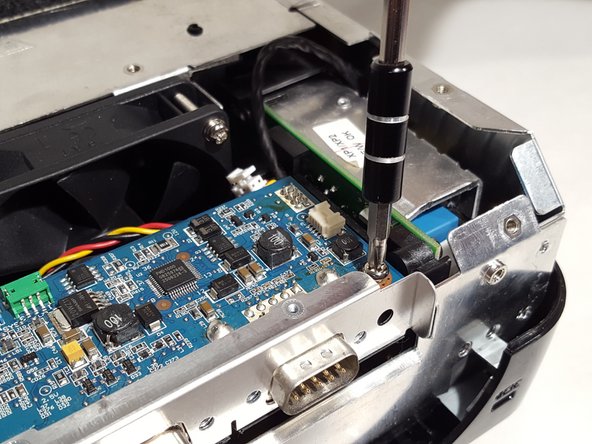
Remove the screws from the IO panel.
-
Pull up on the panel and remove it.
-
-
-
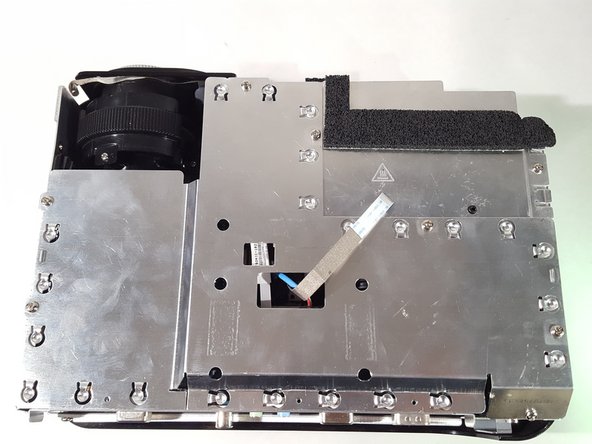
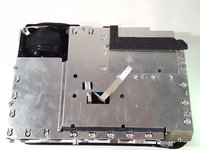
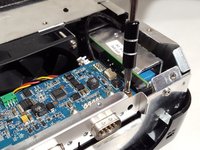
Unscrew the screws from the metal shielding to remove it.
-
-
-
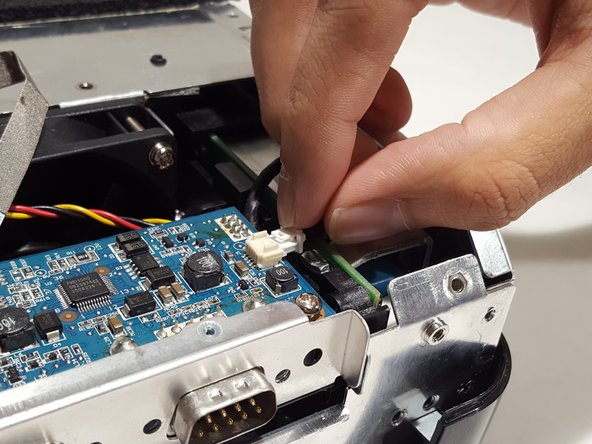
Remove cables from motherboard.
-
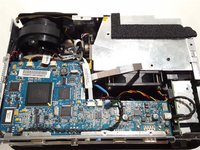
Unscrew motherboard and remove from device.
-
-
-
Remove the cable from the bottom of the motherboard to fully remove it.
-
-
-
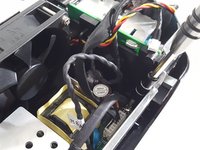
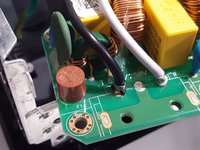
Unscrew the power adapter on the back.
-
-
-
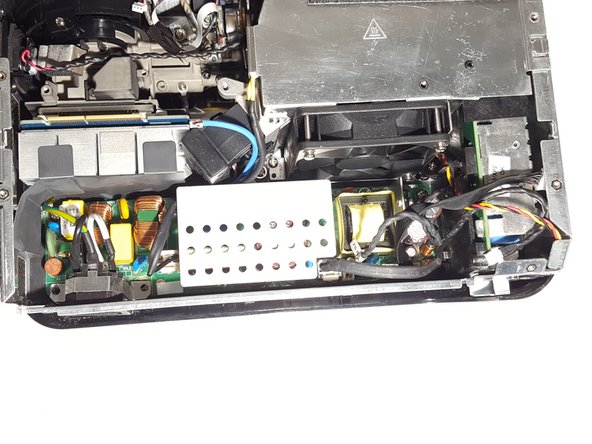
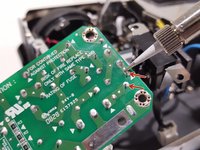
Remove cables from the power supply board.
-
Remove the screws located around the board to un-mount it.
-
-
-
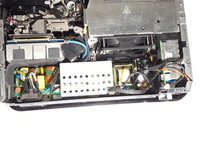
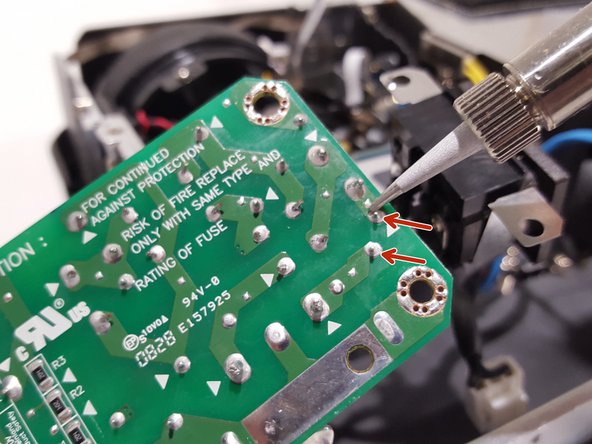
Locate the fuse near where the power adapter was.
-
De-solder the fuse and replace with an equivalent fuse (Fuse leads to de-solder are marked in red).
-


To reassemble your device, follow these instructions in reverse order.
crwdns2935287:0crwdne2935287:0

University of Memphis, Team S1-G3, Kim Spring 2018 crwdns2935289:0University of Memphis, Team S1-G3, Kim Spring 2018crwdne2935289:0
UM-KIM-S18S1G3
crwdns2931471:03crwdne2931471:0
crwdns2935297:05crwdne2935297:0