crwdns2942213:0crwdne2942213:0
-
crwdns2935267:0crwdne2935267:0Tweezers$4.99
-
Use tweezers to remove the small rubber covers over the screws on the top and bottom of the laptop case.
-
-
-
Use a #1 Phillips screwdriver to remove the 3mm screws located on both sides of the top of the laptop as well as the lower corners.
-
-
-
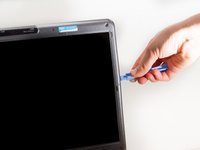
Use a plastic opening tool to separate the front plastic panel from the back side of the top of the laptop.
-
Carefully pull the top away from the back.
-
-
-
-
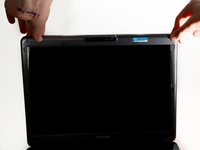
Turn the laptop around.
-
Remove the webcam/microphone data cable.
-
-
-
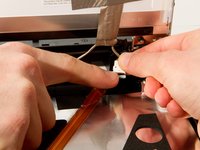
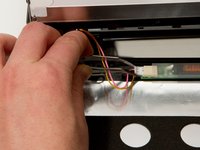
Remove the lower lighting power supply.
-
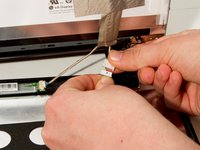
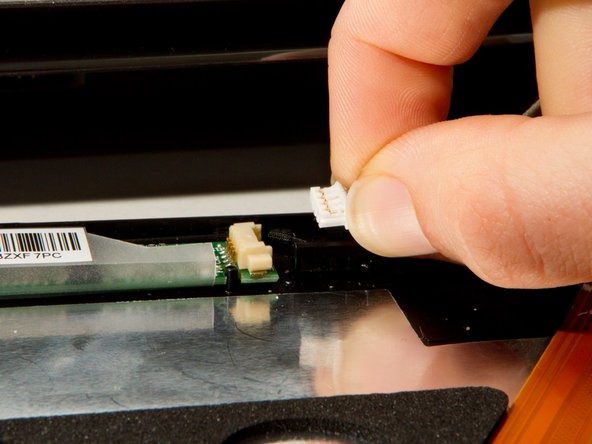
Remove the signal light power supply and data cable.
-
-
-
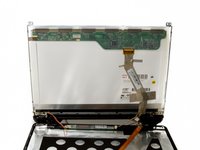
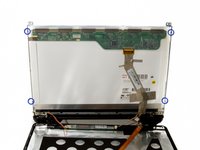
Locate and remove the four 2mm #1 Phillips screws around the sidewalls of the display.
-
-
-
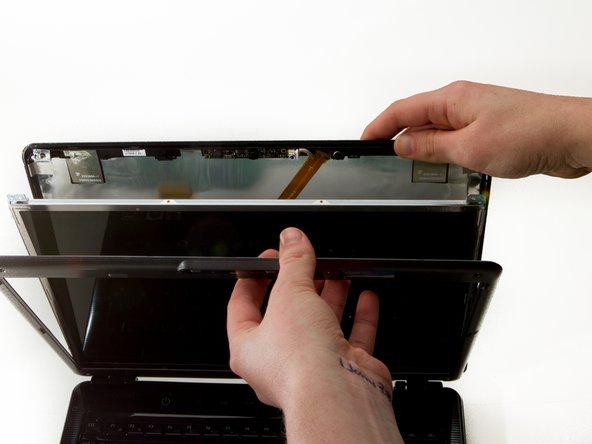
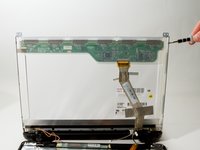
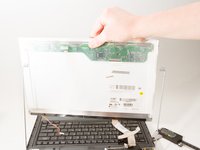
Carefully remove the screen from the side brackets.
-
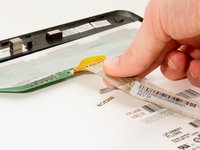
Remove the LCD ribbon connector from the display.
-


To reassemble your device, follow these instructions in reverse order.
To reassemble your device, follow these instructions in reverse order.
crwdns2935221:0crwdne2935221:0
crwdns2935229:04crwdne2935229:0
crwdns2915084:0crwdne2915084:0

Cal Poly, Team 7-8, Maness Winter 2013 crwdns2935289:0Cal Poly, Team 7-8, Maness Winter 2013crwdne2935289:0
CPSU-MANESS-W13S7G8
crwdns2931471:04crwdne2931471:0
crwdns2935297:08crwdne2935297:0