crwdns2915892:0crwdne2915892:0
This guide provides detailed instructions for replacing the keyboard ribbon cable in your Toshiba Satellite C650D laptop (also known as model PSC0YC-007026). The ribbon cable serves as the critical connection between your keyboard and the laptop's motherboard, transmitting all keystroke signals to the system.
When this ribbon cable becomes damaged or loose , you may experience several symptoms including unresponsive keys, random "ghost" key presses appearing on screen, intermittent keyboard functionality, or complete keyboard failure. Before proceeding with this repair, we recommend consulting our troubleshooting section to confirm that the ribbon cable is indeed the source of your keyboard issues.
Safety is paramount when performing this repair. Always ensure the laptop is completely powered off and the battery is disconnected before beginning any work. Use an anti-static wrist strap to reduce ESD (electrostatic discharge) and prevent potential damage to sensitive electronic components. When working with the ribbon cable and its connector, plastic tools are preferred over metal ones to avoid accidental short circuits or component damage.
Special precautions should be taken if your laptop shows signs of a swollen battery - in such cases, do not attempt this repair and instead refer to our battery replacement guide first. If you haven't done so recently, we also advise backing up your important data before beginning any disassembly.
Also, remember to dispose of your electronic waste safely. Take a look at this article or review the EPA website for information on electronics donation, recycling, and e-waste disposal for more information.
crwdns2942213:0crwdne2942213:0
-
-
Disconnect all cables and peripherals from your device.
-
-
-
Slide the battery locks to the unlock position and remove the battery from the back of the laptop.
-
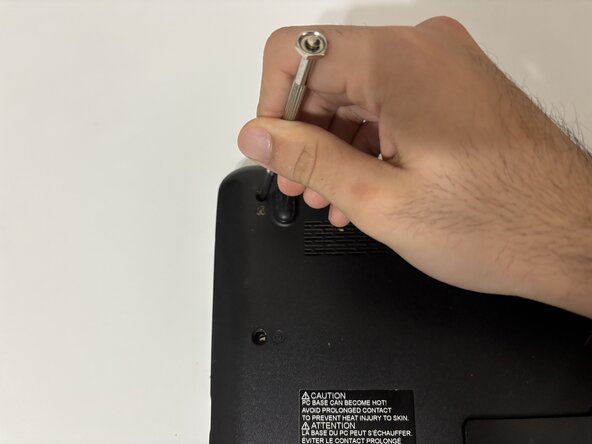
Use a Phillips #1 screwdriver to remove the thirteen 6 mm screws from the bottom of the laptop.
-
-
-
-
Flip the laptop over and open it so the keyboard is accessible.
-
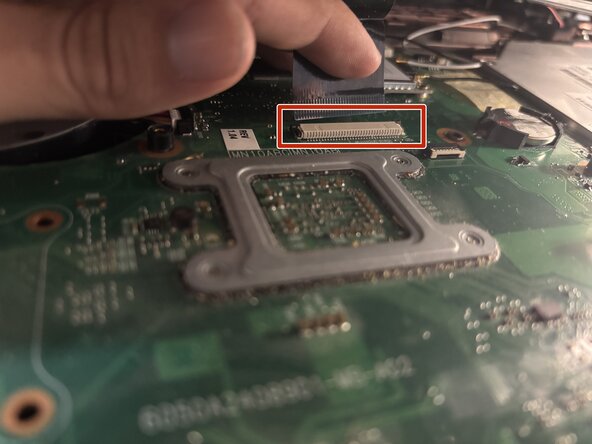
Use a spudger to release the clips along the perimeter of the keyboard assembly that secure it to the bottom case. Lift the assembly slowly to expose the ZIF connector attaching it to the motherboard.
-
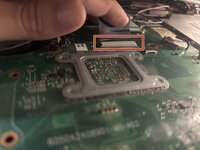
Use a spudger or a clean fingernail to flip up the locking flap of the ZIF connector.
-
Slide the ribbon cable from the socket.
-
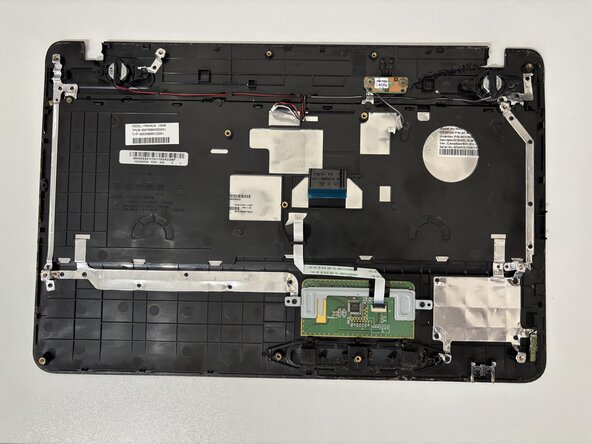
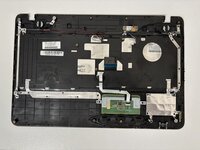
Flip the keyboard assembly over so that the bottom side is facing up.
-
-
-
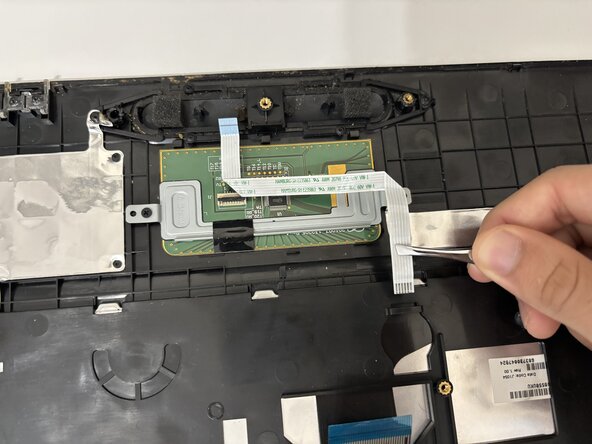
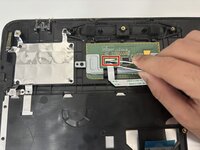
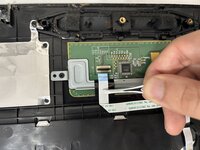
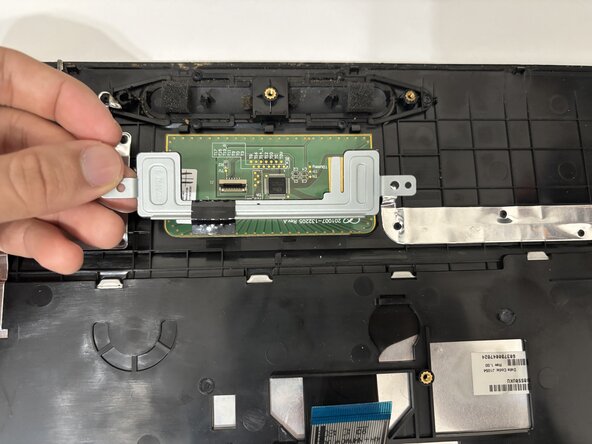
Use a spudger or a clean fingernail to flip up the locking flap on the touchpad connector.
-
Use tweezers to remove the ribbon cable from the socket on the touchpad board.
-
-
-
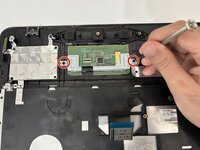
Use a JIS #0 to remove the two screws from the bracket covering the touchpad.
-
Remove the bracket.
-
-
-
Gently push up on the touchpad from below to remove it.
-


To reassemble your device, follow these instructions in reverse order.
To reassemble your device, follow these instructions in reverse order.

crwdns2915084:0crwdne2915084:0

York University, Team 4-12, Woodhouse Winter 2025 crwdns2935289:0York University, Team 4-12, Woodhouse Winter 2025crwdne2935289:0
YORK-WOODHOUSE-W25S4G12
crwdns2931471:02crwdne2931471:0
crwdns2935303:01crwdne2935303:0