crwdns2915892:0crwdne2915892:0
In this guide, we will show you how to replace your computer's motherboard. It is important to replace your motherboard when your computer does not fully re-boot at all.
crwdns2942213:0crwdne2942213:0
-
-
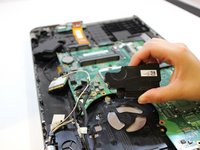
Using a Phillips #1 screwdriver, unscrew the 6 remaining screws attached to the fan.
-
Unplug the connector connecting the fan to the motherboard.
-
Remove the fan from the device.
-
-
-
Take out all remaining screws in the motherboard.
-
-
-
-
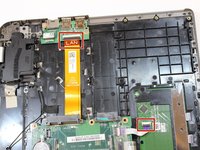
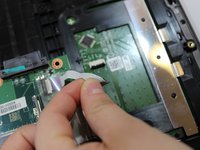
Disconnect the purple and orange ZIF connectors from the motherboard.
-
-
-
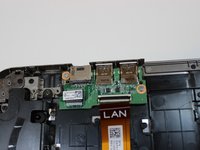
Remove cartridges from laptop by lifting them up.
-
-
-
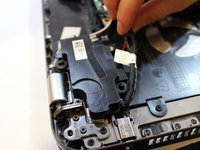
Disconnect all wires from the motherboard and replace motherboard.
-


To reassemble your device, follow these instructions in reverse order.
To reassemble your device, follow these instructions in reverse order.
crwdns2935221:0crwdne2935221:0
crwdns2935229:03crwdne2935229:0
crwdns2915084:0crwdne2915084:0

Eastern Washington University, Team S1-G5, Ramos Winter 2018 crwdns2935289:0Eastern Washington University, Team S1-G5, Ramos Winter 2018crwdne2935289:0
EWU-RAMOS-W18S1G5
crwdns2931471:04crwdne2931471:0
crwdns2935297:05crwdne2935297:0
crwdns2947412:02crwdne2947412:0
Thanks you very much. Have a nice day
Gracias. Pero no veo que al remover la placa madre pueda acceder a las 2 ranuras de RAM que están justo debajo del teclado o debajo de los buffers de sonido. Entiendo que debo quitar la placa que cubre el teclado que es una pieza.