crwdns2915892:0crwdne2915892:0
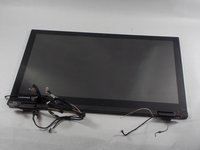
If your Toshiba Satellite P55W-C5200X is experiencing issues such as white spots and colored lines appearing, buzzing or random shutoffs, then it is clear your display is no longer functional. This may be due to the LED monitor, a faulty CFL monitor and/or power adapter. The best course of action is to replace the display assembly before problems become worse.
crwdns2942213:0crwdne2942213:0
-
-
Use the Phillips #00 screwdriver to remove the ten 4.0 mm screws located at the bottom of the laptop.
-
-
-
Use the black nylon spudger to pry the back casing along the edges.
-
Continue to pry along the edge of the back case until the back is ready to be removed.
-
-
-
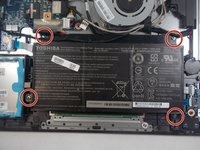
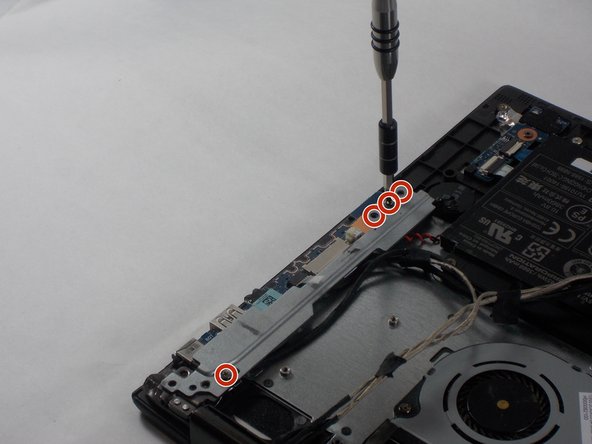
Remove the four 6.0 mm screws that hold the battery in place using the JIS #000 screwdriver.
-
-
-
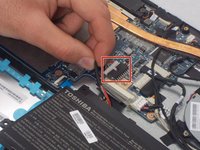
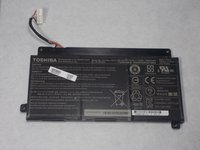
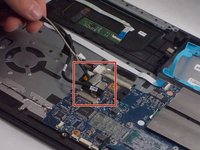
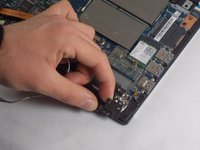
Disconnect the battery cable from the motherboard by carefully pulling on the black wire at the point closest to the white tab.
-
-
-
-
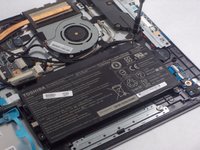
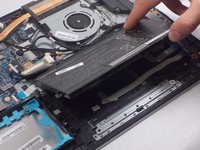
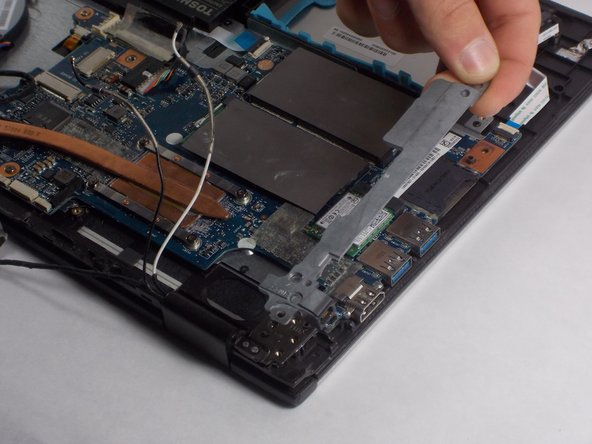
Gently remove the battery from your device.
-
-
-
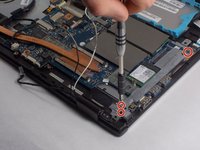
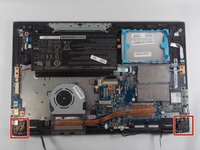
Use the Phillips #00 screwdriver to remove the six 5.0 mm screws that are holding the metal brackets on both sides in place.
-
-
-
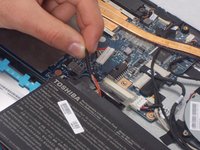
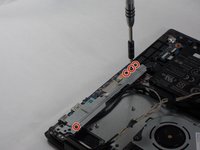
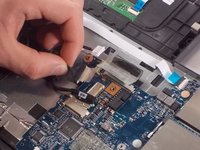
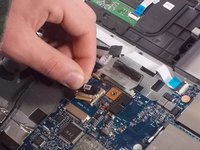
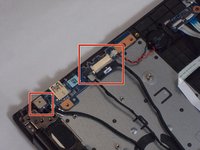
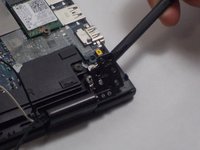
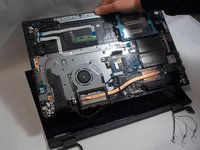
Remove he three wires connected to the motherboard.
-
-
-
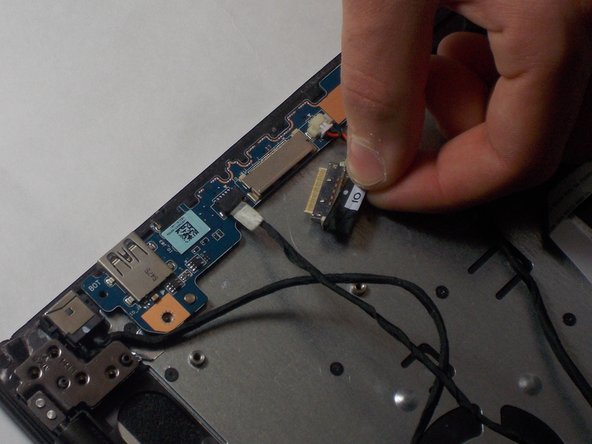
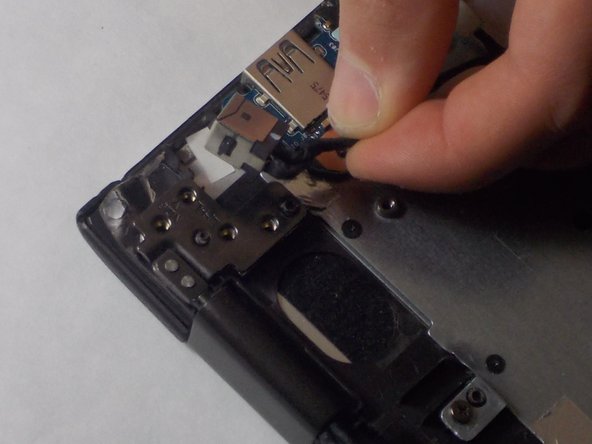
On the other side remove the four remaining wires from their ports.
-
-
-
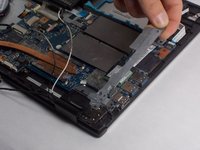
Lift two sets of metal brackets up, one in each corner.
-
-
-
Gently lift the device away from the display assembly.
-


To reassemble your device, follow these instructions in reverse order.
To reassemble your device, follow these instructions in reverse order.
crwdns2935221:0crwdne2935221:0
crwdns2935227:0crwdne2935227:0
crwdns2915084:0crwdne2915084:0

UMass Dartmouth, Team S1-G2, Botvin Fall 2019 crwdns2935289:0UMass Dartmouth, Team S1-G2, Botvin Fall 2019crwdne2935289:0
UMASSD-BOTVIN-F19S1G2
crwdns2931471:04crwdne2931471:0
crwdns2935297:015crwdne2935297:0