crwdns2915892:0crwdne2915892:0
The optical drive reads the CD/DVD when inserted into the laptop. It is not unusual for the optical drive to go stop working or malfunction as there are numerous moving parts. This device is designed to be easily replaced in the case it does malfunction.
crwdns2942213:0crwdne2942213:0
-
-
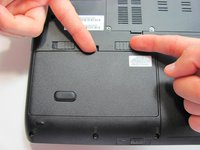
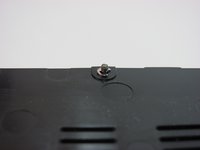
Make sure the battery lock switch is switched to the unlocked position.
-
The battery is unlocked when the battery lock switch is slid to the side with an image of an unlocked lock.
-
-
-
Slide the battery release switch to the left.
-
-
-
-
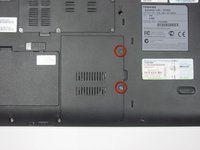
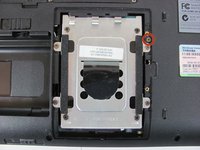
Remove the two screws holding the hard drive panel down.
-
-
-
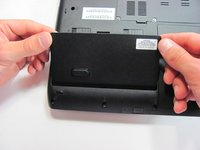
Use a finger to lift up on the tab and remove the panel.
-
-
-
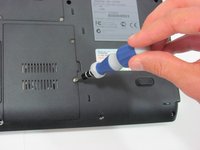
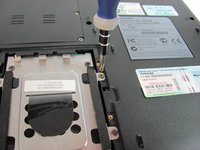
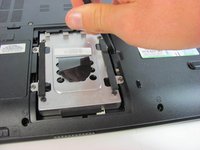
Remove the screw that holds in place the optical drive.
-
One 4.6 mm Phillips screw.
-
-
-
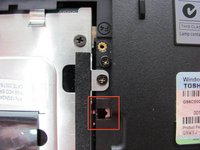
Locate the small rectangular hole and insert the spudger.
-
Gently slide the metal flange to the right to dislodge the optical drive.
-
-
-
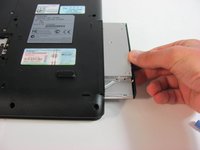
The optical drive will become partially exposed.
-
-
-
Pull the optical drive to remove it from the computer body.
-


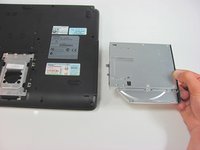
To reassemble your device, follow these instructions in reverse order.
crwdns2935287:0crwdne2935287:0

Cal Poly, Team 21-54, Johann Spring 2013 crwdns2935289:0Cal Poly, Team 21-54, Johann Spring 2013crwdne2935289:0
CPSU-JOHANN-S13S21G54
crwdns2931471:04crwdne2931471:0
crwdns2935297:018crwdne2935297:0