crwdns2915892:0crwdne2915892:0
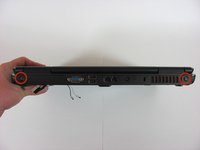
The LCD display can be easily separated from the laptop body to allow for replacement if it is damaged or functioning improperly.
crwdns2942213:0crwdne2942213:0
-
-
Make sure the battery lock switch is switched to the unlocked position.
-
The battery is unlocked when the battery lock switch is slid to the side with an image of an unlocked lock.
-
-
-
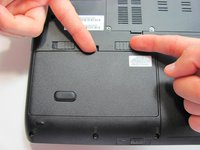
Slide the battery release switch to the left.
-
-
-
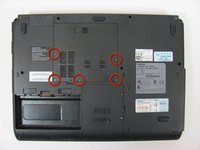
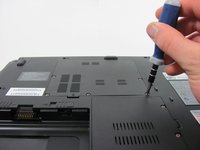
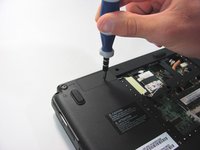
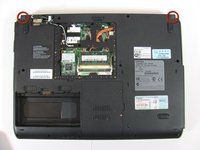
Remove the 5 Phillips screws holding the panel in place.
-
-
-
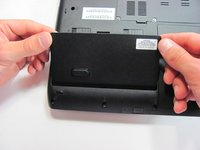
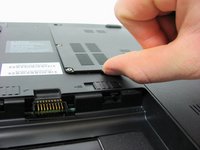
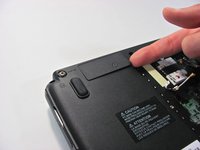
Use a finger to remove the panel by lifting up on the provided removal tab.
-
-
-
-
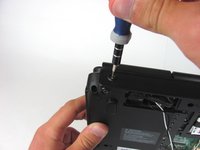
Remove the Phillips screw holding the panel in place and then use a finger to remove the panel.
-
-
-
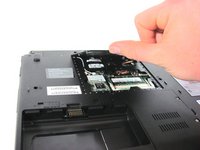
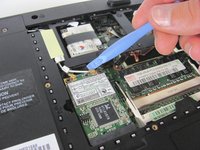
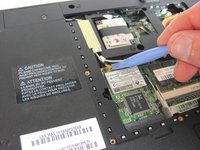
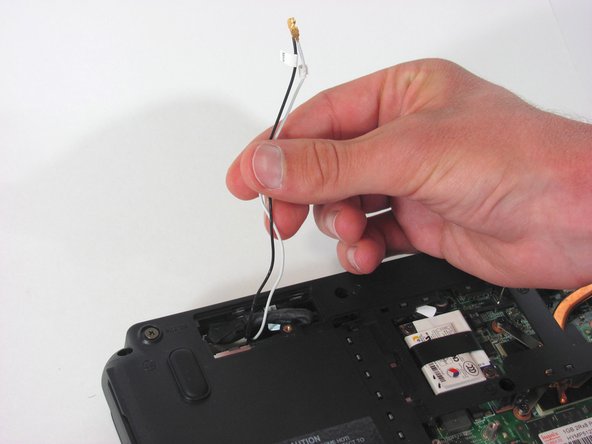
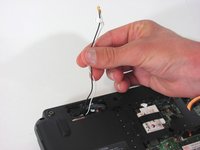
With the aid of a plastic removal, disconnect the two wires attached to the wireless card.
-
-
-
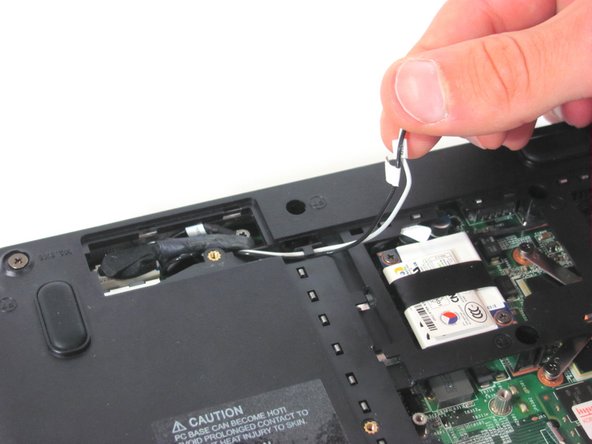
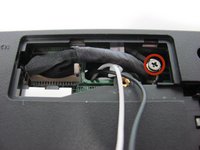
Remove the yellow tape holding the black and the white wires in place.
-
-
-
Unwind the wires from the plastic tabs holding the wires in place.
-
-
-
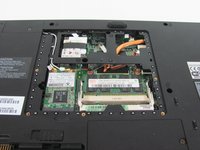
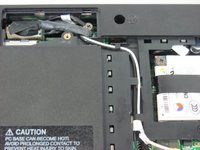
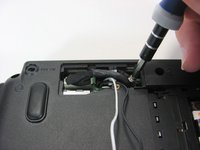
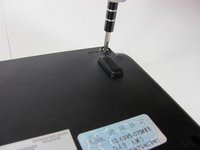
Remove the screw holding the ground cable in place.
-
One 4.5 mm Phillips screw.
-
-
-
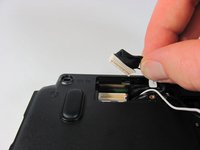
Disconnect the video cable connecting the display to the base of the laptop.
-
-
-
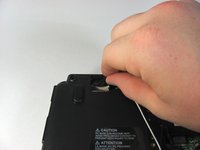
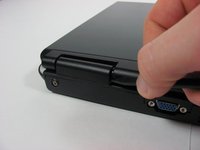
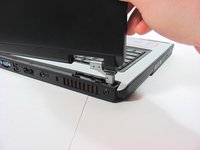
Pop off the laptop's hinge covers using a spudger tool.
-
-
-
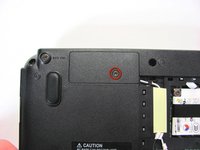
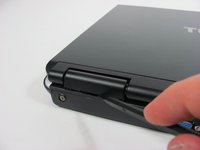
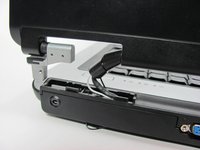
Remove the two screws on the back side of the laptop holding the LCD display in place.
-
Two 8.5 mm Phillips screws.
-
-
-
Remove the final two screws on the bottom side of the laptop holding the LCD display in place.
-
Two 8.5 mm Phillips screws.
-
-
-
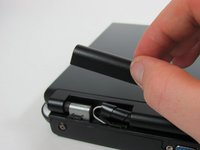
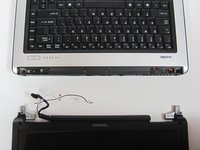
Carefully pull apart the LCD display from the base by pulling vertically upwards on the display.
-


To reassemble your device, follow these instructions in reverse order.
To reassemble your device, follow these instructions in reverse order.
crwdns2935221:0crwdne2935221:0
crwdns2935229:03crwdne2935229:0
crwdns2915084:0crwdne2915084:0

Cal Poly, Team 21-54, Johann Spring 2013 crwdns2935289:0Cal Poly, Team 21-54, Johann Spring 2013crwdne2935289:0
CPSU-JOHANN-S13S21G54
crwdns2931471:04crwdne2931471:0
crwdns2935297:018crwdne2935297:0