crwdns2915892:0crwdne2915892:0
The motherboard is the base for all of the parts of the laptop to communicate with each other. When the motherboard is damaged such that certain functions of the laptop won’t work, then a replacement for the motherboard may be necessary.
crwdns2942213:0crwdne2942213:0
-
-
Remove the twelve 5 mm Phillips #1 screws from the back panel.
-
-
-
Pry the back panel open with the plastic spudger or fingernails.
-
-
-
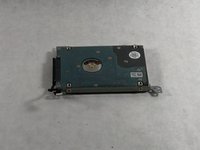
Remove the three 7mm black screws using the Phillips #1 screwdriver.
-
-
crwdns2935267:0crwdne2935267:0Tweezers$4.99
-
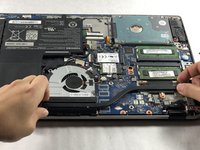
Remove the hard drive’s connection port with grooved tweezers.
-
-
-
Pull the hard drive out of the hook and remove it from the device.
-
-
-
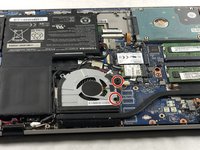
Remove the two 5 mm screws using a Phillips #1 screwdriver.
-
-
-
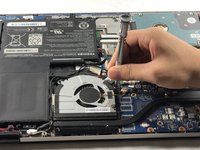
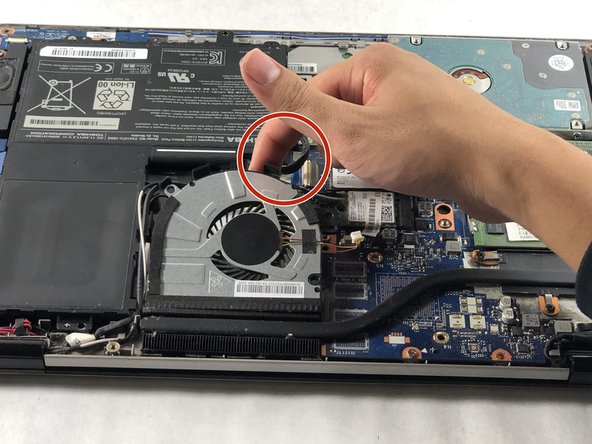
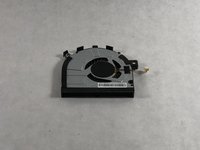
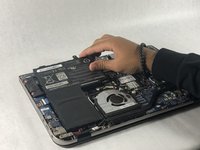
Gently disconnect the fan cable from the device.
-
-
-
-
Move the wires away from the fan’s hook.
-
Remove the fan from the device.
-
-
-
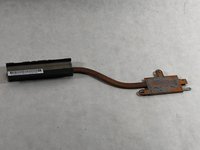
Remove the three 5 mm screws using a Phillips #1 screwdriver.
-
-
-
Pry the heat sink away from the laptop with two hands at both ends and remove it from the device.
-
-
-
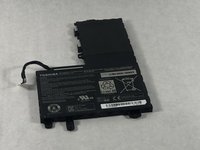
Disconnect the battery connector from the motherboard.
-
-
-
Remove the single screw Phillips #1 screw near the battery.
-
-
-
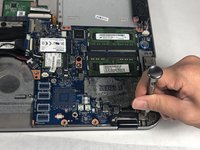
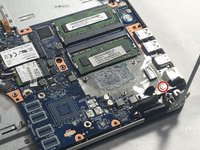
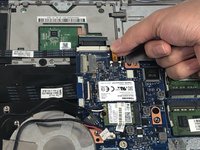
Remove the single 7 mm silver screw using a Phillips #1 screwdriver.
-
-
-
Pull metal stick holder until it is upright.
-
-
-
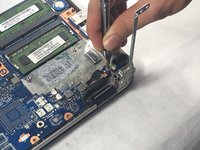
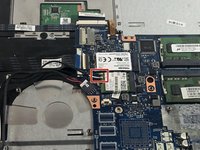
Remove the 7 mm silver screw under the metal bar using the Phillips #1 screwdriver.
-
-
-
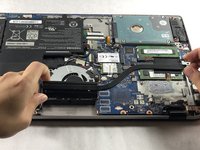
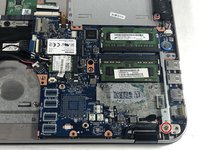
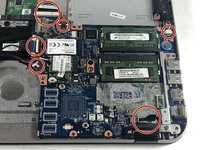
Disconnect the six connectors from the device.
-
-
-
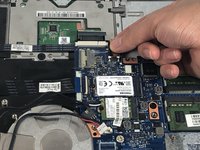
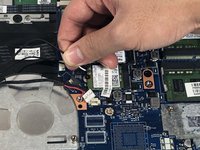
Pull out 2 plugs out from the wireless network card.
-
-
-
Remove the motherboard from the device.
-


To reassemble your device, follow these instructions in reverse order.
To reassemble your device, follow these instructions in reverse order.
crwdns2915084:0crwdne2915084:0

UMass Dartmouth, Team S1-G4, Simcock Fall 2018 crwdns2935289:0UMass Dartmouth, Team S1-G4, Simcock Fall 2018crwdne2935289:0
UMASSD-SIMCOCK-F18S1G4
crwdns2931471:03crwdne2931471:0
crwdns2935297:014crwdne2935297:0