crwdns2915892:0crwdne2915892:0
This guide will show you how to replace your Toshiba's DVD tray when it is no longer working correctly.
crwdns2942213:0crwdne2942213:0
-
-
Remove the 7mm Phillips screw located on the back panel of the device using the J1S Phillips head screwdriver.
-
-
-
Pry the back panel out of the laptop using the spudger tool
-
-
-
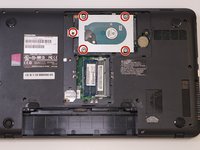
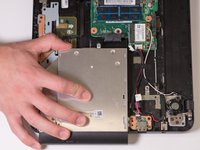
Locate and unscrew the five 3.5mm screws holding the hard drive in place using the J1S Phillips head screwdriver
-
-
-
-
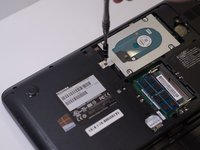
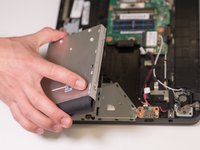
Slide the HDD towards the sticker on the left.
-
-
-
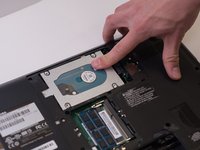
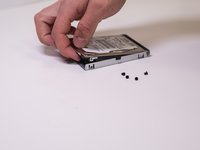
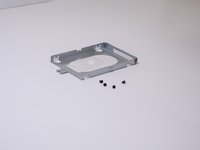
Remove the four 2mm Phillips screws from the HDD tray securing the disk using the J1S Phillips head screwdriver.
-
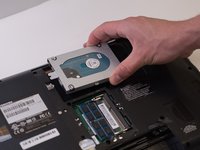
Remove the hard drive from the tray.
-
-
-
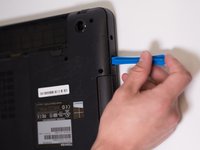
Remove the ten 7mm screws located on the bottom of the laptop using the J1S screwdriver.
-
-
-
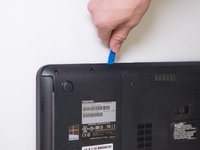
Insert a plastic opening tool and follow the edges to open the panel.
-
-
-
Once open, locate the CD tray indicated in this picture.
-


To reassemble your device, follow these instructions in reverse order.
To reassemble your device, follow these instructions in reverse order.

crwdns2915084:0crwdne2915084:0

Linn Benton Community College, Team S1-G4, Johnson Spring 2018 crwdns2935289:0Linn Benton Community College, Team S1-G4, Johnson Spring 2018crwdne2935289:0
LBCC-JOHNSON-S18S1G4
crwdns2931471:04crwdne2931471:0
crwdns2935297:014crwdne2935297:0