crwdns2915892:0crwdne2915892:0
If the fan is excessively noisy or non-operational, use this guide to remove and replace the fan.
crwdns2942213:0crwdne2942213:0
-
-
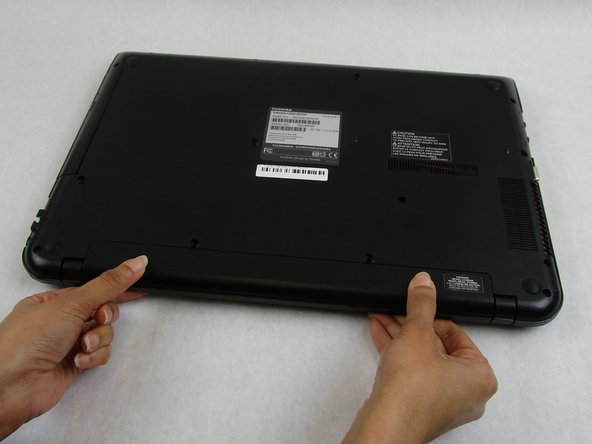
Flip the laptop over so the model stickers face the ceiling.
-
-
-
Use a Phillips #1 screwdriver (PH1 bit) to remove the two 7 mm screws that secure the battery.
-
-
-
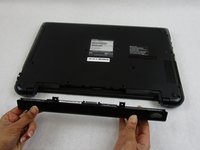
Carefully slide the battery out of the laptop.
-
-
-
-
Remove the remaining thirteen 7 mm Phillips screws holding the back cover using the PH1 bit and Magnetic Driver.
-
-
-
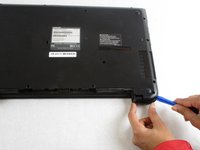
Using the plastic opening tools, separate the back cover from the laptop.
-
-
-
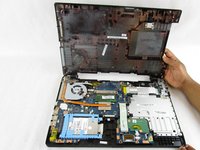
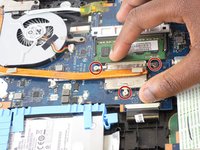
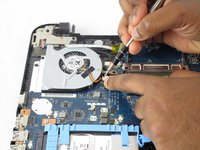
Remove the three 3 mm Phillips screws holding the fan cable in place using the PH1 bit and Magnetic Driver.
-
Lift the fan cable connector from the fan.
-
-
-
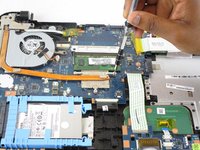
Remove the fan from the plug by releasing the clamps located on each side of the socket.
-
Slide the connector out of the socket.
-
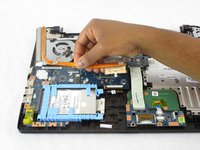
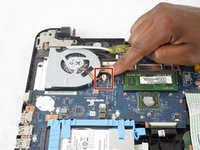
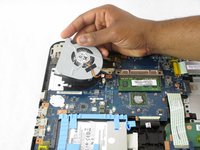
Lift the computer fan from the motherboard.
-


To reassemble your device, follow these instructions in reverse order.
To reassemble your device, follow these instructions in reverse order.

crwdns2915084:0crwdne2915084:0

South Arkansas Community College, Team S1-G1, Mitchell Spring 2018 crwdns2935289:0South Arkansas Community College, Team S1-G1, Mitchell Spring 2018crwdne2935289:0
SACC-MITCHELL-S18S1G1
crwdns2931471:04crwdne2931471:0
crwdns2935297:012crwdne2935297:0