crwdns2915892:0crwdne2915892:0
Whether or not you are upgrading your storage or the hard drive is out of commission, this guide will help you remove it.
crwdns2942213:0crwdne2942213:0
-
-
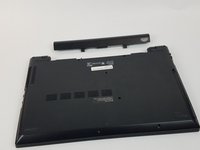
Remove the two 6.5mm PH1 Phillips screws securing the battery.
-
-
-
Pull the battery out, keeping it flat and parallel to the laptop so that it slides out easily.
-
-
-
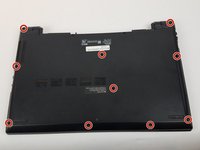
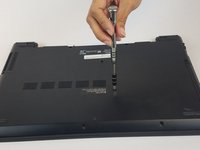
Unscrew the ten 6.5mm PH1 Phillips head screws that hold down the back cover.
-
-
-
-
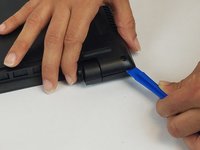
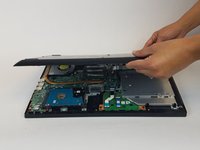
Using the plastic opening tools, open the back cover and remove it from the laptop.
-
-
-
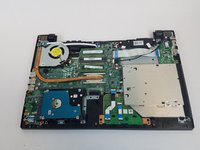
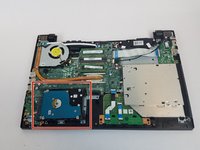
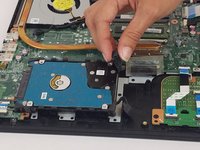
The hard drive is on the bottom left side.
-
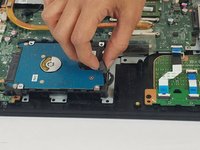
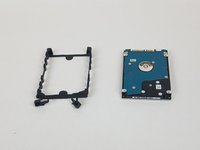
Remove both releases from the rubber hard drive mount.
-
-
-
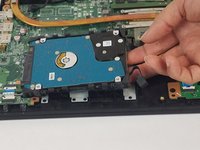
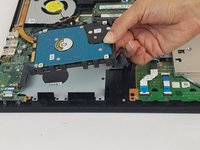
Lift the hard drive from underneath on the right side.
-
While holding it up, pull it away from its connector so that it disconnects.
-
-
-
Peel off the rubber hard drive mount.
-


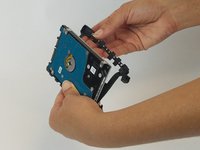
To reassemble your device, follow these instructions in reverse order.
crwdns2935221:0crwdne2935221:0
crwdns2935229:05crwdne2935229:0

crwdns2935287:0crwdne2935287:0

USF Tampa, Team S1-G5, Nance Spring 2017 crwdns2935289:0USF Tampa, Team S1-G5, Nance Spring 2017crwdne2935289:0
USFT-NANCE-S17S1G5
crwdns2931471:03crwdne2931471:0
crwdns2935297:018crwdne2935297:0