crwdns2915892:0crwdne2915892:0
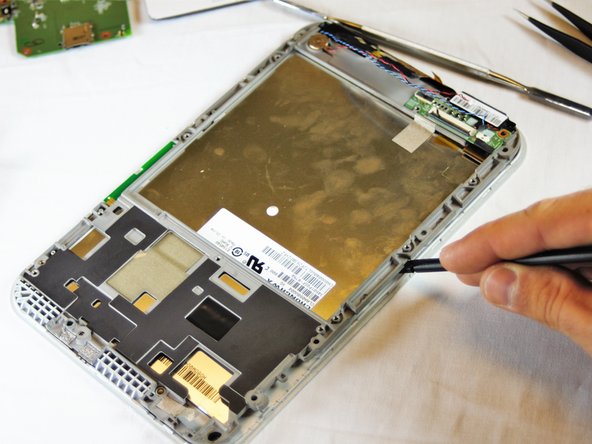
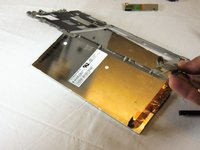
After removing the battery and motherboard, you must disassemble the bottom end of the tablet in order to gain access and disconnect the screen.
crwdns2942213:0crwdne2942213:0
-
-
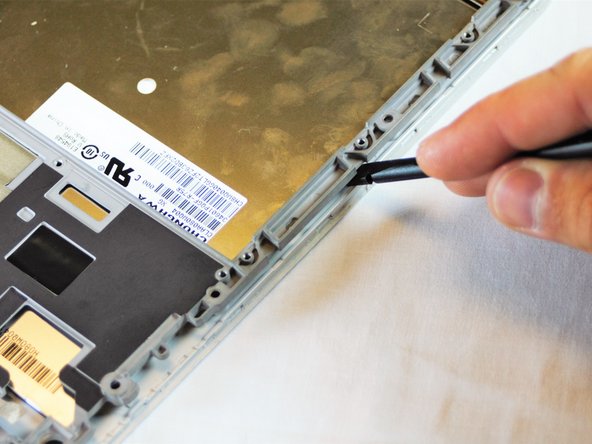
Use the metal spudger to create a gap between the back cover and the device.
-
-
-
Use the nylon spudger to completely separate the back of the device.
-
Take the nylon spudger around the outside of the device cover until it comes free.
-
-
-
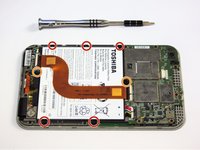
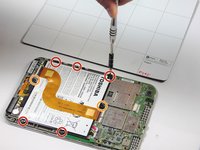
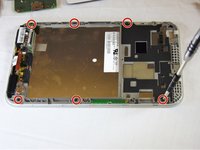
Use the Phillips head PH0 to remove the 7 battery screws.
-
The 5 side screws measure 3.5mm.
-
The 2 top and bottom screws measure 4.5 mm.
-
-
crwdns2935267:0crwdne2935267:0Tweezers$4.99
-
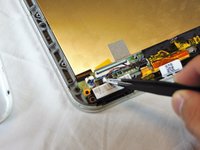
To disconnect the cable, use the fine tweezers to flip up the small retaining flap. Then, you can safely pull the ribbon cable out.
-
-
-
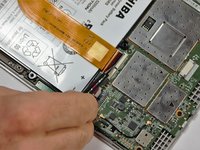
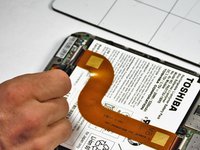
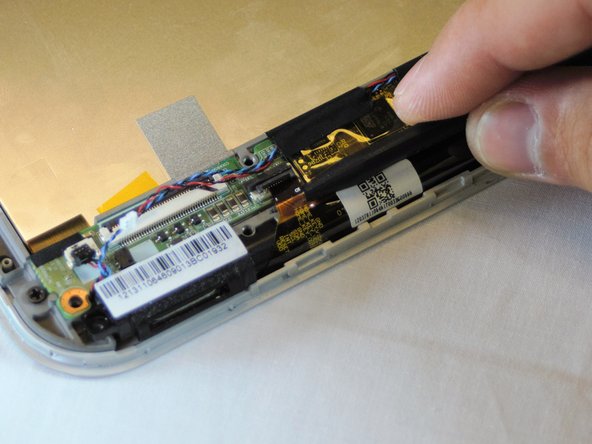
Remove the colored power cable from its connector.
-
To disconnect it safely, use the pointed tip of a spudger to carefully push on each side of the connector.
-
Alternating from one side to the other, gently “walk” the connector out of its socket.
-
-
-
Remove the 4 – 4.5 mm screws from the motherboard assembly.
-
-
-
Remove the 2 – 3.5 mm screws from the motherboard assembly.
-
-
-
-
The motherboard should come free at this point.
-
-
-
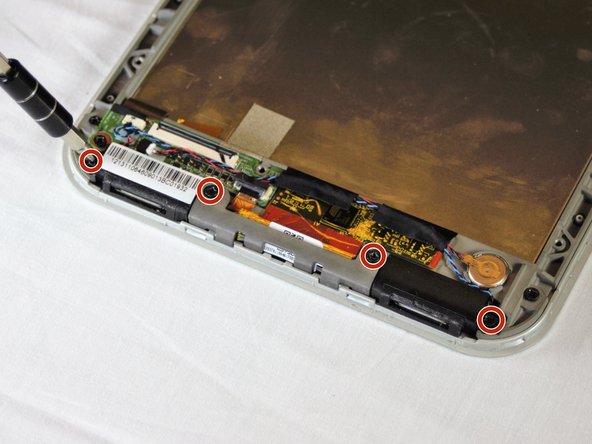
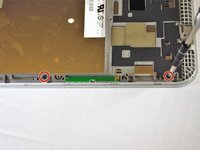
Use the screwdriver to remove the 4-3.5mm screws on the two lower speakers.
-
-
-
Using the spudger, gently pry up on the reinforcement bar and remove from the frame.
-
-
crwdns2935267:0crwdne2935267:0Tweezers$4.99
-
Use the fine pointed tweezers to carefully remove the 2 no-fuss speaker connections.
-
-
-
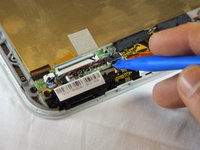
Lift the black ZIF connector holding down the ribbon cable with the plastic opening tool.
-
Gently use the spudger to remove the ribbon cable.
-
-
-
Use the fine pointed tweezers to pull the 2 pieces of fabric tape from the lower board.
-
Move the speaker wires out of the way.
-
-
-
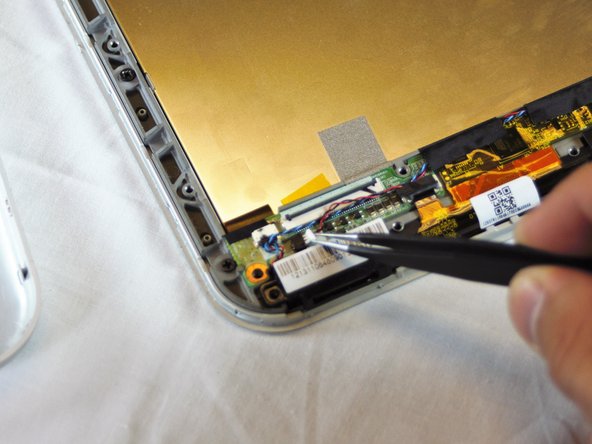
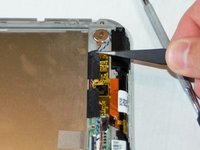
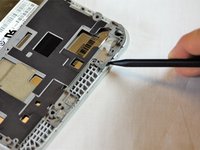
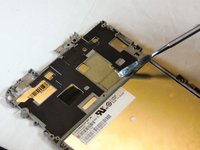
Use the plastic opening tool or spudger to gently lift up on the middle logic board and remove it from the frame.
-
This board controls the touch sensors on the front glass.
-
-
-
There are now 7-3.5mm Phillips head screws holding the frame to the front glass of the tablet.
-
Use the Phillips head screwdriver to remove the 7 screws.
-
-
-
Use the spudger to pry your way around the frame and separate it from the front glass.
-
-
-
When the frame is separated and loose, Lift from the top and pull the frame off the front glass, setting the glass aside.
-
-
-
Remove the lower speakers and set them aside.
-
-
-
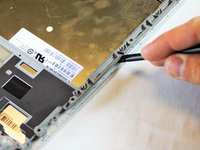
The screen is held to the frame with metal fabric tape at the top and bottom of the frame.
-
Use the metal spudger to peel the tape off the back of the screen.
-
-
-
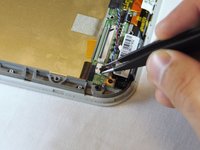
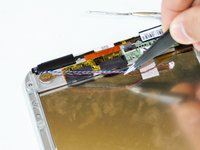
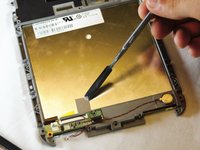
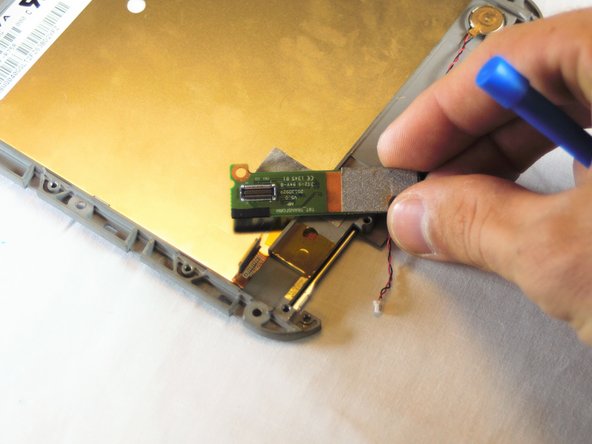
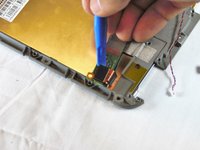
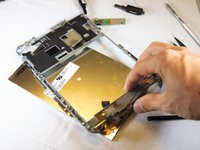
The last board we have to worry about is the board that holds the ribbon cable connector (from the battery removal step) and the screen connector.
-
Use the spudger to gently pry up on the bottom side of the board, as you did when removing the touch screen control board.
-
You have to make sure to loosen up the glue underneath and the board should come free from the frame.
-
-
-
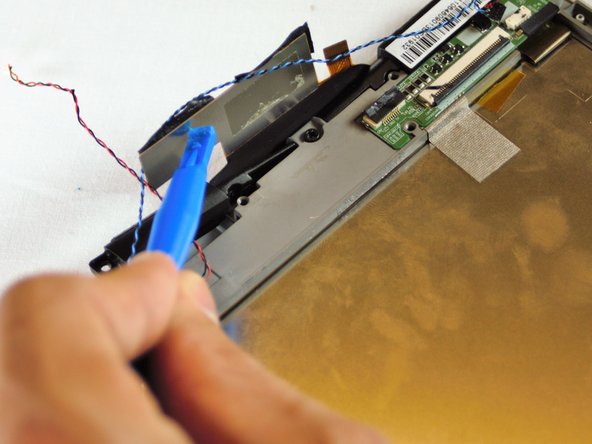
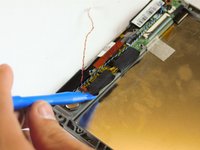
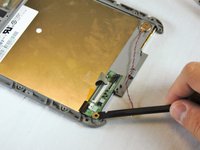
Use the plastic opening tool to disconnect the screens ribbon cable from the board by prying up on the flat topped connector.
-
The board will come free and you can set it aside.
-
-
-
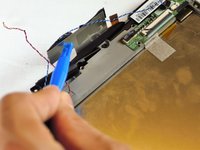
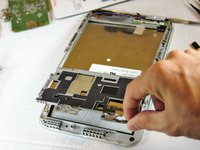
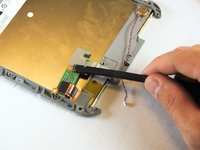
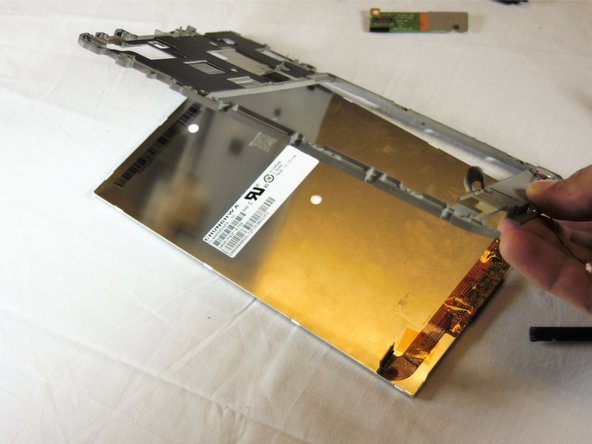
With the tape peeled back, and the board disconnected and removed, you can take the frame off of the back of the screen.
-
Your screen is now ready to be replaced with a new one.
-


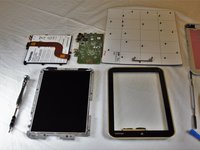


To reassemble your device, follow these instructions in reverse order.
crwdns2947410:01crwdne2947410:0
How many pins does the screen have? because im planning to replace mine with a new one