crwdns2933423:0crwdne2933423:0
crwdns2947577:0crwdnd2947577:0crwdne2947577:0

Toshiba Encore Mini Front-Facing Camera Replacement

crwdns2869540:0crwdne2869540:0: 853

crwdns2959988:0crwdne2959988:0

crwdns2959990:0crwdne2959990:0
1
crwdns2959992:0crwdne2959992:0
24
crwdns2959994:0crwdne2959994:0
94
crwdns2959996:0crwdne2959996:0
853
crwdns2955950:0crwdne2955950:0: 0

crwdns2959998:0crwdne2959998:0

crwdns2960000:0crwdne2960000:0
crwdns2959984:0crwdne2959984:0: 0

crwdns2959956:0crwdne2959956:0

crwdns2959986:0crwdne2959986:0: 0

crwdns2959958:0crwdne2959958:0

crwdns2955944:0crwdne2955944:0: 10 - 15 crwdns2931279:0crwdne2931279:0
crwdns2955970:0crwdne2955970:0: crwdns2937801:0crwdne2937801:0
Toshiba Encore Mini Front-Facing Camera Replacement

crwdns2915892:0crwdne2915892:0

crwdns2959928:0crwdne2959928:0 ↓

The Toshiba Encore Mini is equipped with a built-in front-facing camera and a built-in rear-facing camera. Before replacing either camera, we recommend you back-up any photos (or other data) to an external storage device. Also, you will need a good place to keep track of five very small screws, as you will need them for reassembly.

crwdns2959930:0crwdne2959930:0

crwdns2943215:0crwdne2943215:0

    1. Toshiba Encore Mini Front-Facing Camera Replacement, Battery: crwdns2935265:01crwdnd2935265:01crwdnd2935265:02crwdne2935265:0 Toshiba Encore Mini Front-Facing Camera Replacement, Battery: crwdns2935265:01crwdnd2935265:02crwdnd2935265:02crwdne2935265:0
      • To replace the battery, the rear cover must first be removed.

      • Using the flat end of the spudger, gently pry open the back case from the rest of the device.

      • It may be easier to start along one of the long edges and carefully work your way toward the corner, then along the short edge.

      crwdns2952109:0crwdne2952109:0

      crwdns2917038:0crwdne2917038:0

    2. Toshiba Encore Mini Front-Facing Camera Replacement: crwdns2935265:02crwdnd2935265:01crwdnd2935265:01crwdne2935265:0
      • Remove the rear cover and set it aside.

      crwdns2952109:0crwdne2952109:0

      crwdns2917038:0crwdne2917038:0

    3. Toshiba Encore Mini Front-Facing Camera Replacement: crwdns2935265:03crwdnd2935265:01crwdnd2935265:01crwdne2935265:0
      • Carefully remove the electrical tape that holds the battery in place.

      crwdns2952109:0crwdne2952109:0

      crwdns2917038:0crwdne2917038:0

    4. Toshiba Encore Mini Front-Facing Camera Replacement: crwdns2935265:04crwdnd2935265:01crwdnd2935265:02crwdne2935265:0 Toshiba Encore Mini Front-Facing Camera Replacement: crwdns2935265:04crwdnd2935265:02crwdnd2935265:02crwdne2935265:0
      crwdns2935267:0crwdne2935267:0
      Tweezers
      $4.99
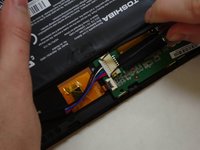
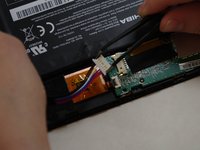
      • Using needle-nose tweezers, gently push the large white wire connector (connected to the black, red and blue wires) out of its housing.

      crwdns2952109:0crwdne2952109:0

      crwdns2917038:0crwdne2917038:0

    5. Toshiba Encore Mini Front-Facing Camera Replacement: crwdns2935265:05crwdnd2935265:01crwdnd2935265:01crwdne2935265:0
      • Gently lift the battery out of the device.

      • Be careful not to pull on the connecting wires.

      crwdns2952109:0crwdne2952109:0

      crwdns2917038:0crwdne2917038:0

    1. Toshiba Encore Mini Front-Facing Camera Replacement, Front-Facing Camera: crwdns2935265:06crwdnd2935265:01crwdnd2935265:03crwdne2935265:0 Toshiba Encore Mini Front-Facing Camera Replacement, Front-Facing Camera: crwdns2935265:06crwdnd2935265:02crwdnd2935265:03crwdne2935265:0 Toshiba Encore Mini Front-Facing Camera Replacement, Front-Facing Camera: crwdns2935265:06crwdnd2935265:03crwdnd2935265:03crwdne2935265:0
      crwdns2935267:0crwdne2935267:0
      Tweezers
      $4.99
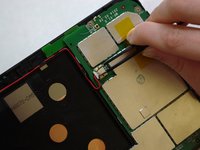
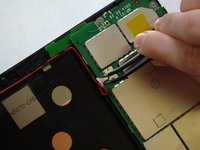
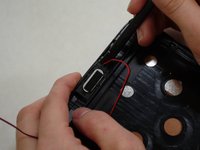
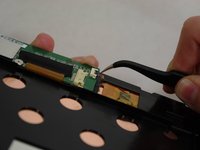
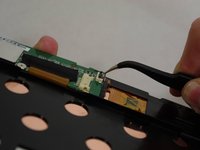
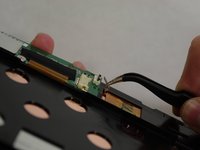
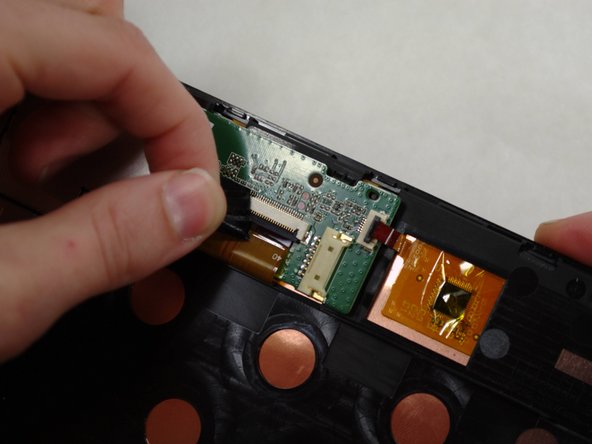
      • The audio module must be removed to replace the front-facing camera.

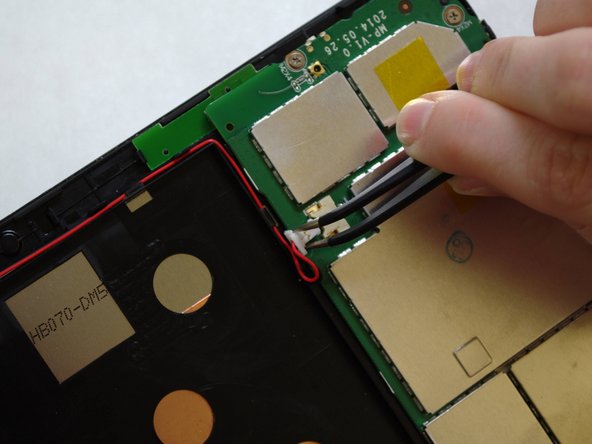
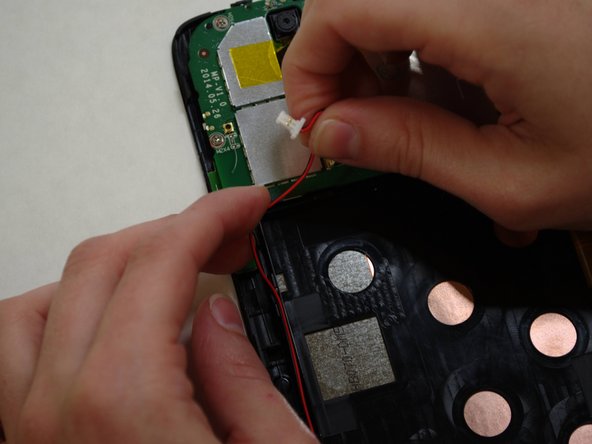
      • Using needle-nose tweezers, carefully push the small white wire connector (red/black wires) out of its housing.

      • Gently remove red/black wire strands from the clips holding them to the back of the screen.

      crwdns2952109:0crwdne2952109:0

      crwdns2917038:0crwdne2917038:0

    2. Toshiba Encore Mini Front-Facing Camera Replacement: crwdns2935265:07crwdnd2935265:01crwdnd2935265:02crwdne2935265:0 Toshiba Encore Mini Front-Facing Camera Replacement: crwdns2935265:07crwdnd2935265:02crwdnd2935265:02crwdne2935265:0
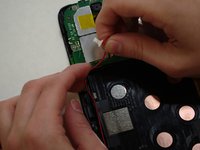
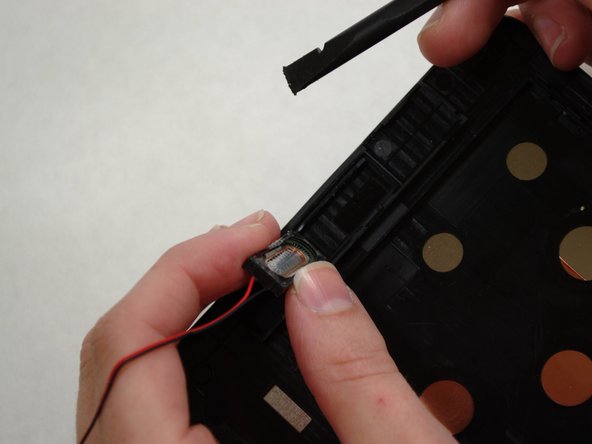
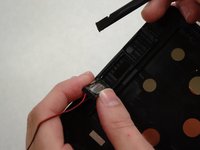
      • Gently pry audio module from the back of the screen using tweezers and spudger. Be careful not to pull on the wires.

      • Adhesive on the bottom of the speaker module may make it difficult to remove.

      • Set the audio module and attached wire aside.

      crwdns2952109:0crwdne2952109:0

      crwdns2917038:0crwdne2917038:0

    3. Toshiba Encore Mini Front-Facing Camera Replacement: crwdns2935265:08crwdnd2935265:01crwdnd2935265:03crwdne2935265:0 Toshiba Encore Mini Front-Facing Camera Replacement: crwdns2935265:08crwdnd2935265:02crwdnd2935265:03crwdne2935265:0 Toshiba Encore Mini Front-Facing Camera Replacement: crwdns2935265:08crwdnd2935265:03crwdnd2935265:03crwdne2935265:0
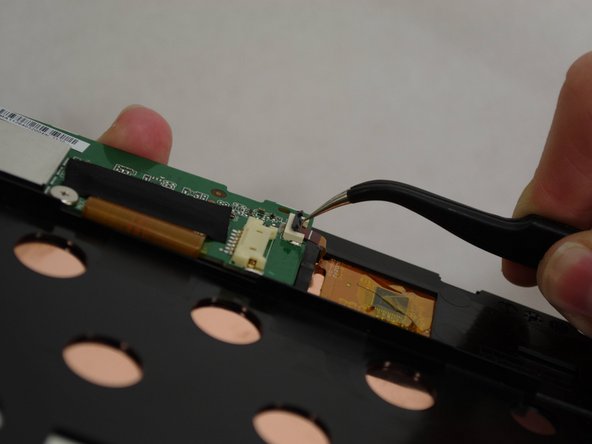
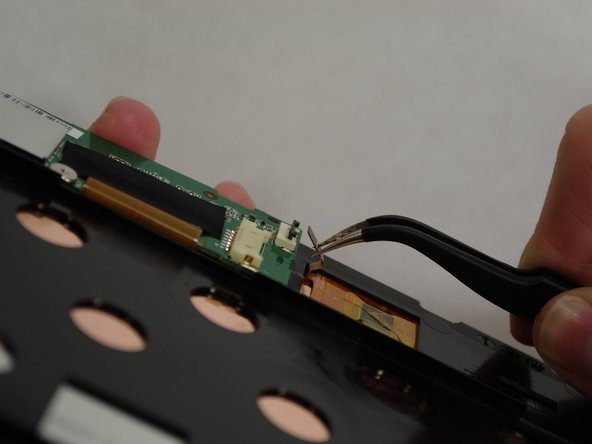
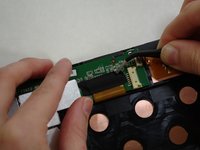
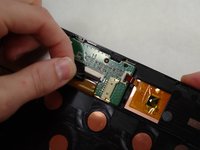
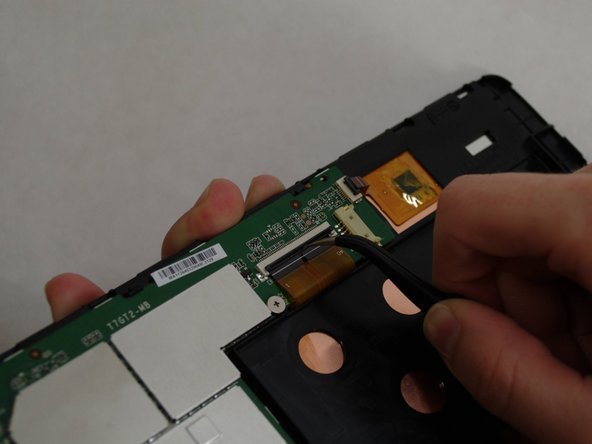
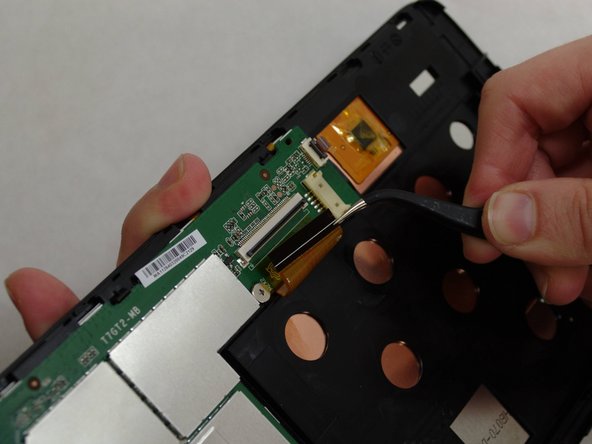
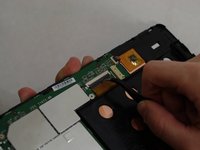
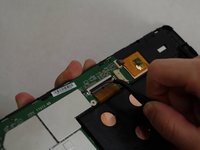
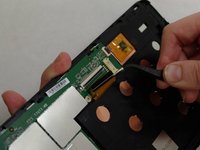
      • Using needle-nose tweezers, carefully flip up the dark gray cover on the right of the device holding the small orange ribbon in place. (It is approximately 1/4" wide.)

      • With the tweezers, carefully pull the small ribbon out of its housing. It will stay attached to the device at the other end.

      crwdns2952109:0crwdne2952109:0

      crwdns2917038:0crwdne2917038:0

    4. Toshiba Encore Mini Front-Facing Camera Replacement: crwdns2935265:09crwdnd2935265:01crwdnd2935265:02crwdne2935265:0 Toshiba Encore Mini Front-Facing Camera Replacement: crwdns2935265:09crwdnd2935265:02crwdnd2935265:02crwdne2935265:0
      • A wide orange/gold ribbon connects the screen to the motherboard. (Ribbon is approximately 1" wide.)

      • Carefully pull the black tape off the ribbon housing and set it aside. You will need to replace the tape when reassembling the device.

      crwdns2952109:0crwdne2952109:0

      crwdns2917038:0crwdne2917038:0

    5. Toshiba Encore Mini Front-Facing Camera Replacement: crwdns2935265:010crwdnd2935265:01crwdnd2935265:03crwdne2935265:0 Toshiba Encore Mini Front-Facing Camera Replacement: crwdns2935265:010crwdnd2935265:02crwdnd2935265:03crwdne2935265:0 Toshiba Encore Mini Front-Facing Camera Replacement: crwdns2935265:010crwdnd2935265:03crwdnd2935265:03crwdne2935265:0
      • Damaging this ribbon will permanently disable your device!

      • Using needle-nose tweezers, carefully flip up the dark gray cover.

      • With the tweezers, carefully pull the wide ribbon from its housing. It will stay attached to the device at the other end.

      crwdns2952109:0crwdne2952109:0

      crwdns2917038:0crwdne2917038:0

    6. Toshiba Encore Mini Front-Facing Camera Replacement: crwdns2935265:011crwdnd2935265:01crwdnd2935265:03crwdne2935265:0 Toshiba Encore Mini Front-Facing Camera Replacement: crwdns2935265:011crwdnd2935265:02crwdnd2935265:03crwdne2935265:0 Toshiba Encore Mini Front-Facing Camera Replacement: crwdns2935265:011crwdnd2935265:03crwdnd2935265:03crwdne2935265:0
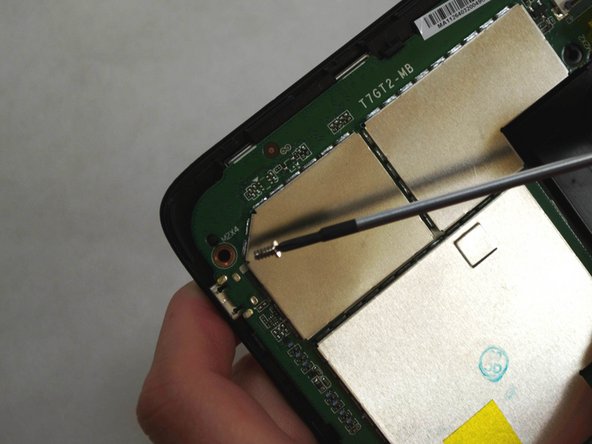
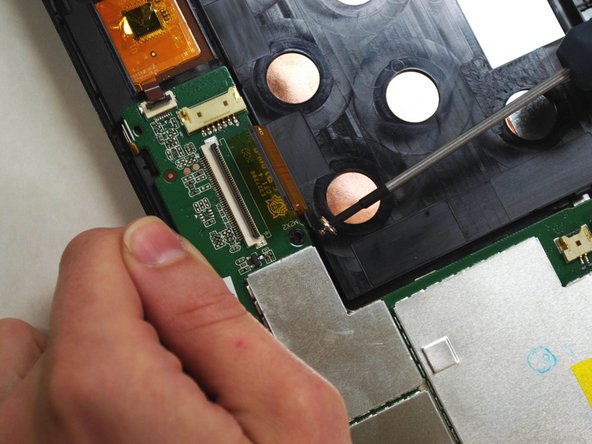
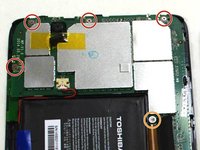
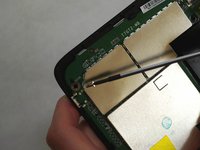
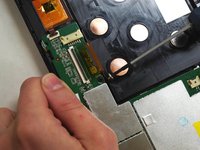
      • Using a Phillips 000 screwdriver, remove the screws holding components together.

      • Remove four 4.2 mm Phillips screws.

      • Remove one 3mm Phillips screw.

      crwdns2952109:0crwdne2952109:0

      crwdns2917038:0crwdne2917038:0

    7. Toshiba Encore Mini Front-Facing Camera Replacement: crwdns2935265:012crwdnd2935265:01crwdnd2935265:02crwdne2935265:0 Toshiba Encore Mini Front-Facing Camera Replacement: crwdns2935265:012crwdnd2935265:02crwdnd2935265:02crwdne2935265:0
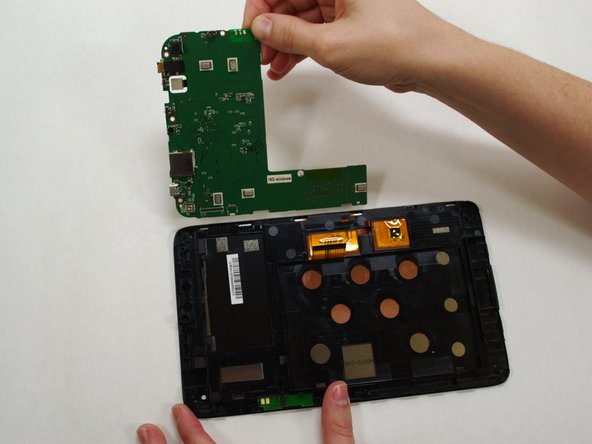
      • Holding the motherboard carefully by the edges, gently lift it up off the screen and carefully set it aside.

      • The motherboard may resist as you try to lift it --this is normal.

      crwdns2952109:0crwdne2952109:0

      crwdns2917038:0crwdne2917038:0

    8. Toshiba Encore Mini Front-Facing Camera Replacement: crwdns2935265:013crwdnd2935265:01crwdnd2935265:02crwdne2935265:0 Toshiba Encore Mini Front-Facing Camera Replacement: crwdns2935265:013crwdnd2935265:02crwdnd2935265:02crwdne2935265:0
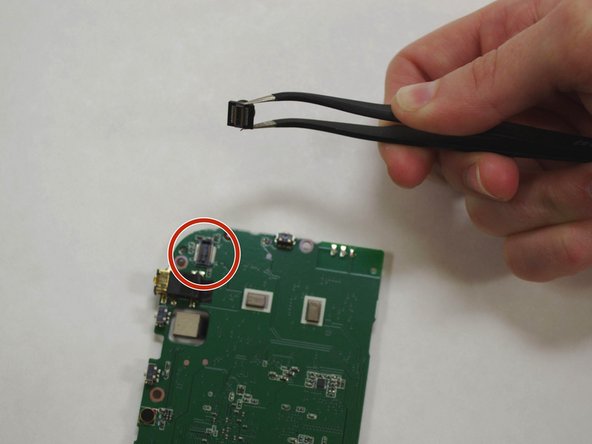
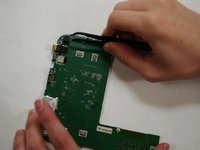
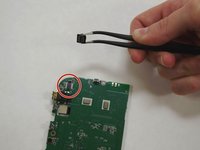
      • The front-facing camera may dislodge freely when removing the motherboard.

      • If camera has not already "popped" off the motherboard, use needle-nose tweezers to gently grasp the camera and remove from motherboard.

      crwdns2952109:0crwdne2952109:0

      crwdns2917038:0crwdne2917038:0

crwdns2915888:0crwdne2915888:0

To reassemble your device, follow these instructions in reverse order.

crwdns2935221:0crwdne2935221:0

Shirley Low

crwdns2935283:007/09/15crwdne2935283:0

143 crwdns2915208:0crwdne2915208:0

crwdns2935295:0crwdne2935295:0

crwdns2935287:0crwdne2935287:0

UW Tacoma, Team 1-3, Liner SU 2015 crwdns2935289:0UW Tacoma, Team 1-3, Liner SU 2015crwdne2935289:0

UWT-LINER-SU15S1G3

crwdns2931471:04crwdne2931471:0

crwdns2935297:036crwdne2935297:0

crwdns2947412:00crwdne2947412:0

crwdns2917038:0crwdne2917038:0

crwdns2936625:0crwdne2936625:0:

crwdns2936751:024crwdne2936751:0 1

crwdns2936753:07crwdne2936753:0 24

crwdns2936753:030crwdne2936753:0 94

crwdns2959996:0crwdne2959996:0 853