crwdns2915892:0crwdne2915892:0
This guide shows how to remove and replace the brake cable on the Toro Walk Behind Mower 21199HD 2018.
crwdns2942213:0crwdne2942213:0
-
-
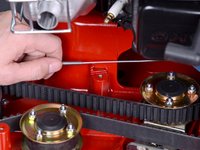
Grab the plastic housing at the end of the spark plug wire and pull firmly to disconnect it.
-
-
-
Chock the rear wheels to prevent the mower from rolling during service.
-
-
-
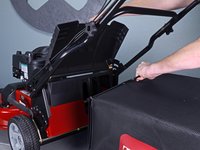
Lift up the plastic deflector.
-
-
-
While holding the deflector up and out of the way, lift the grass bag handle away from the mower to detach it.
-
Remove the grass bag.
-
-
-
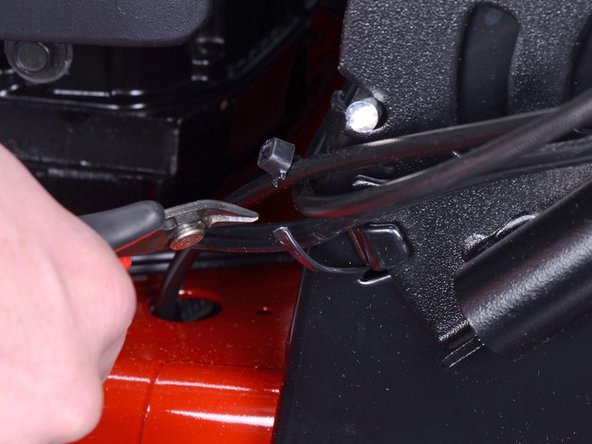
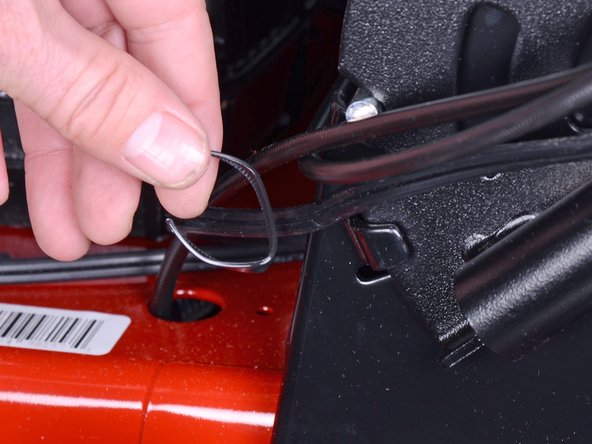
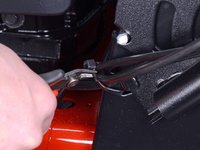
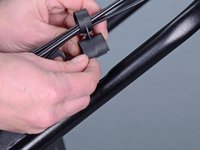
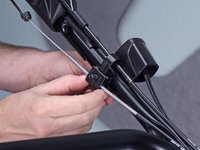
Cut and remove the zip tie holding the cables together near the base of the handle.
-
-
-
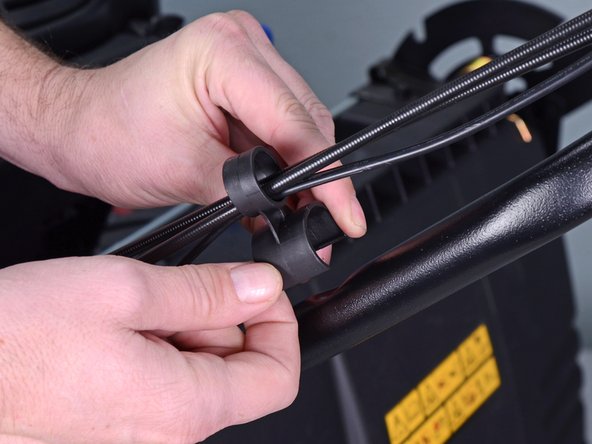
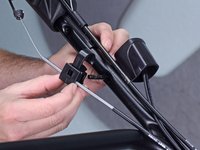
Use your fingers and press up from the bottom to remove the plastic cable guide from the handle.
-
-
-
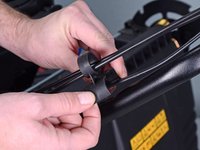
Spread the cable guide apart and remove it from the cables.
-
-
-
-
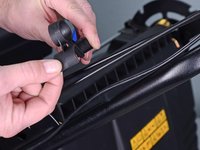
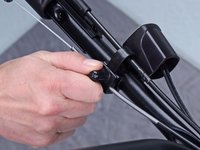
Remove the black silicone cap covering the nut on the kill switch and upper cable guide assembly.
-
-
-
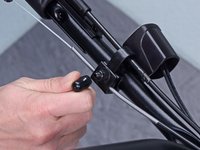
Use a 7/16 inch socket or wrench to remove the nut securing the kill switch and upper cable guide assembly.
-
-
-
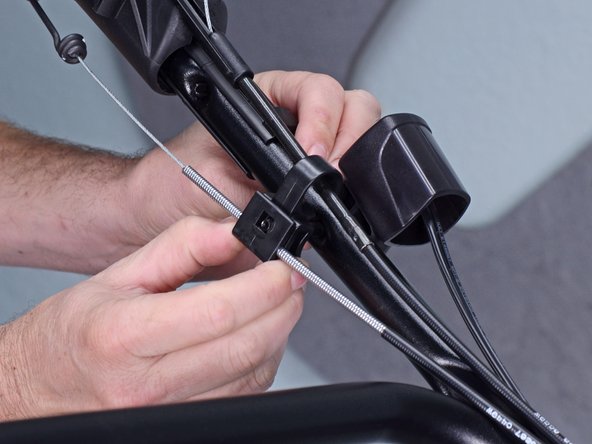
Unclip and remove the upper cable guide from the handle.
-
Unroute the cables from the cable guide.
-
-
-
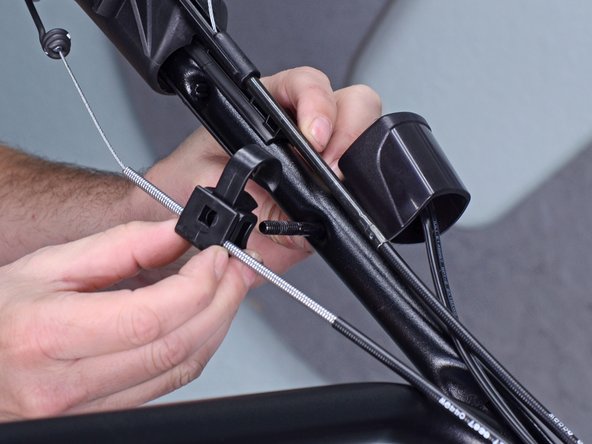
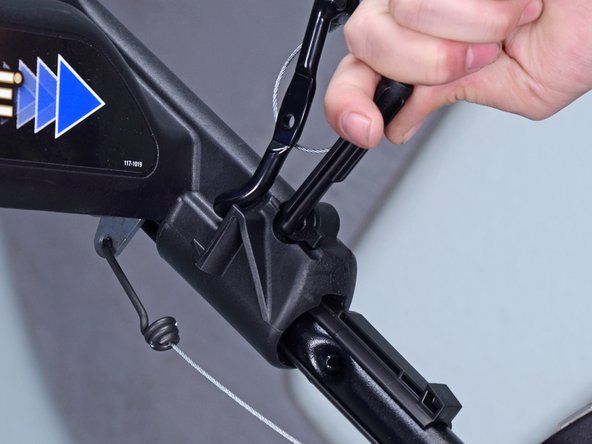
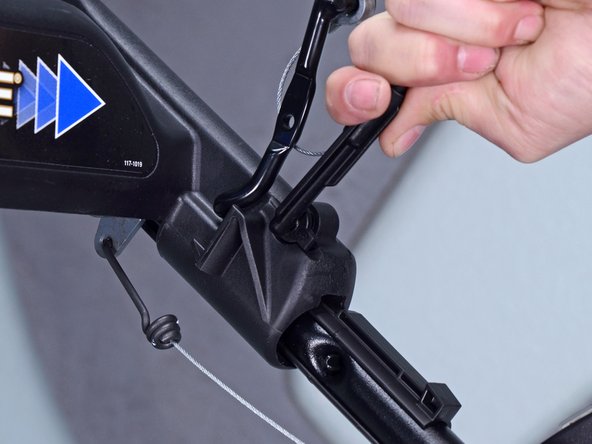
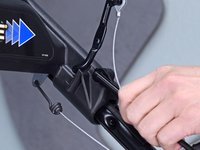
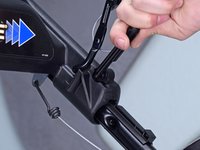
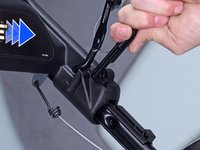
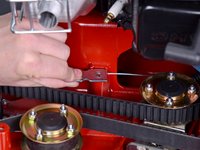
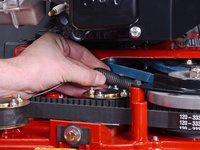
Rotate the cable retainer arm 90˚ upwards, perpendicular to the handle, to unlock it.
-
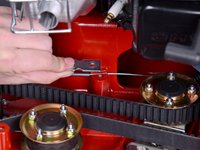
Pull the arm away from the handle to remove it.
-
-
-
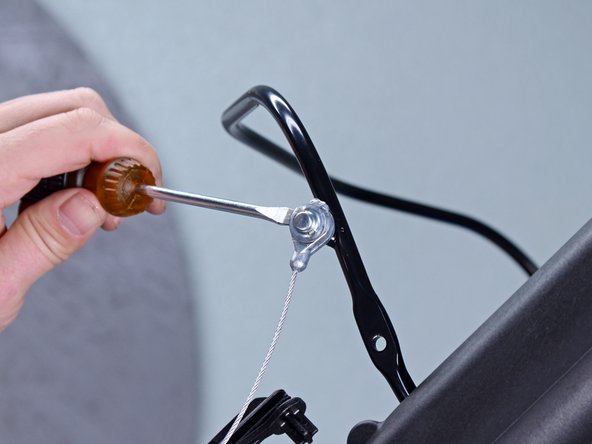
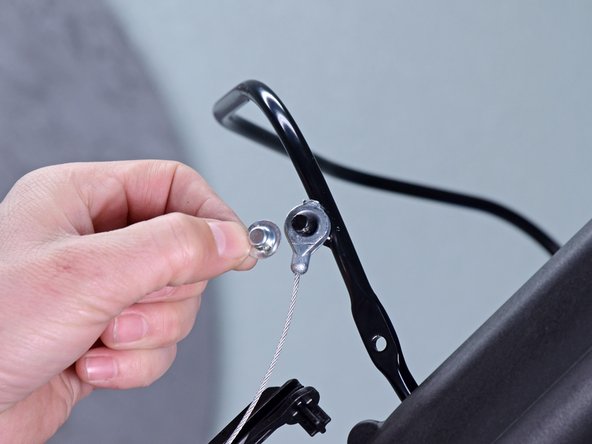
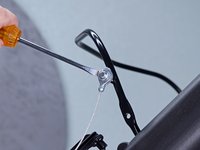
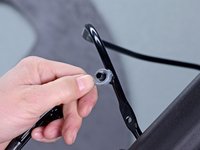
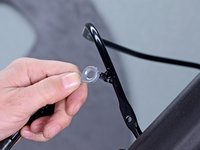
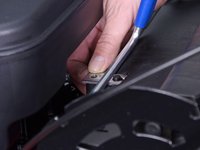
Use a flathead screwdriver to pry off the single-use cap locking the brake cable to the brake handle.
-
-
-
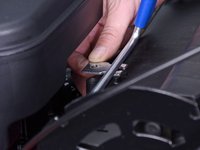
Remove the brake cable from the brake handle.
-
-
-
Use a 3/8 inch socket to remove the cable guide plate screw.
-
-
-
Use a 3/8 inch socket to remove the cable guide plate screw.
-
-
-
Remove the cable guide plate.
-
Lift the cable out of the groove in the frame.
-
-
-
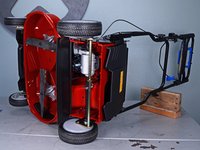
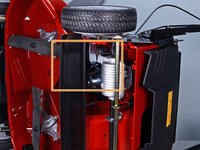
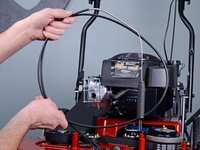
Tilt the mower onto its side, propping the handle up with a block of wood.
-
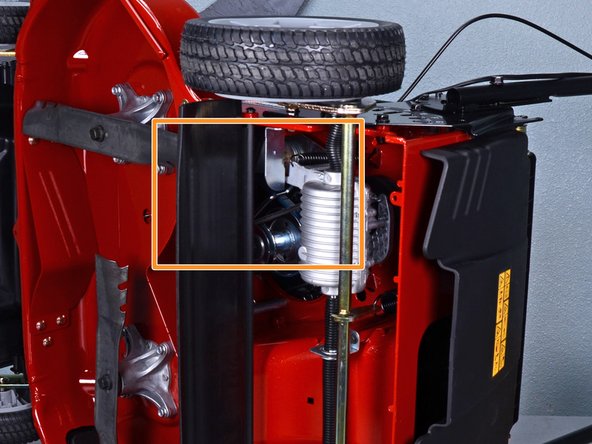
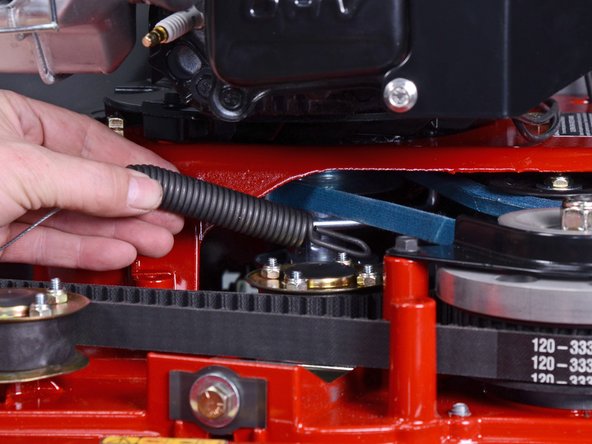
Locate the end of the brake cable underneath the mower, in front of the driveline, and above the blade guard.
-
-
-
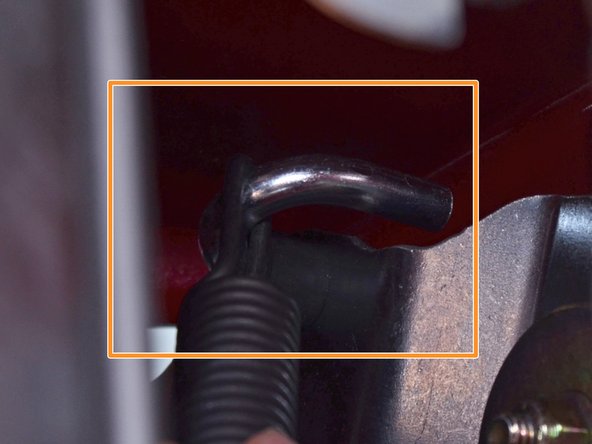
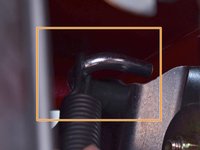
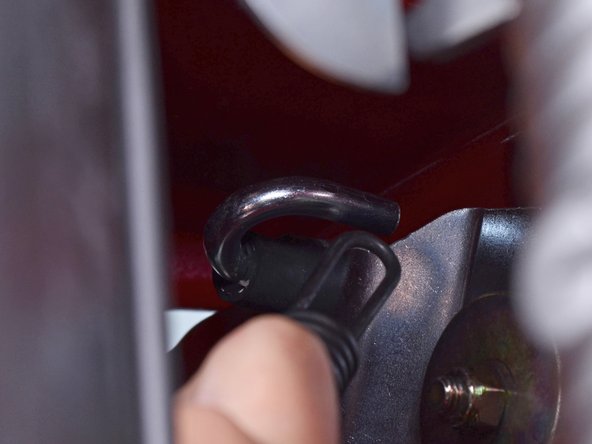
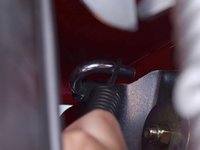
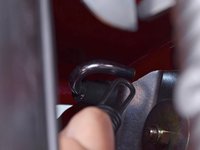
Reach into the underside of the mower and grab the spring at the end of the brake cable.
-
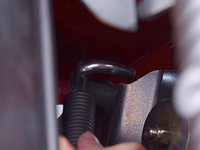
Slide the spring towards the open end of the U-shaped post.
-
-
-
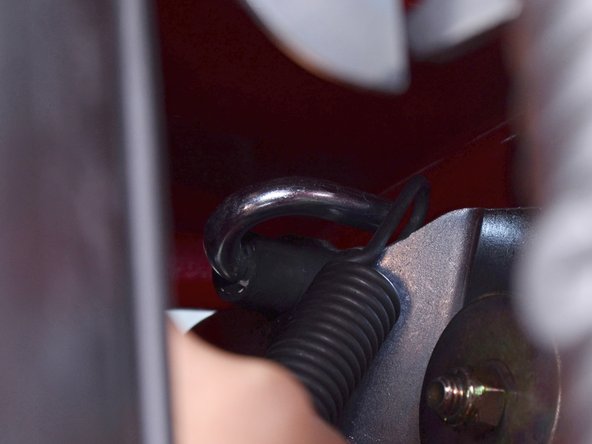
Remove the spring from the U-shaped post.
-


To reassemble your device, follow these instructions in reverse order.
crwdns2935221:0crwdne2935221:0
crwdns2935229:03crwdne2935229:0


crwdns2947410:01crwdne2947410:0
Unless I missed it, I think there should be a note to remind people to drain the gas tank before tipping the unit on its side. It may be common sense for a lot of people familiar with small engines, but not everyone (me) may think or know to do this. I just assumed that it would be fine to tip on its side without modification, and had to do some minor repair work after finding out that that was not the case. The guide was otherwise great for this repair and it was successful!