crwdns2933423:0crwdne2933423:0

Top Cover Removal

crwdns2862623:0crwdne2862623:0
crwdns2942641:0crwdne2942641:0

crwdns2942213:0crwdne2942213:0

  1. Top Cover Removal, Remove the top cover: crwdns2935265:01crwdnd2935265:01crwdnd2935265:02crwdne2935265:0 Top Cover Removal, Remove the top cover: crwdns2935265:01crwdnd2935265:02crwdnd2935265:02crwdne2935265:0
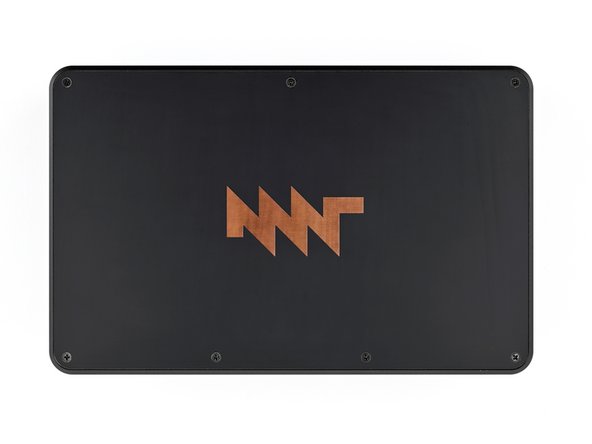
    • Place the laptop on your work surface so the top cover with the MNT logo is facing up.

    • Use a Phillips screwdriver to remove the seven 4.8 mm‑long screws securing the top cover.

  2. Top Cover Removal: crwdns2935265:02crwdnd2935265:01crwdnd2935265:03crwdne2935265:0 Top Cover Removal: crwdns2935265:02crwdnd2935265:02crwdnd2935265:03crwdne2935265:0 Top Cover Removal: crwdns2935265:02crwdnd2935265:03crwdnd2935265:03crwdne2935265:0
    • The top cover is made of printed circuit board (PCB) material. Press gently but firmly near an edge when applying the suction handle to avoid breaking the cover.

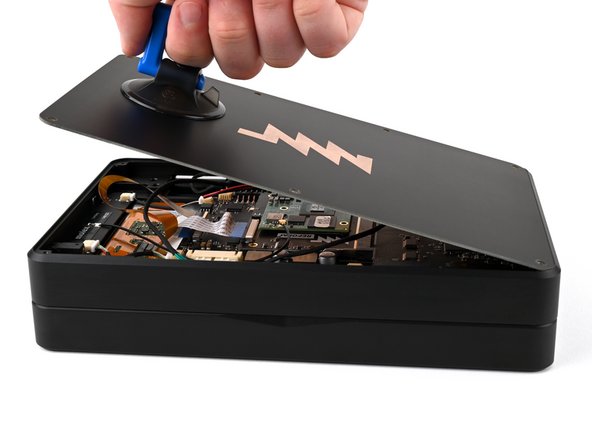
    • Apply a suction handle to the top cover.

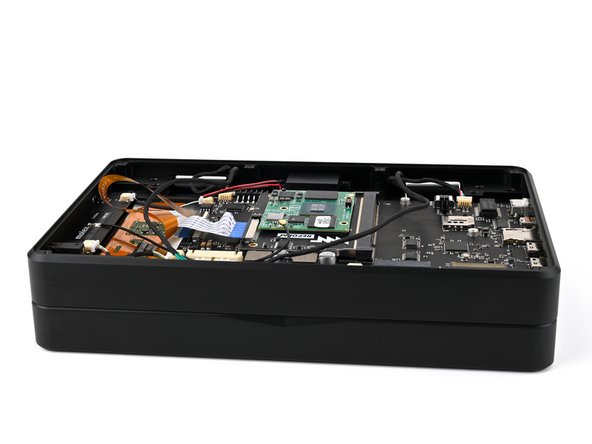
    • Use the suction handle to lift the top cover off of the laptop.

    • Alternatively, you can use a thin prying tool to lift the cover, or tilt the laptop until the cover falls out.

    • There's a thermal pad between the top cover and the processor that may stick to the top cover during removal.

crwdns2915888:0crwdne2915888:0

To reassemble your device, follow these instructions in reverse order.

Spencer Pennington

crwdns2935283:009/09/23crwdne2935283:0

18,903 crwdns2915208:0crwdne2915208:0

crwdns2935297:0114crwdne2935297:0

crwdns2915084:0crwdne2915084:0

iFixit crwdns2935289:0iFixitcrwdne2935289:0

Staff

crwdns2931471:0120crwdne2931471:0

crwdns2935297:020,068crwdne2935297:0

crwdns2947412:00crwdne2947412:0

crwdns2917038:0crwdne2917038:0

crwdns2936625:0crwdne2936625:0:

crwdns2936751:024crwdne2936751:0 1

crwdns2936753:07crwdne2936753:0 3

crwdns2936753:030crwdne2936753:0 3

crwdns2942667:0crwdne2942667:0 30