crwdns2933423:0crwdne2933423:0
crwdns2947577:0crwdnd2947577:0crwdne2947577:0

TomTom VIA 1605TM Battery Replacement

crwdns2942213:0crwdne2942213:0

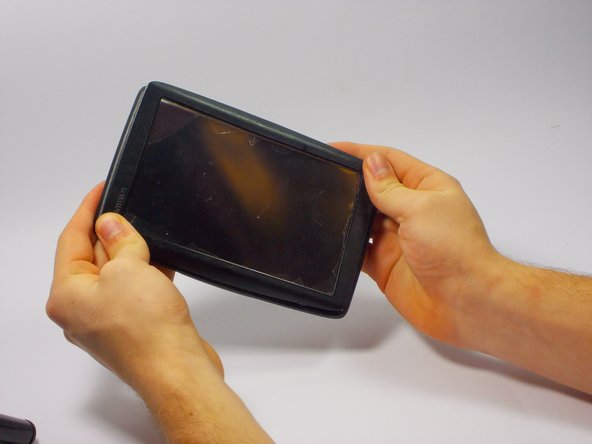
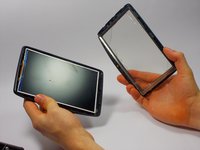
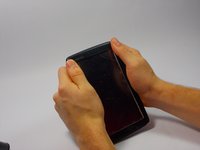
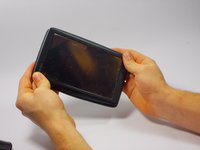
    1. TomTom VIA 1605TM Battery Replacement, Front Screen: crwdns2935265:01crwdnd2935265:01crwdnd2935265:03crwdne2935265:0 TomTom VIA 1605TM Battery Replacement, Front Screen: crwdns2935265:01crwdnd2935265:02crwdnd2935265:03crwdne2935265:0 TomTom VIA 1605TM Battery Replacement, Front Screen: crwdns2935265:01crwdnd2935265:03crwdnd2935265:03crwdne2935265:0
      • Locate the round suction cup on the back of the device.

      • Twist the suction cup clockwise or counterclockwise while pulling back away from the device closer to your body until removed.

      • When reassembling twist the suction cup but, push in as oppose to pulling out.

      crwdns2952109:0crwdne2952109:0

      crwdns2917038:0crwdne2917038:0

    2. TomTom VIA 1605TM Battery Replacement: crwdns2935265:02crwdnd2935265:01crwdnd2935265:01crwdne2935265:0
      • Location of screw is where the suction cup was.

      • Insert 8mm Hex #T6 screw driver into screw.

      • Unscrew in counter clockwise direction.

      • When reassembling screw in the clockwise direction.

      crwdns2952109:0crwdne2952109:0

      crwdns2917038:0crwdne2917038:0

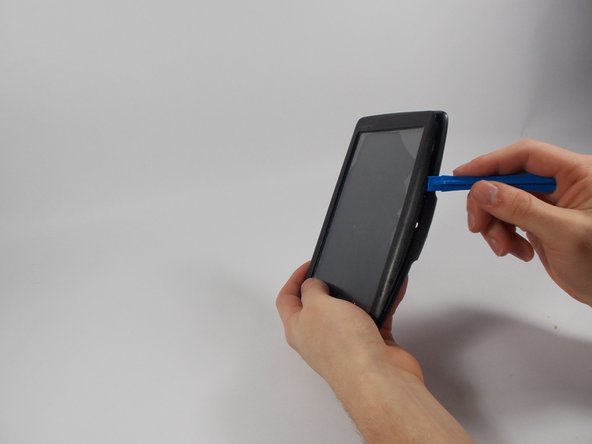
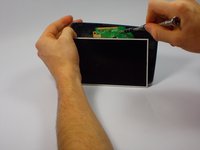
    3. TomTom VIA 1605TM Battery Replacement: crwdns2935265:03crwdnd2935265:01crwdnd2935265:02crwdne2935265:0 TomTom VIA 1605TM Battery Replacement: crwdns2935265:03crwdnd2935265:02crwdnd2935265:02crwdne2935265:0
      • Pry along the edges with the plastic opening tool to separate the back and front panel.

      • Try not to tear the screen open as you may break the part. Go about this gently but with enough force to remove the screen.

      crwdns2952109:0crwdne2952109:0

      crwdns2917038:0crwdne2917038:0

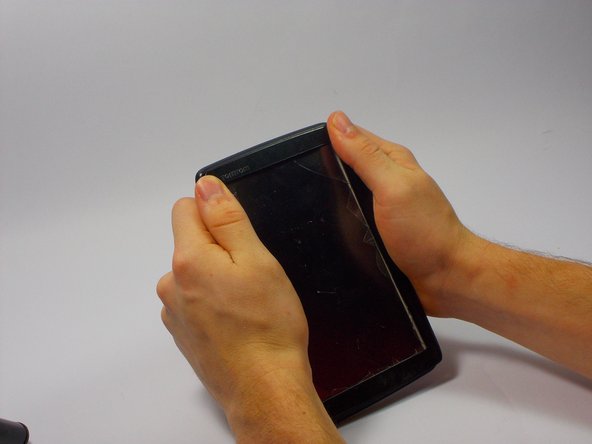
    4. TomTom VIA 1605TM Battery Replacement: crwdns2935265:04crwdnd2935265:01crwdnd2935265:03crwdne2935265:0 TomTom VIA 1605TM Battery Replacement: crwdns2935265:04crwdnd2935265:02crwdnd2935265:03crwdne2935265:0 TomTom VIA 1605TM Battery Replacement: crwdns2935265:04crwdnd2935265:03crwdnd2935265:03crwdne2935265:0
      • Place the new front panel (with new screen) on to the back panel. Press firmly along the edges to attach.

      • Only do this step of placing the front panel on if you are completed. If there are still components needed replacing postpone this step until the end.

      crwdns2952109:0crwdne2952109:0

      crwdns2917038:0crwdne2917038:0

    1. TomTom VIA 1605TM Battery Replacement, Battery: crwdns2935265:05crwdnd2935265:01crwdnd2935265:03crwdne2935265:0 TomTom VIA 1605TM Battery Replacement, Battery: crwdns2935265:05crwdnd2935265:02crwdnd2935265:03crwdne2935265:0 TomTom VIA 1605TM Battery Replacement, Battery: crwdns2935265:05crwdnd2935265:03crwdnd2935265:03crwdne2935265:0
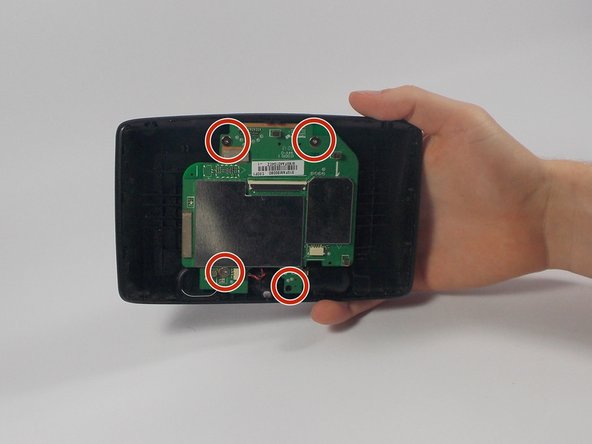
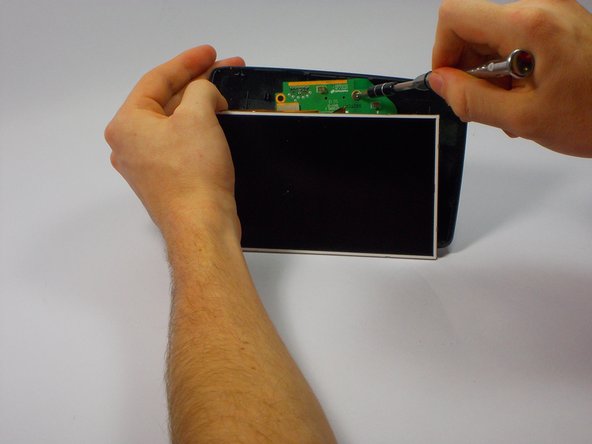
      • Keep the TOMTOM oriented so the curve is on the bottom. Locate the four 1mm Philips #J1 head screws attached to the motherboard.

      • Unscrew each of these in a counter clockwise direction.

      • When reassembling screw back in a clockwise direction.

      • The second picture is to represent where the four screws are located. The LCD screen does not disconnect from the motherboard until the next step

      crwdns2952109:0crwdne2952109:0

      crwdns2917038:0crwdne2917038:0

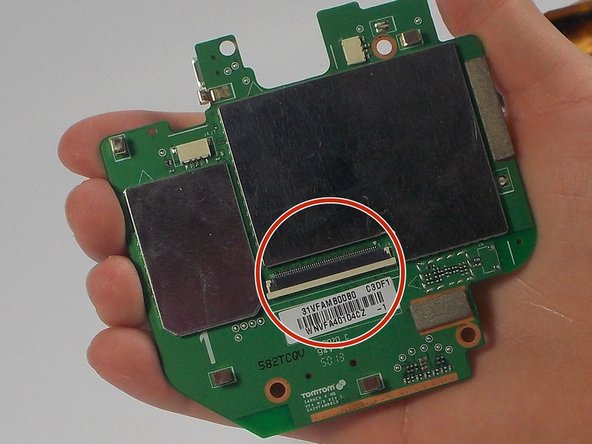
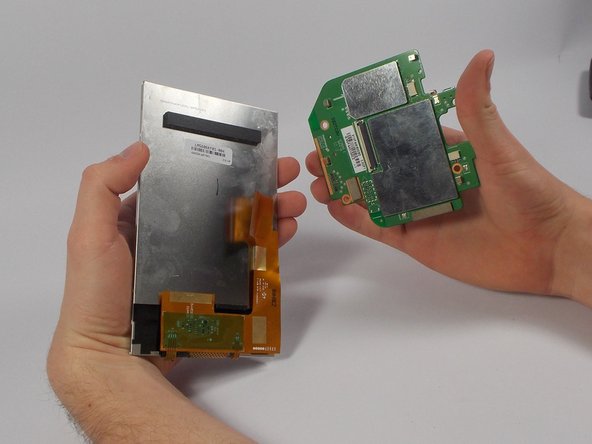
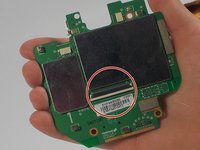
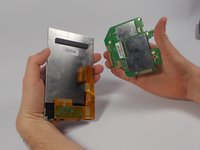
    2. TomTom VIA 1605TM Battery Replacement: crwdns2935265:06crwdnd2935265:01crwdnd2935265:03crwdne2935265:0 TomTom VIA 1605TM Battery Replacement: crwdns2935265:06crwdnd2935265:02crwdnd2935265:03crwdne2935265:0 TomTom VIA 1605TM Battery Replacement: crwdns2935265:06crwdnd2935265:03crwdnd2935265:03crwdne2935265:0
      • Remove the Blue Ribbon Cable by pushing each side of the plastic holder with the nylon spudger.

      • This will remove the LCD screen from the motherboard.

      crwdns2952109:0crwdne2952109:0

      crwdns2917038:0crwdne2917038:0

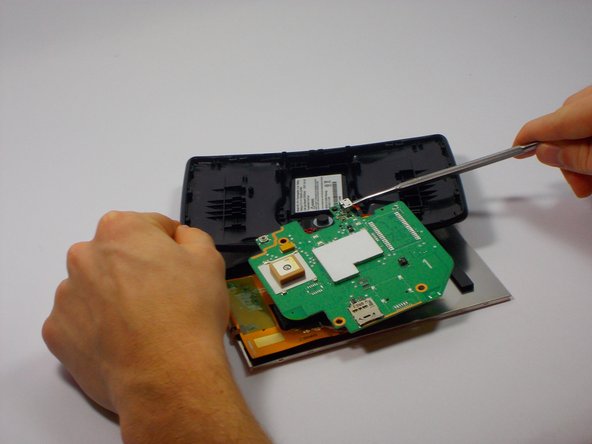
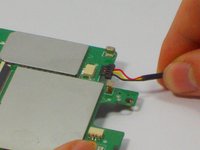
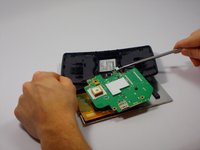
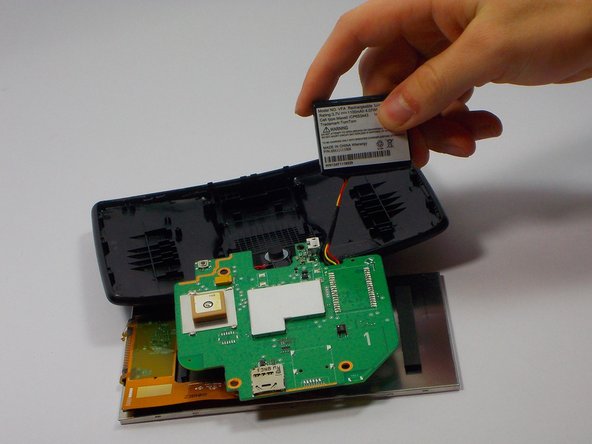
    3. TomTom VIA 1605TM Battery Replacement: crwdns2935265:07crwdnd2935265:01crwdnd2935265:02crwdne2935265:0 TomTom VIA 1605TM Battery Replacement: crwdns2935265:07crwdnd2935265:02crwdnd2935265:02crwdne2935265:0
      • Unplug the wire connecting to the battery by pinching the sides connected to the front screen.

      • Pull back away (in the opposite direction) from the connector.

      • Lift the circuit board to reveal the battery beneath.

      • When reassembling push back into connector. Do not need to pinch anything. The "click" sound insures solid connection.

      crwdns2952109:0crwdne2952109:0

      crwdns2917038:0crwdne2917038:0

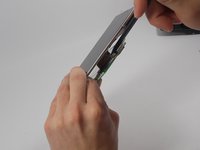
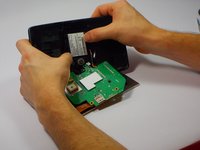
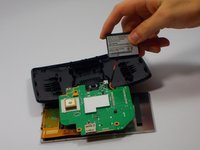
    4. TomTom VIA 1605TM Battery Replacement: crwdns2935265:08crwdnd2935265:01crwdnd2935265:02crwdne2935265:0 TomTom VIA 1605TM Battery Replacement: crwdns2935265:08crwdnd2935265:02crwdnd2935265:02crwdne2935265:0
      • Carefully pry loose using the plastic opening tool and remove the original battery.

      • Place the new battery where the old battery was located.

      crwdns2952109:0crwdne2952109:0

      crwdns2917038:0crwdne2917038:0

crwdns2915888:0crwdne2915888:0

To reassemble your device, follow these instructions in reverse order.

crwdns2935221:0crwdne2935221:0

Mathew Fleurent

crwdns2935283:010/19/15crwdne2935283:0

125 crwdns2915208:0crwdne2915208:0

crwdns2935295:0crwdne2935295:0

crwdns2935287:0crwdne2935287:0

UMass Dartmouth, Team 4-4, Catania Fall 2015 crwdns2935289:0UMass Dartmouth, Team 4-4, Catania Fall 2015crwdne2935289:0

UMASSD-CATANIA-F15S4G4

crwdns2931471:04crwdne2931471:0

crwdns2935297:010crwdne2935297:0

crwdns2947412:00crwdne2947412:0

crwdns2917038:0crwdne2917038:0

crwdns2936625:0crwdne2936625:0:

crwdns2936751:024crwdne2936751:0 0

crwdns2936753:07crwdne2936753:0 5

crwdns2936753:030crwdne2936753:0 29

crwdns2942667:0crwdne2942667:0 1,435