crwdns2933423:0crwdne2933423:0
crwdns2947577:0crwdnd2947577:0crwdne2947577:0

TomTom VIA 1530 TM Back Replacement

crwdns2942213:0crwdne2942213:0

    1. TomTom VIA 1530 TM Back Replacement, Back: crwdns2935265:01crwdnd2935265:01crwdnd2935265:02crwdne2935265:0 TomTom VIA 1530 TM Back Replacement, Back: crwdns2935265:01crwdnd2935265:02crwdnd2935265:02crwdne2935265:0
      • Position the device so that the underside is facing up.

      • Tilt the EasyPort Mount slightly upward and rotate it counterclockwise 180 degrees from the initial position.

      • Firmly grab the EasyPort Mount and remove it.

      • If it does not dislodge easily, gently twist the EasyPort Mount, applying increasing pressure until it does.

      crwdns2952109:0crwdne2952109:0

      crwdns2917038:0crwdne2917038:0

    2. TomTom VIA 1530 TM Back Replacement: crwdns2935265:02crwdnd2935265:01crwdnd2935265:02crwdne2935265:0 TomTom VIA 1530 TM Back Replacement: crwdns2935265:02crwdnd2935265:02crwdnd2935265:02crwdne2935265:0
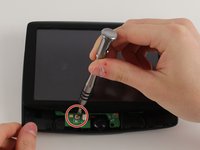
      • Turn the device 180 degrees so the screw in the EasyPort Mount compartment is on top.

      • Remove the 2mm screw beneath the EasyPort Mount compartment with the Torx T-5 head Screwdriver.

      crwdns2952109:0crwdne2952109:0

      crwdns2917038:0crwdne2917038:0

    3. TomTom VIA 1530 TM Back Replacement: crwdns2935265:03crwdnd2935265:01crwdnd2935265:02crwdne2935265:0 TomTom VIA 1530 TM Back Replacement: crwdns2935265:03crwdnd2935265:02crwdnd2935265:02crwdne2935265:0
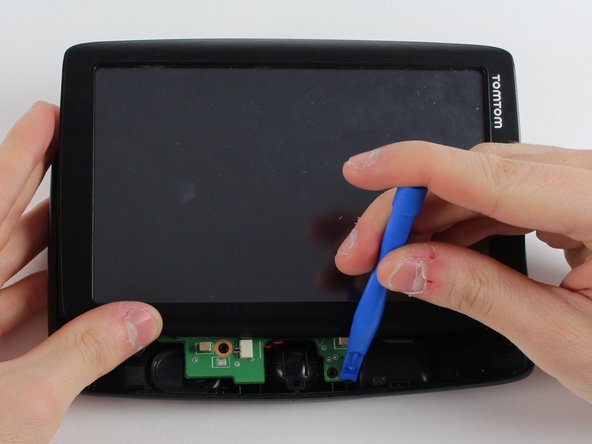
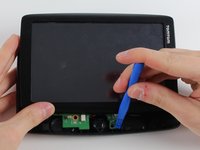
      • Flip the device over so that the screen is facing up.

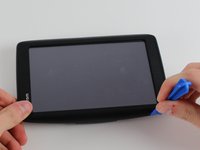
      • Wedge the plastic opening tool between the top and bottom of the device's frame, gently sliding it around the outside edge.

      • It may be easier to start at one of the corners.

      • The gold ribbon cable connecting the screen to the motherboard is fragile and tears easily.

      • This specific device's ribbon cable is torn.

      crwdns2952109:0crwdne2952109:0

      crwdns2917038:0crwdne2917038:0

    4. TomTom VIA 1530 TM Back Replacement: crwdns2935265:04crwdnd2935265:01crwdnd2935265:02crwdne2935265:0 TomTom VIA 1530 TM Back Replacement: crwdns2935265:04crwdnd2935265:02crwdnd2935265:02crwdne2935265:0
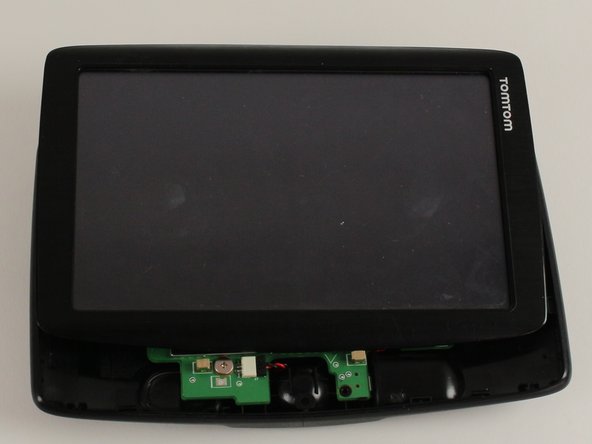
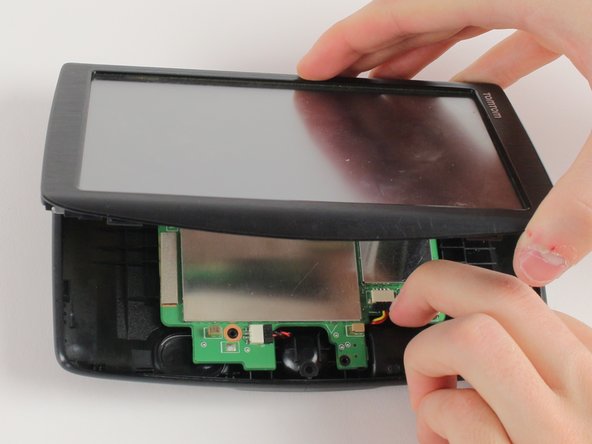
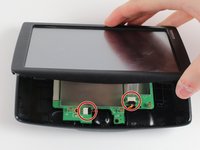
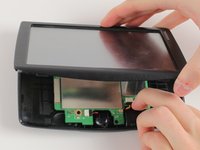
      • Carefully slide the screen forward, revealing the lower portion of the motherboard.

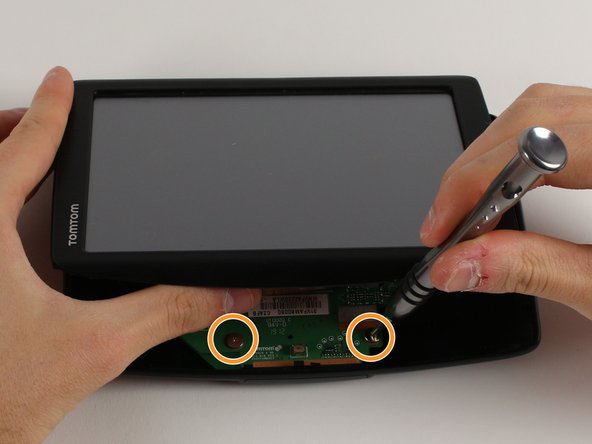
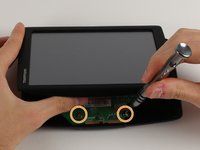
      • Remove the 3.6mm screw using the JIS #00 Screwdriver.

      • Rotate the device 180 degrees, carefully slide back the screen, and remove the remaining two screws.

      crwdns2952109:0crwdne2952109:0

      crwdns2917038:0crwdne2917038:0

    5. TomTom VIA 1530 TM Back Replacement: crwdns2935265:05crwdnd2935265:01crwdnd2935265:03crwdne2935265:0 TomTom VIA 1530 TM Back Replacement: crwdns2935265:05crwdnd2935265:02crwdnd2935265:03crwdne2935265:0 TomTom VIA 1530 TM Back Replacement: crwdns2935265:05crwdnd2935265:03crwdnd2935265:03crwdne2935265:0
      • Disconnect the battery and speaker cables.

      • Unlatch the motherboard from the case.

      crwdns2952109:0crwdne2952109:0

      crwdns2917038:0crwdne2917038:0

crwdns2915888:0crwdne2915888:0

To reassemble your device, follow these instructions in reverse order.

crwdns2935221:0crwdne2935221:0

Jennifer Zakaria

crwdns2935283:001/18/18crwdne2935283:0

555 crwdns2915208:0crwdne2915208:0

crwdns2935297:06crwdne2935297:0

crwdns2935287:0crwdne2935287:0

Cal Poly, Team S12-G2, Banghart Winter 2018 crwdns2935289:0Cal Poly, Team S12-G2, Banghart Winter 2018crwdne2935289:0

CPSU-BANGHART-W18S12G2

crwdns2931471:03crwdne2931471:0

crwdns2935297:072crwdne2935297:0

crwdns2947412:00crwdne2947412:0

crwdns2917038:0crwdne2917038:0

crwdns2936625:0crwdne2936625:0:

crwdns2936751:024crwdne2936751:0 3

crwdns2936753:07crwdne2936753:0 10

crwdns2936753:030crwdne2936753:0 26

crwdns2942667:0crwdne2942667:0 981